Tag: nye

Bacon Wrapped Mochi

Bacon Wrapped Mochi

I feel like the words “bacon wrapped” alone should be enough to get you running into your kitchen, but these Bacon Wrapped Mochi are truly the perfect snack. Salty, sweet, and savory hit all the right notes; ready in minutes with just a handful of read more

Vietnamese Mussels

Vietnamese Mussels

I’m on a mission to get people to make and enjoy mussels at home. Mussels are sustainable, economical, and an effortless way to add drama and sophistication to any gathering. There’s no reason to save these for a special restaurant meal. These Vietnamese Mussels are read more

Watermelon Soju

Watermelon Soju

UPDATED JUNE 2026

We can’t get enough of watermelon in our house. The crunchy refreshing taste and beautiful red flesh is the complete package. We buy two whole watermelon each week just to tame our appetites. But what happens when you cut into a watermelon and discover that you picked a dud? Instead of bright red, you’re met with a dull pink. Well you get creative….Since there’s nothing more important in these hot summer months than staying hydrated, a watermelon drink sure would hit the spot. And so I present to you this classic Korean drink, Watermelon Soju. Icy cold, refreshingly sweet, and just enough boozy kick to make you forget how sweltering it is outside. This recipe is so simple, and as an added bonus you can turn the leftover watermelon rind into this delicious kimchi.

watermelon soju ingredients

Soju/Shochu

Soju is Korea’s most popular spirit. It is the center of their rather robust drinking culture. Soju was traditionally made from rice, but now is frequently made with sweet potato, barley, buckwheat, wheat, or any combination of these ingredients. It is distilled like vodka and has a similar neutral flavor. Soju can be found at most well stocked liquor stores or online. If you see shochu at the store, you can go ahead and get that instead.

Japanese shochu is a similar distilled spirit and probably came to Japan from Korea, which already had soju in production starting in the 13th century. The origin of the names is the same for both languages. ‘So’/’Sho’ means burned to reference the distilling process and ‘ju’/’chu’ means alcohol. Although there are some distinctions between the two, with shochu having more strict rules on production and allowances for additives, mass produced soju and shochu can be used interchangeably. Since we’re using the soju/shochu in a blended drink, use a budget minded brand. A high quality, hand crafted spirit would be delicious too, but a bit of a waste.

Finally, most sojus are light with a low alcohol content while shochus tend to be purer and also higher in alcohol. Depending on the brand, the alcohol content can range from similar to wine’s to almost 3 times as much! Just keep that in mind when choosing your bottle.

bottle watermelon soju

Making Watermelon Soju

This recipe is a breeze to make. I start by cutting up the watermelon. Like I mentioned earlier, this is a great time to use less than prime fruit. Whether it’s a disappointment you purchased, fruit that’s out of season, or maybe something sitting in the fridge just a wee bit too long, this drink will put the zip back into that fruit.

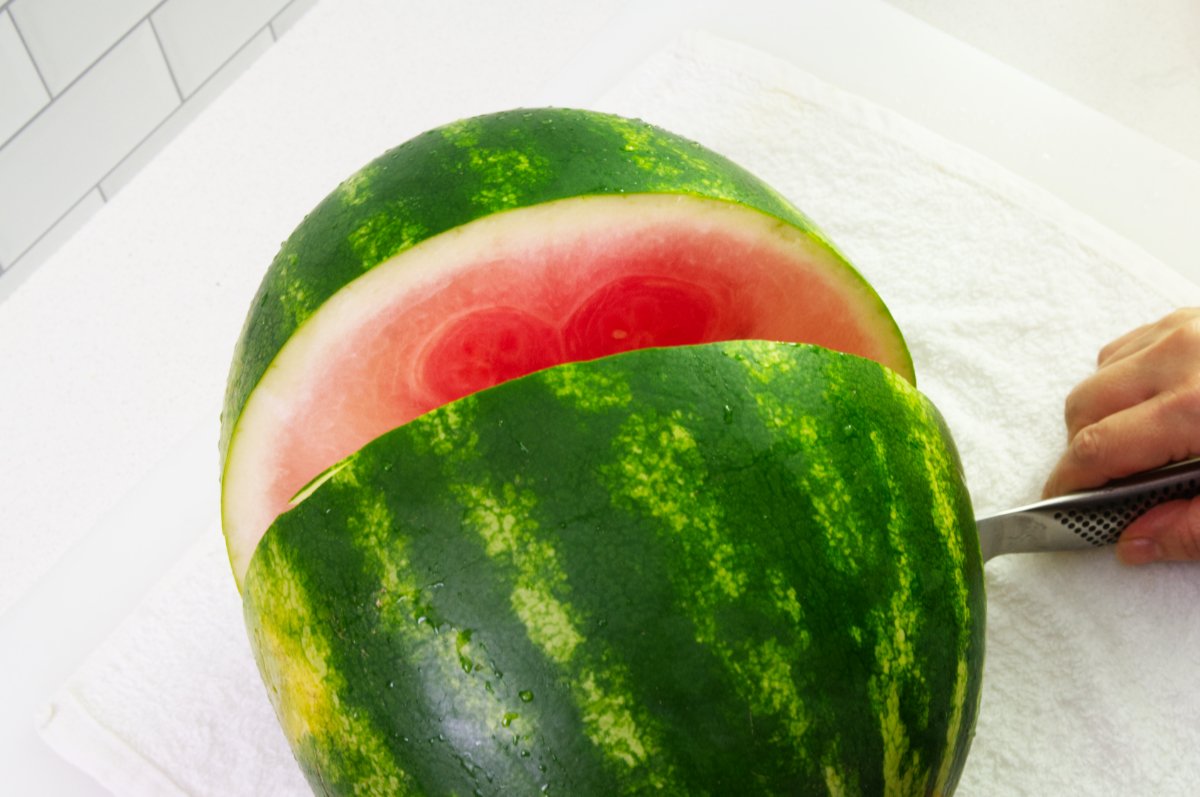
Start by cutting the watermelon in half:

cutting melon in half for watermelon soju

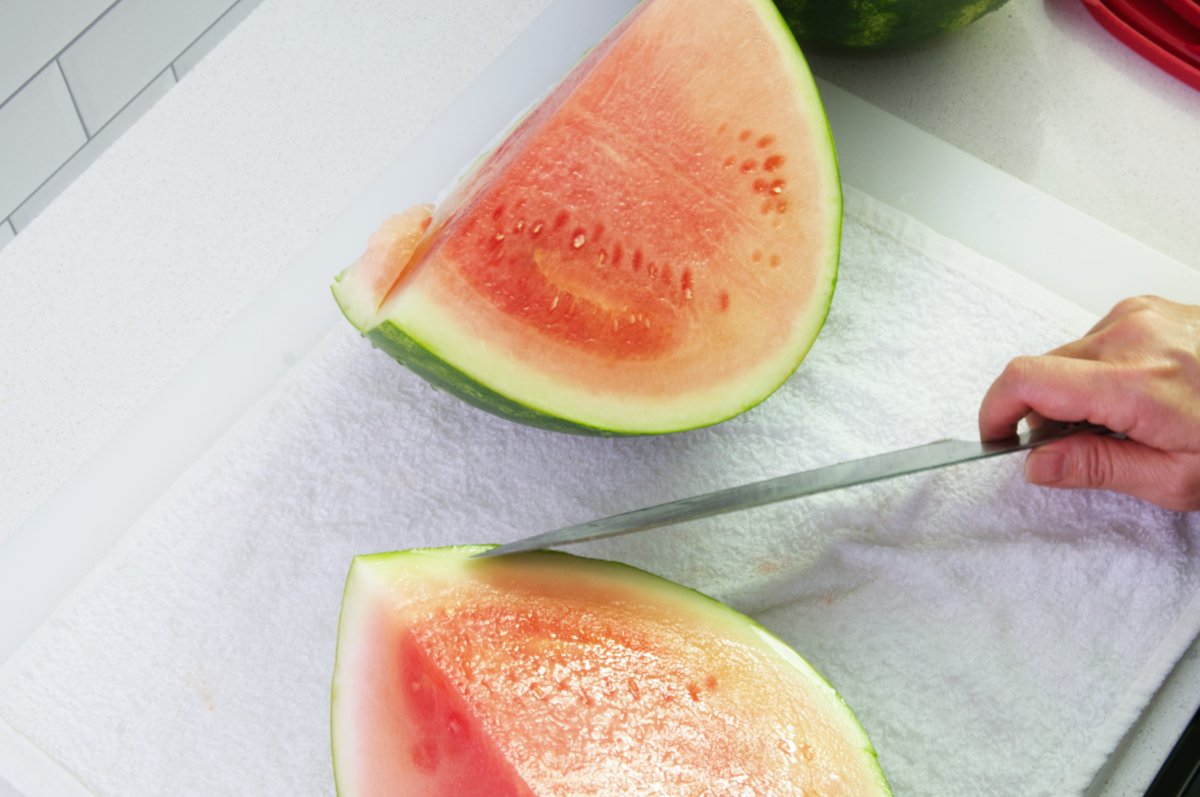
Then cut into quarters:

cutting into quarters for watermelon soju

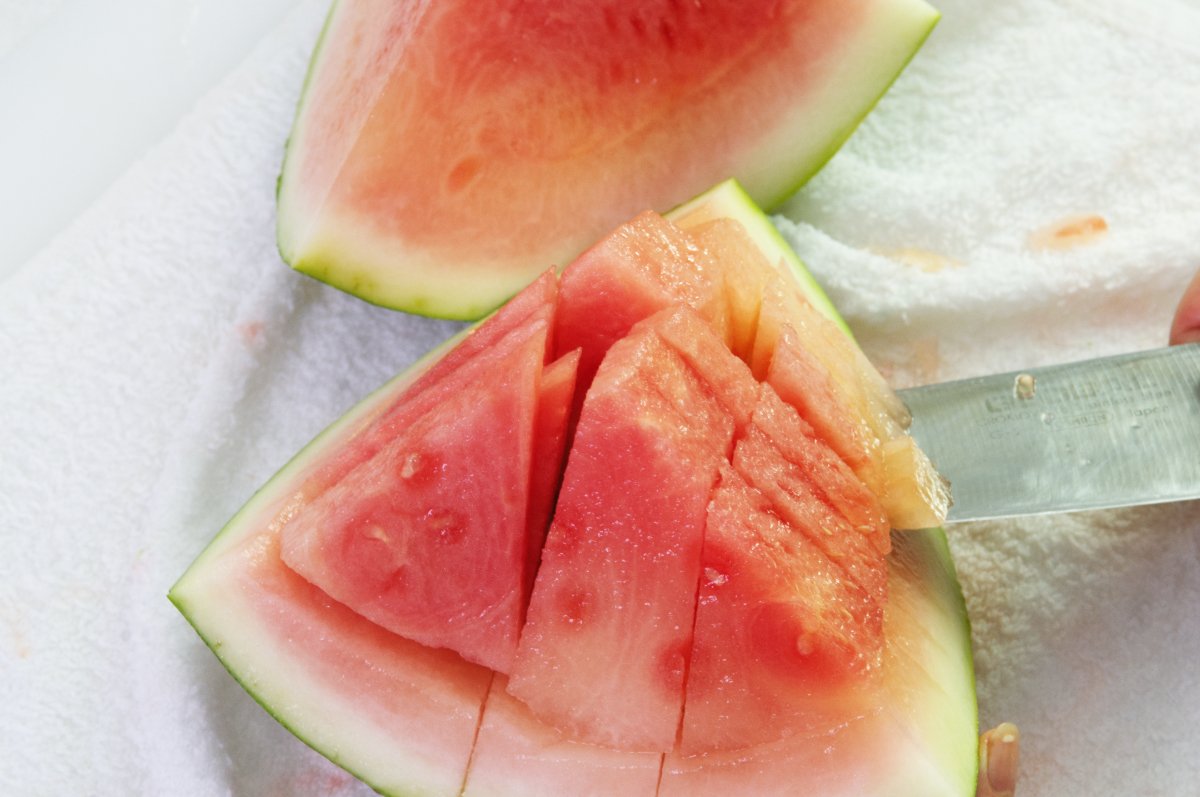
Cut each quarter into chunks:

cutting fruit into chunks for watermelon soju


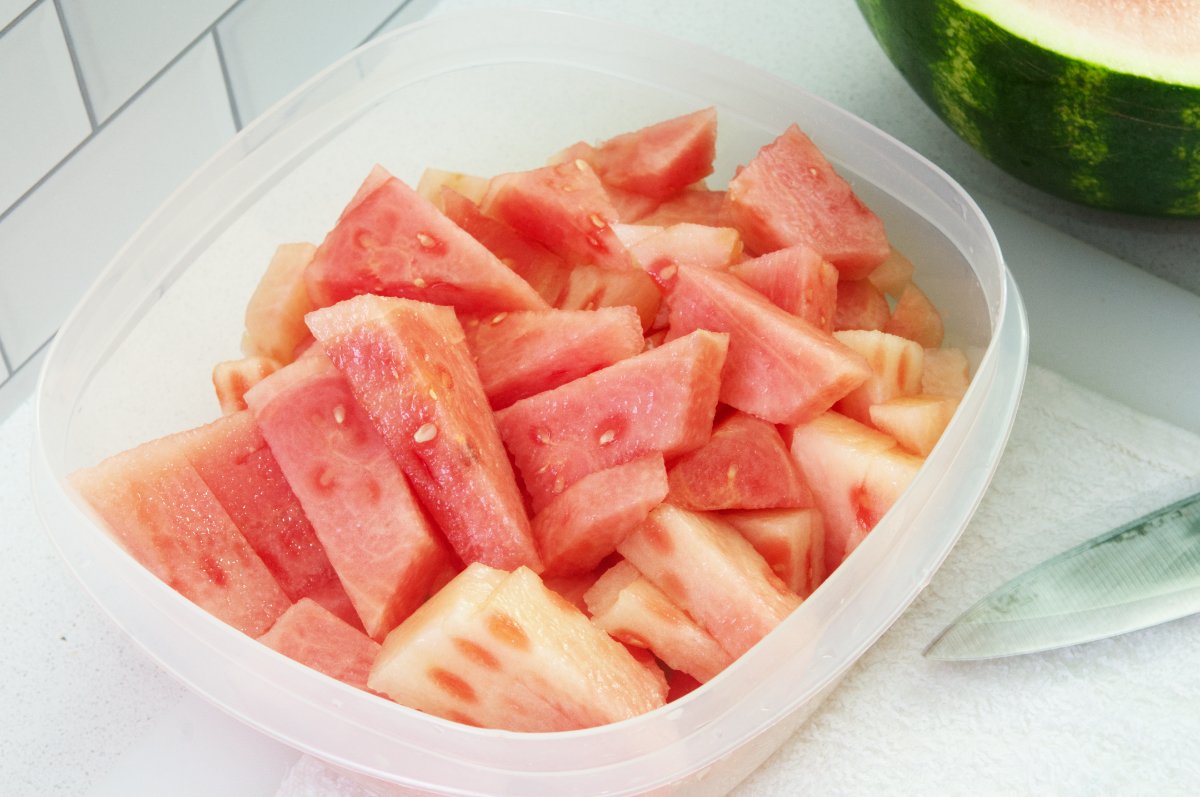
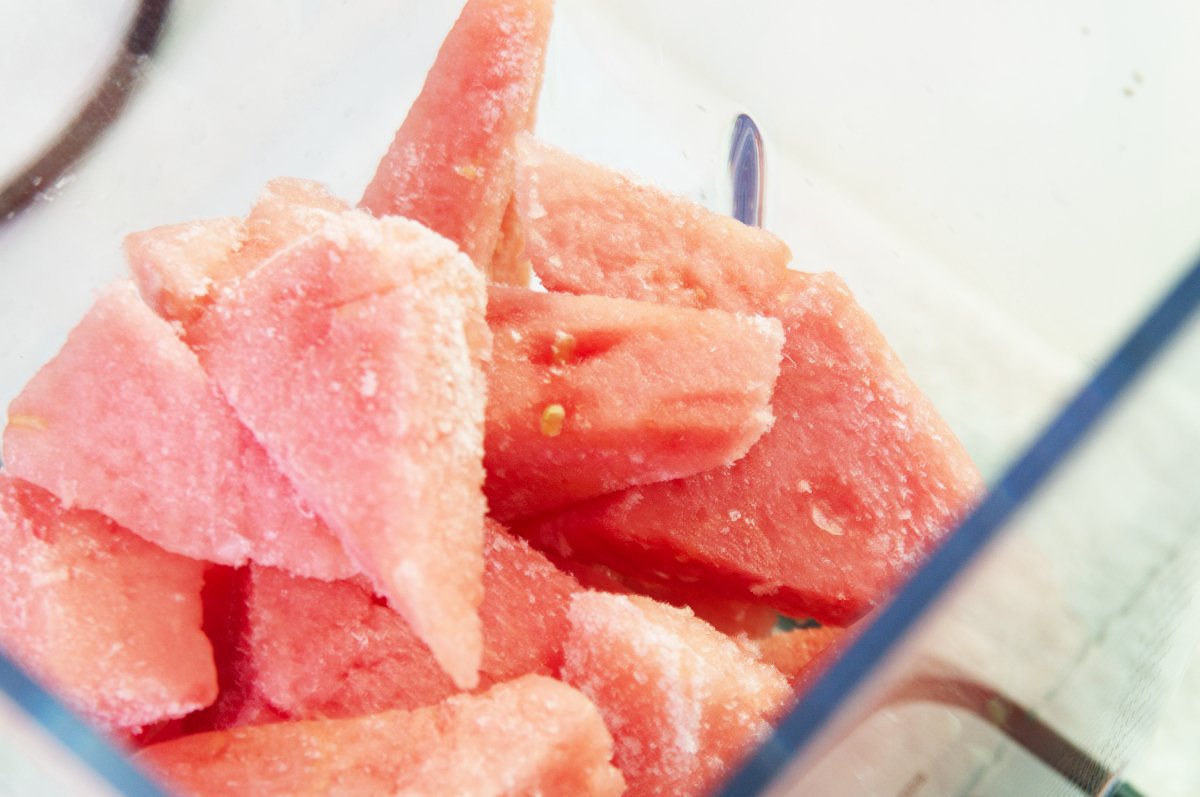
Freeze until half frozen, about two hours:

freezing chunks for watermelon soju


While the watermelon is in the freezer, we are going to make a simple syrup. (Any leftover syrup is excellent in iced coffee, thai tea, really any cold beverage that could use a little sweetness.)

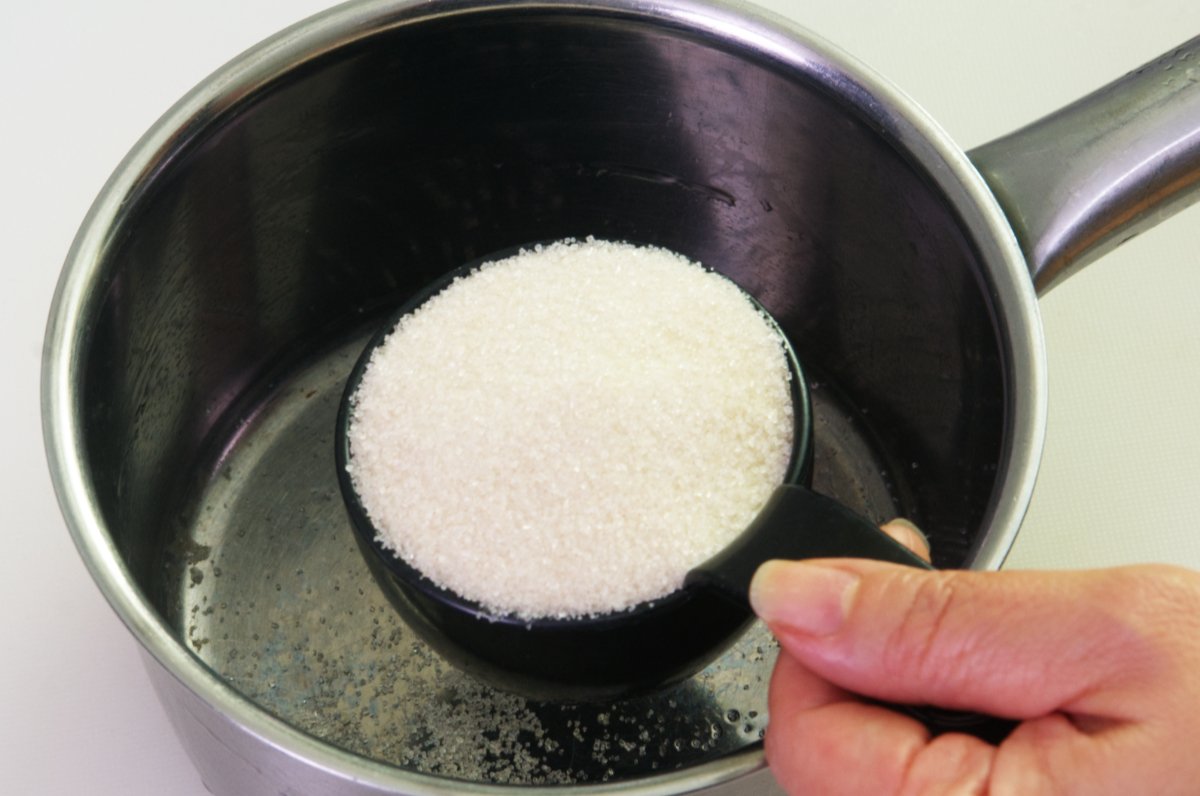
Making simple syrup is, as the name implies, incredibly simple. We’re just dissolving sugar in water. Add the sugar to a saucepan:

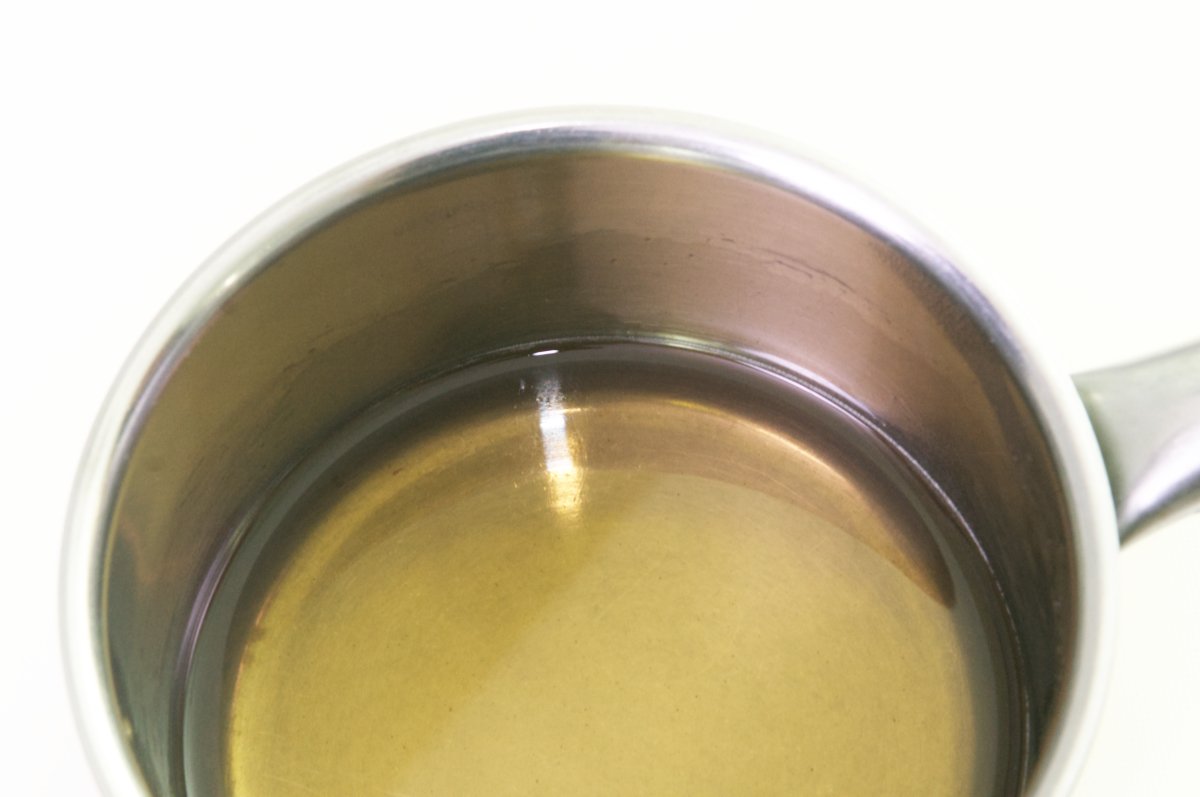
Add water to the pan and stir over medium heat until the sugar is dissolved:

making sugar syrup for watermelon soju


Let the syrup cool to room temperature. And once the watermelon is frozen, it’s time to make the Watermelon Soju!

Blend half the frozen watermelon with 2 tablespoons of simple syrup and half a cup of soju:


Repeat with the rest of the watermelon and your cooling, slushy, summer delight is ready! Garnish with some mint and a wedge of lime. A pitcher of Watermelon Soju is just the perfect afternoon pick me up for a hot day: cold, refreshing, with a touch of sweetness and alcohol. But if you do want some food to serve with Watermelon Soju, this kimchi pancake or some salt baked shrimp will keep the summer vibes going.

I hope this Watermelon Soju cools you down and keeps you hydrated all summer long. Take a moment and tell me what you think by rating and commenting on the recipe below. And show off your gorgeous drinks by tagging us @funkyasiankitchen, we love seeing your creations!


Print
clock clock iconcutlery cutlery iconflag flag iconfolder folder iconinstagram instagram iconpinterest pinterest iconfacebook facebook iconprint print iconsquares squares iconheart heart iconheart solid heart solid icon
watermelon soju recipe

Watermelon Soju

  • Author: Funky Asian Kitchen
  • Prep Time: 10 minutes (plus freezing time)
  • Total Time: 10 minutes
  • Yield: 4 drinks 1x
  • Category: beverages
  • Cuisine: Korean

Ingredients

Scale
  • ¼ whole watermelon, about 3 pounds
  • 1 cup soju 
  • ¼ cup sugar
  • ¼ cup water

Garnish:

  • Lime slices/wedges
  • Sprigs of mint

Instructions

  1. Dice the watermelon into 1 inch cubes. You should yield about 2 ½ pounds. Use the rind for another purpose or discard.
  2. Freeze the watermelon until frozen, about 2 hours. 
  3. In the meantime, combine the water and sugar in a small saucepan and stir over medium high heat until the sugar is dissolved completely. Set aside to cool.
  4. Add half of the frozen watermelon, ½ cup of soju, and a couple tablespoons of the simple syrup. Blend until smooth. Repeat with a second batch.
  5. Serve watermelon soju immediately with your garnishes.

Keywords: summer, soju, korean, cocktails, drinks, watermelon

Japanese Fried Chicken

Japanese Fried Chicken

UPDATED JUNE 2026 Well guys, I did it. I finally caved to peer pressure and I got an air fryer. And wow am I having fun playing with it!  We have this Japanese Fried Chicken on our restaurant menus, and it is hugely popular. I read more

Mandu

Mandu

Have some kimchi laying around in the fridge that you need to use up? Try these Korean style dumplings, known as Mandu. They are stuffed with shrimp and kimchi, so they are packed with explosive flavor. And of course I serve them with a yummy read more

Matcha Chocolate Cashews

Matcha Chocolate Cashews

They say everyone is a little Irish on St. Patrick’s Day, and I think this year I’ll get my bit of green from these Matcha Chocolate Cashews. Sweet and crunchy, this treat is made from three different Superfoods-chocolate, matcha powder, and heart healthy nuts. (You can learn more about matcha here) They are great when you want just a little something sweet after a meal, or a midday pick me up. They even make a good grab and go breakfast, complete with a caffeine kick from the matcha. They are great to set out with cocktails too…

Tempering Chocolate

I start with tempered chocolate, either chocolate disks specifically made for melting or the chocolate chunks I got from Trader Joe’s this time. Most chocolate chips have added ingredients so the chocolate keeps its shape in cookies and such. They are produced to NOT melt easily and they won’t set up (harden) properly when making these. So keep those for cookies and look for chocolate that is made for melting.

Tempering chocolate sounds so intimidating and I am no pastry chef so I try to keep it easy. In a nutshell, tempering keeps the chocolate at a temperature where the molecules stay intact and the cocoa butter doesn’t seep out. This allows the chocolate to harden at room temperature, keep a nice shiny finish, and snap if you were to break it. Chocolate that is not tempered correctly can have a dull grayish color and waxy texture. It will also not harden at room temperature.

Microwave?!

The established technique is to melt the chocolate, often with a double boiler, and then add chunks of chocolate to cool it down and bring it to the right temperature. I find that technique too time consuming and tedious. Let’s Microwave! But before you proceed to blast the hell out of your poor chocolate, let me set up a few guidelines. You need to do this in a gentle way that will carefully melt the chocolate so there’s no need to cool it down with an addition of unmelted chocolate.

Since each microwave is different, you may need to experiment a little to get the correct power strength. But in general, adjusting to 50% power is where I would start and what I use with my own microwave. I do quick bursts and it’s not necessary to melt the chocolate. You should see the chocolate soften (some chocolate may have melted) but the microwave ends up heating the bowl so much that gentle stirring should melt all of the chocolate. Continue microwaving in short minute increments but always stir between bursts until the chocolate is completely melted. If you have a candy thermometer, it should be about 90 degrees, or warm but not scalding hot to the touch. Let the chocolate cool a bit before proceeding.

With all of that said, since the matcha will be covering the chocolate, it’s not crucial to have a perfectly tempered chocolate; no one will see any imperfections. Also, if the chocolates don’t harden, you can put them in the fridge. But you will need to store the nuts in the fridge when you’re done to keep them from melting.

Matcha

Use the best matcha you can for this recipe. Since the matcha is the first thing you taste and there are few other flavors in this quick little recipe, you want a high quality. Lower quality matcha can have a really bitter taste, sometimes even an off flavor, plus an unappetizing color. The best choice is matcha meant for drinking, or a very high grade culinary one. A tablespoon might not seem like a lot, but because it is so finely ground that’s plenty to fully cover the cashews.

Enjoy the Matcha Chocolate Cashews as a little nibble with tea, or offer to guests as a light sweet to end a meal. I can’t wait for you to try them. Let me know what you think by commenting and rating the recipe below, and tag us in your pics @funkyasiankitchen for a chance to be featured; we love seeing your creations!


Print
clock clock iconcutlery cutlery iconflag flag iconfolder folder iconinstagram instagram iconpinterest pinterest iconfacebook facebook iconprint print iconsquares squares iconheart heart iconheart solid heart solid icon
matcha chocolate cashews recipe card

Matcha Chocolate Cashews

  • Author: Funky Asian Kitchen
  • Prep Time: 15 minutes
  • Cook Time: 25 minutes
  • Total Time: 40 minutes
  • Yield: serves 4
  • Category: sweets

Ingredients

Scale
  • 1 cup toasted cashews (about 5 ounces)
  • 3 ounces semisweet or bittersweet dark chocolate, a generous ½ cup roughly chopped
  • 1 Tablespoon matcha powder

Garnish:

  • Maldon sea salt (optional)

Instructions

  1. Place the chocolate in a microwave-safe bowl.
  2. You will be microwaving in short increments, stirring in between.
  3. The exact amount of time the chocolate needs to be in the microwave will depend on your particular microwave. I do it for two minutes at 50% (half) power, stir with a whisk and then microwave again for another minute at 50% power. Stir again.
  4. The chocolate in the bowl will not look melted but as you stir, the heat from the bowl will continue melting the chocolate.
  5. Mix until the chocolate is completely smooth. Add another 30 seconds to a minute if you still have some unmelted chocolate. Always stir in between bursts in the microwave.
  6. If you have a candy thermometer (recommended), check to see that the temperature is 90 F (for dark, semisweet, and bittersweet chocolate) or 86 F (for milk and white chocolate). If not, dip a small spoon into the chocolate and put it on your hand. It should feel slightly warm, not hot.  
  7. Wait until the chocolate cools slightly before using it. 
  8. Add the cashews to the chocolate and mix to coat each nut. Place the nuts one at a time (or scoop them with a small spoon if you prefer making clusters) on a piece of parchment paper and let harden at room temperature for an hour or two.
  9. Once the chocolate has hardened, place the cashews in a small storage container and top with the matcha powder.
  10. Shake the nuts so that the matcha powder coats each nut evenly.
  11. Eat immediately, sprinkled with a little sea salt or store the Matcha Chocolate Cashews in the container until ready to consume.

Notes

*For this method to work, you MUST start with already tempered chocolate. You can use chocolate disks, which are made specifically for melting or blocks of tempered chocolate which can be chopped into small pieces. Do not use chocolate chips which will not melt. I used semi-sweet chocolate chunks from Trader Joe’s that are made for melting and they worked well.

*If you use chocolate that’s not tempered, you will know once you try to harden it at room temperature. Your cashews may refuse to set and stay wet or set kind of soft and fudgy. You can still harden it by putting it in the refrigerator. Then continue with the recipe but store the nuts in the fridge.

Keywords: sweets, snacks, nuts, matcha, chocolate