Category: Vegan

Mushroom and Tofu Patties

Mushroom and Tofu Patties

If you think tofu is bland and mushrooms are mushy, these mushroom and tofu patties are here to change your mind. Packed with deeply savory- almost meaty, mushrooms and sweet sautéed onions, and of course plenty of umami-rich seasonings, these patties are tender on the read more
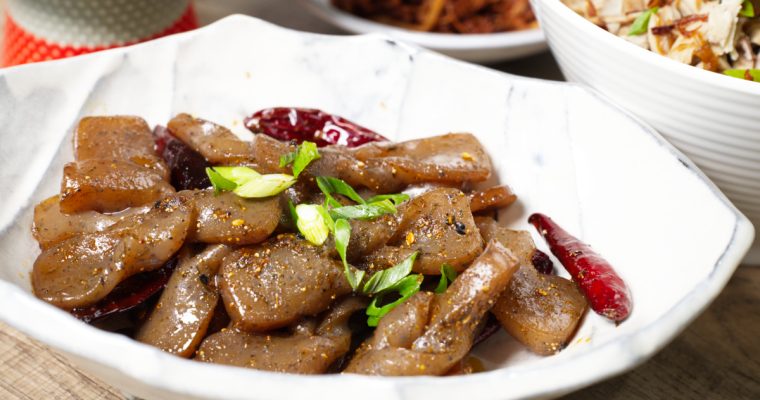
Spicy Konnyaku

Spicy Konnyaku

Konnyaku is one of those quiet staples of Japanese home cooking. Made from the konjac root, it’s mild, springy, and practically flavorless on its own, which means it’s incredible at soaking up whatever you cook it with. In this simple side dish, konnyaku is sliced read more
Green Papaya Slaw

Green Papaya Slaw

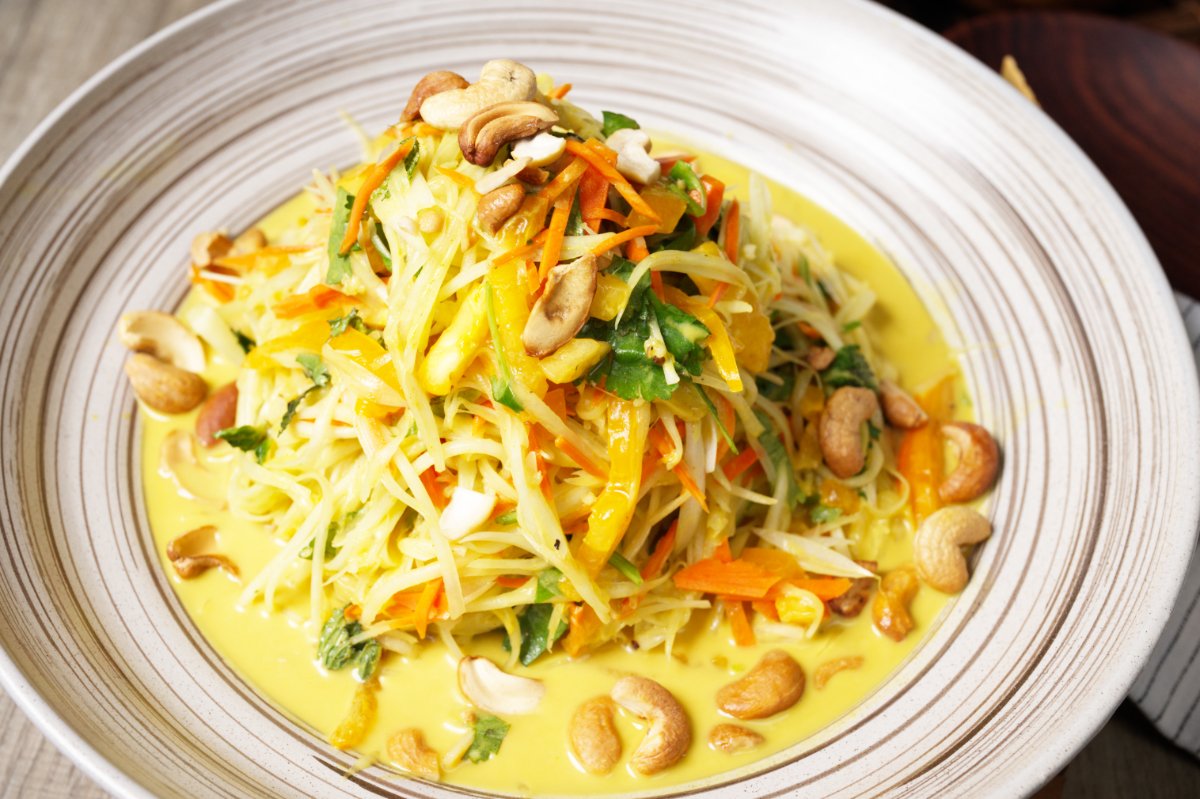
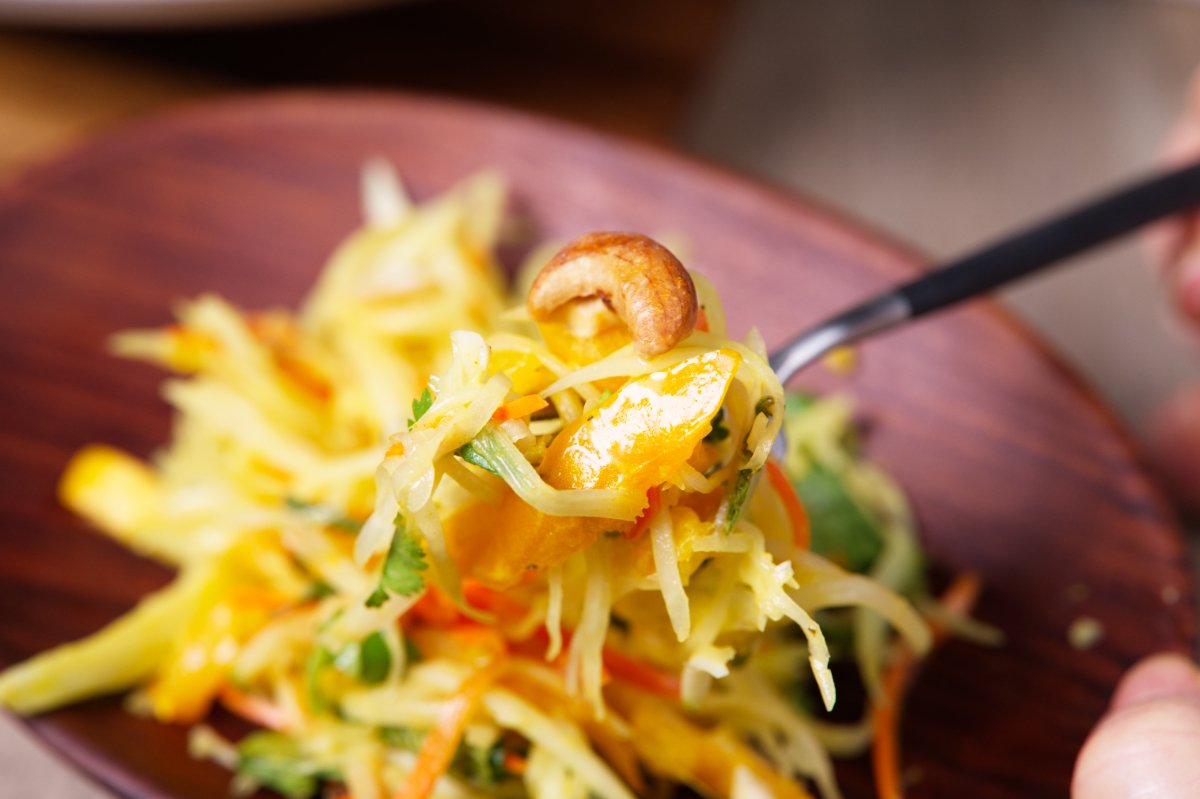
Green papaya slaw is one of those dishes that somehow manages to be light, creamy, crunchy, and deeply satisfying all at once. Inspired by the bright, crunchy papaya salads you’ll find across Southeast Asia, this version leans creamy thanks to a coconut milk–based dressing. If you’ve only had papaya ripe and sweet, this is a whole different experience—green papaya is crisp, refreshing, and perfect for soaking up bold flavors. Here, the shredded green papaya and carrots get tossed with dressing that’s bright with lime, gently spiced with turmeric, and just sweet enough to balance it all out. It’s the kind of salad that feels right at home alongside grilled meats, seafood, or as a standout on its own.

January always feels like the month for a reset, and if you’re doing Veganuary (or just craving something fresh), this green papaya slaw is a great place to start. It’s light, satisfying, and proof that plant-based cooking can still feel satisfying and indulgent, so let’s get into it.

ingredients green papaya slaw

Green papaya is simply papaya that’s been harvested before it ripens. At this stage, the flesh is firm and crunchy, with a clean, neutral flavor. It’s commonly shredded and used in salads, where it adds texture without overpowering other ingredients. If you enjoy the crunch of cabbage or jicama, green papaya will totally be your vibe. Look for papayas that are fully green, firm, and heavy for their size—avoid any with yellowing or soft spots.

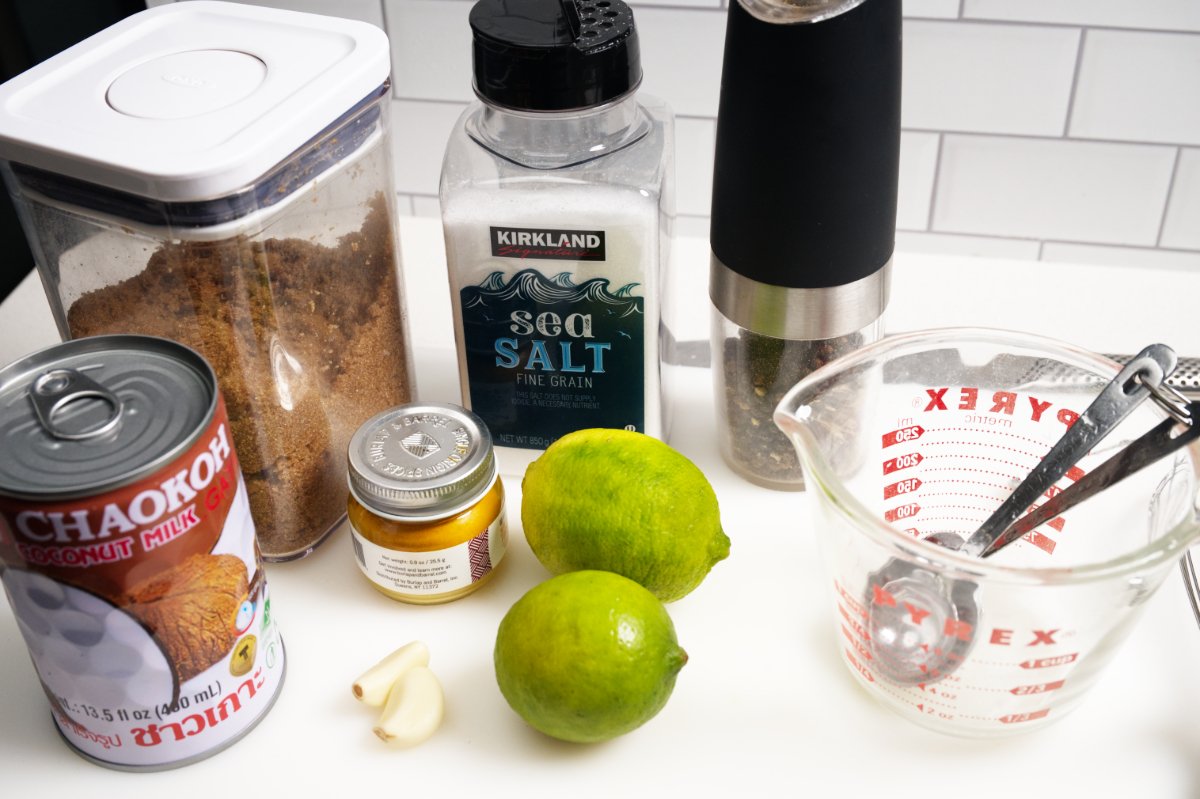
The real magic of this slaw lies in the dressing.  The coconut makes it so luscious you are going to want to drink it! Best of all it uses very common pantry ingredients you likely have on hand:

pic of the dressing ingredients for green papaya slaw

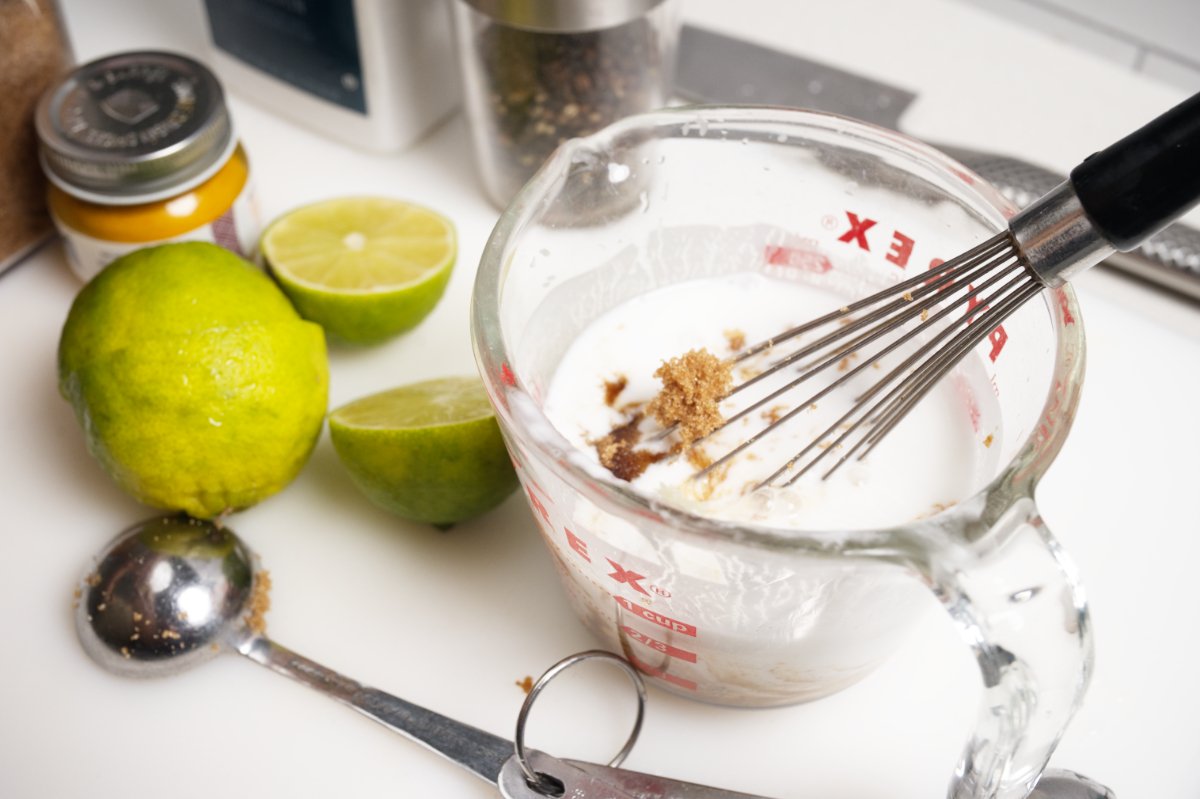
And it’s a cinch to pull together, just add all the ingredients and whisk:

whisking together sauce ingredients for green papaya slaw

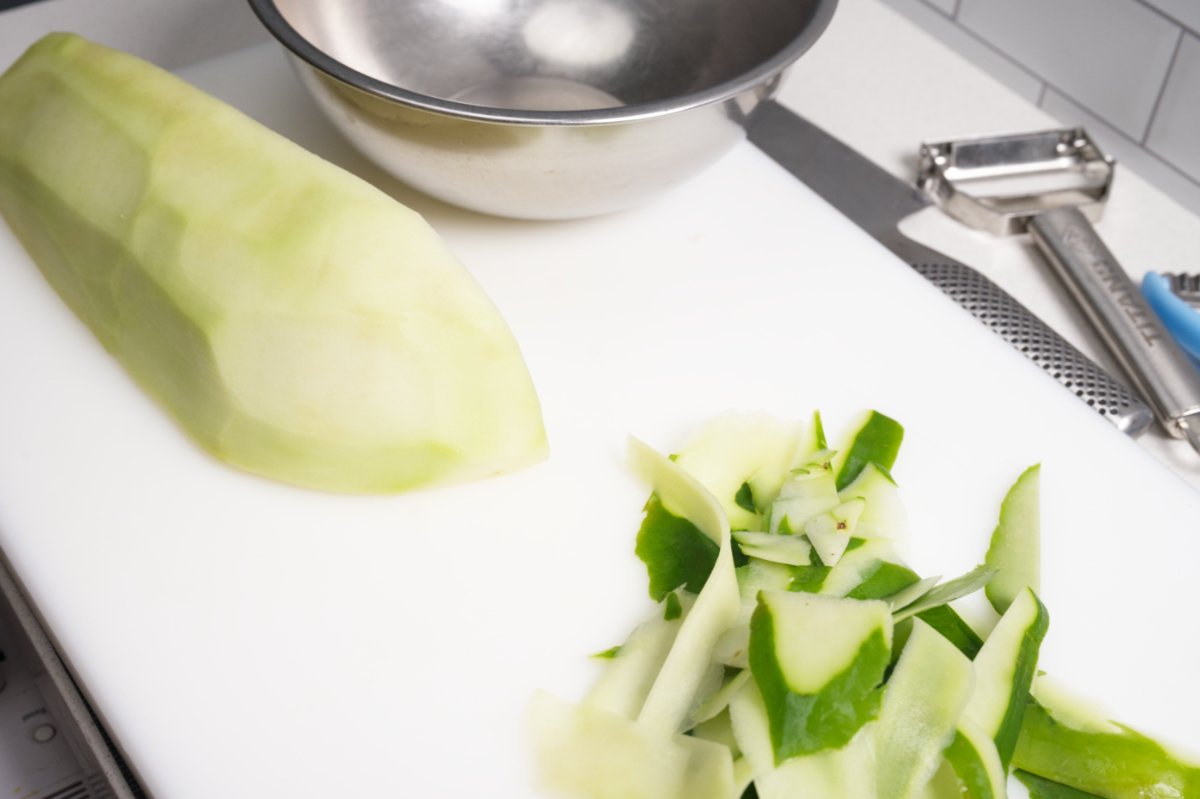
Set the dressing aside and then it’s time to prep the papaya. First remove the skin using a vegetable peeler:

peeling papaya for slaw

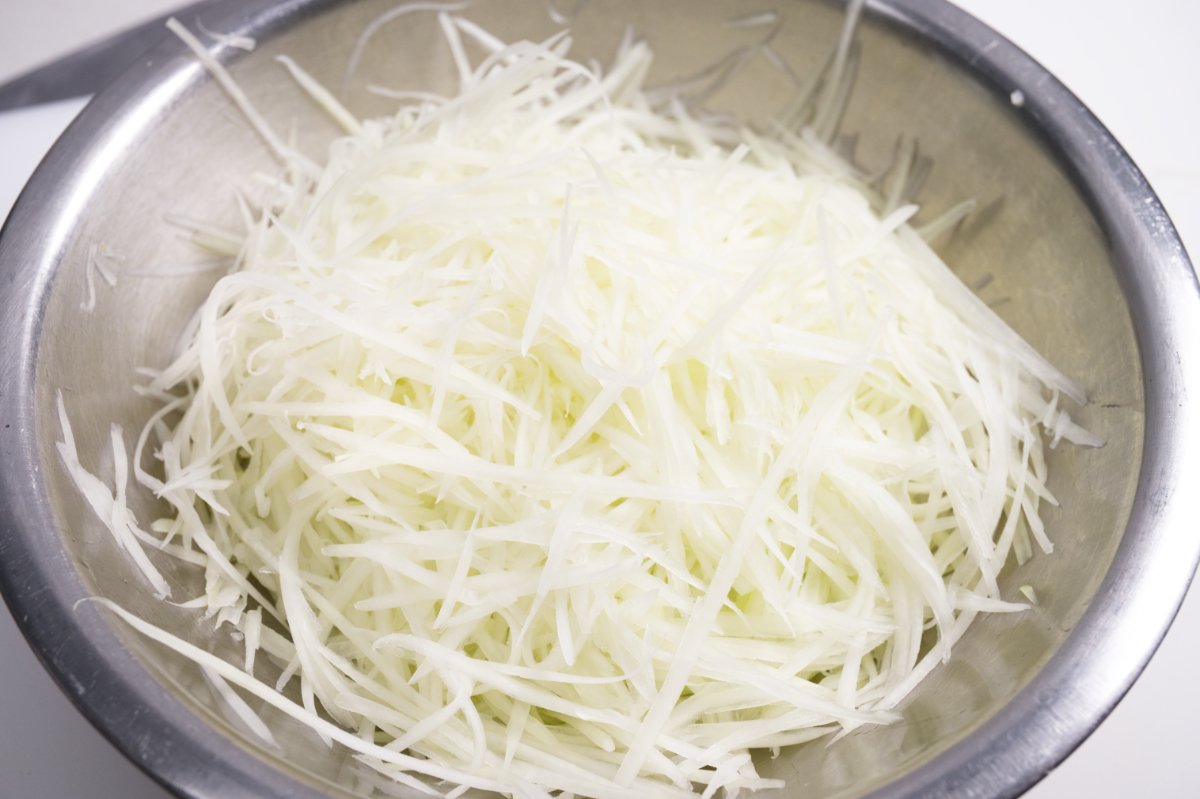
Then you need to shred the papaya into a large bowl. You can use a mandolin, or a julienne peeler, even a good old fashioned box grater:

shredding green papaya for slaw

bowl filled with shredded green papaya for slaw

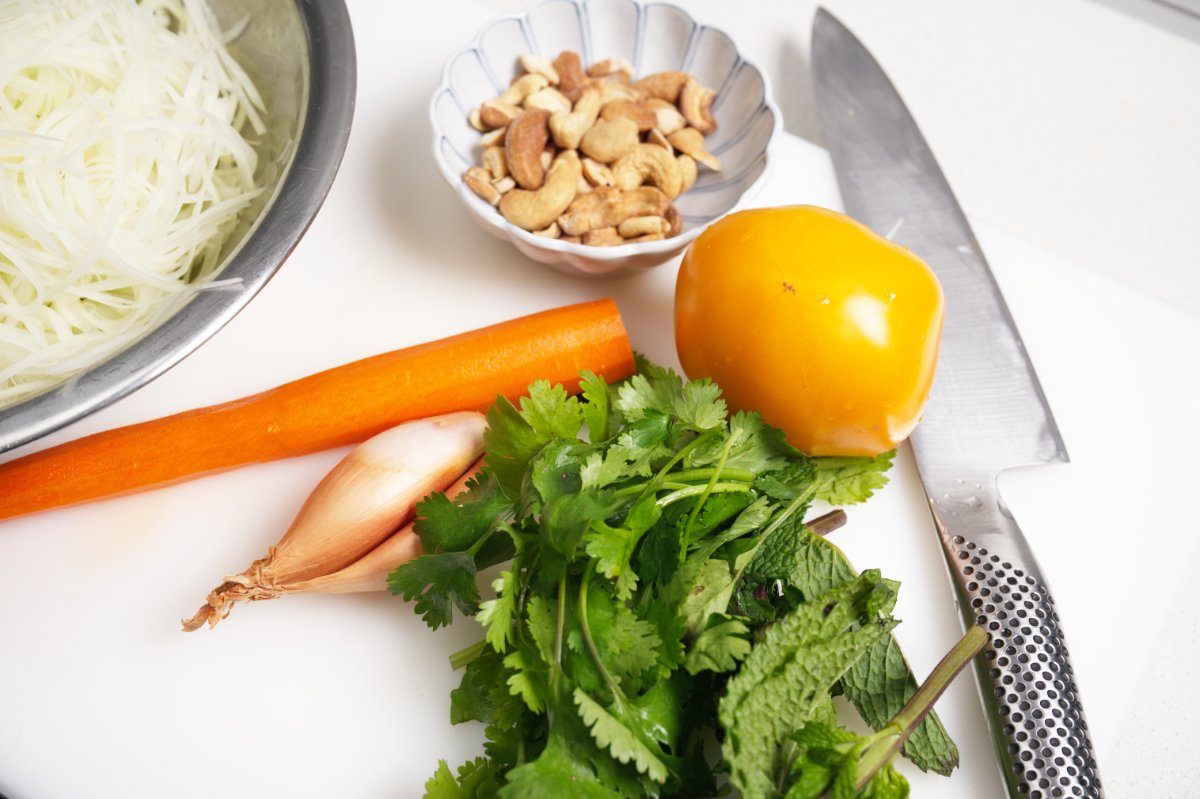
Once all the green papaya is shredded then it’s on to prepping the rest of the veggies.

pic of the rest of the veggies for green papaya slaw

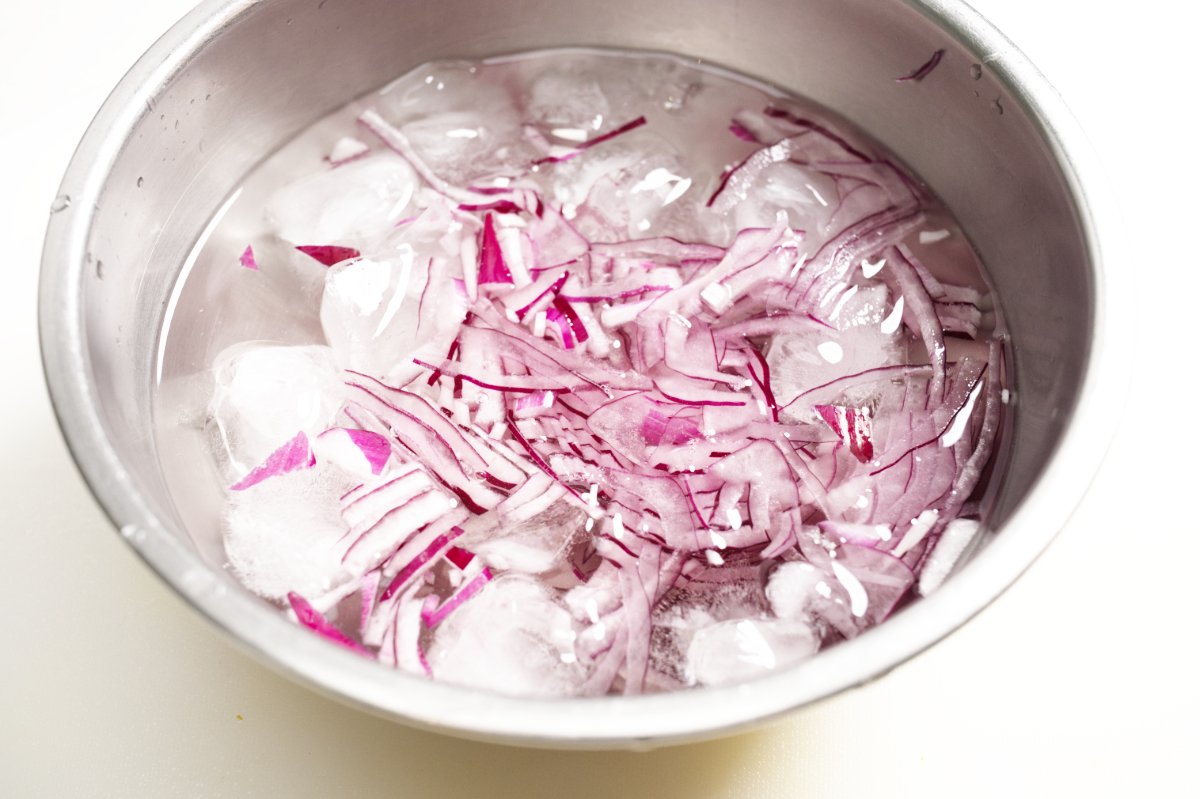
Thinly slice the shallot (or red onion) and soak it in ice water for 10 minutes. This will help to remove the sharp bite and give it a more mellow flavor.

soaking red onions

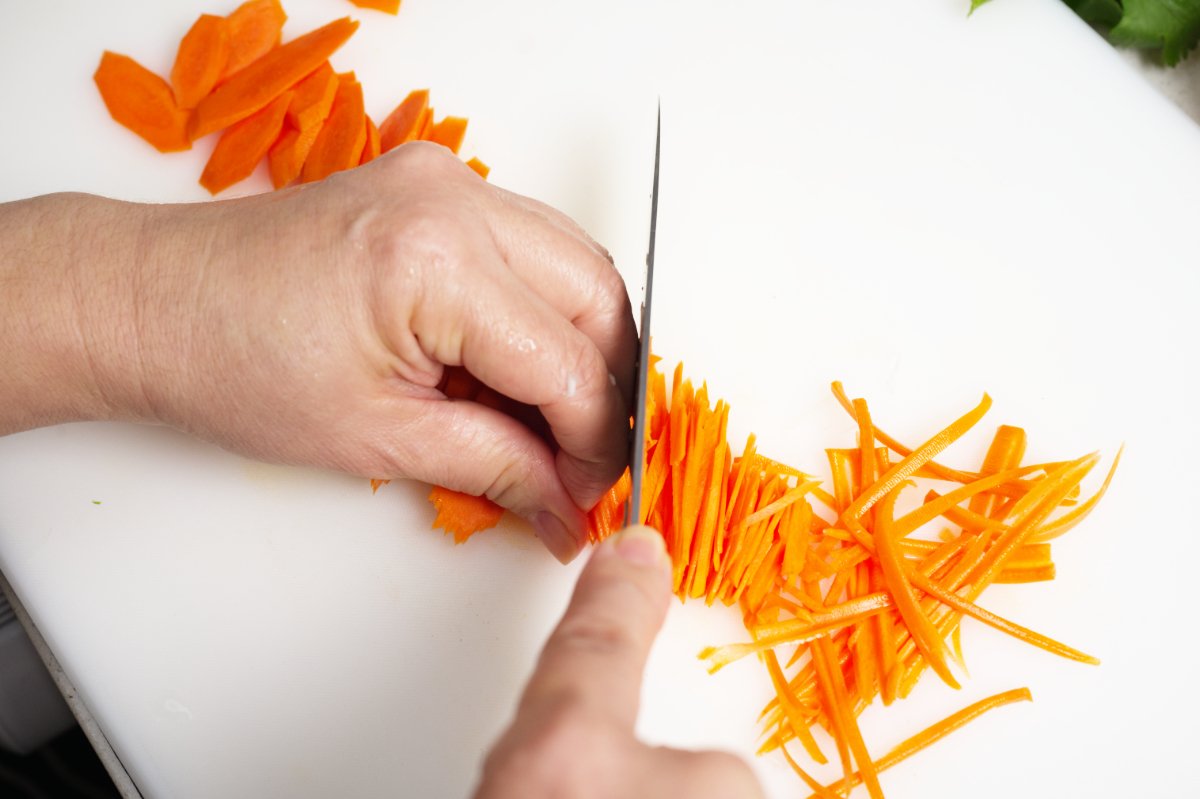
Cut the carrot into matchsticks:

slicing carrots

Scoop out the seeds from the yellow tomato and chop the fresh herbs and add it all to the bowl:

all the veggies and herbs in the bowl for green papaya slaw

Add the dressing:

add dressing to green papaya slaw

And give it a good toss:

tossing green papaya slaw with tongs

Pile Green Papaya Slaw on a serving platter and sprinkle the cashews on top:

This is best eaten right away, but leftover are still delicious over the next couple days.  You can also make this ahead of time, just keep the slaw and dressing separate and combine right before serving.

I hope this gets your year off to a fresh and satisfying start. Leave a comment down below and don’t forget to tag us in your pics @funkyasiankitchen!

And if you’re looking for more veg-forward dishes, check out my Miso Glazed Eggplant, Green Curry Tofu, or Yakimatsu.


Print
clock clock iconcutlery cutlery iconflag flag iconfolder folder iconinstagram instagram iconpinterest pinterest iconfacebook facebook iconprint print iconsquares squares iconheart heart iconheart solid heart solid icon

Green Papaya Slaw

  • Author: Funky Asian Kitchen
  • Prep Time: 25 minutes
  • Cook Time: 15 minutes
  • Total Time: 40 minutes
  • Yield: serves 4
  • Category: small plates, sides, salads
  • Cuisine: pan-Asian

Ingredients

Scale

For the salad:

  • 1 pound green papaya (half of a medium one)
  • 1 large shallot or ⅛ red onion, thinly sliced
  • 1 large yellow tomato
  • 1 medium carrot
  • ¼ cup toasted cashews, roughly chopped 
  • A small handful cilantro, mint, or combination, chopped

For the dressing:

  • 2 limes, juiced
  • 2 cloves garlic, minced
  • 1 teaspoon tumeric
  • 1 cup coconut milk
  • 2 teaspoons salt
  • ¼ teaspoon ground black pepper
  • 3 Tablespoons dark brown sugar


Instructions

Make the dressing:

Combine the lime juice, garlic, tumeric, coconut milk, salt, ground black pepper, and dark brown sugar in a cup. Use a whisk to mix well until the sugar is dissolved. Set aside.

Prepare the papaya:

Cut the papaya if you’re not using all of it. Wrap and refrigerate extra papaya (it will stay fresh for a week). Peel the skin and then use a mandoline, shredding peeler, or a grater to shred the papaya. Set aside in a large bowl.

Prepare the other veggies:

Soak the shallots or red onion in ice water for 10 minutes and drain well. Add the shallot to the papaya. Peel and trim the carrot. Then cut into matchsticks. Add it to the salad bowl. Cut the tomato in half horizontally and scoop out the seeds. Then slice the tomato thinly. Add it to the bowl along with the cashews and the cilantro.

Dress the salad:

Toss the vegetables so they are well combined. Pour the dressing over the salad and toss again. Plate the salad on a large platter or individually and serve green papaya slaw right away.


Notes

*If you would like to make the salad ahead of time, keep the dressing and salad refrigerated separately until ready to serve. Then pour the dressing and toss the salad right before serving.

*Leftovers keep well. The salad will wilt from the dressing but it will still taste great. Finish any leftovers within a couple of days.

Keywords: slaw, green papaya, vegan, plant based, veganuary, coconut, chilled, gluten free


Chilled Tofu Terrine

Chilled Tofu Terrine

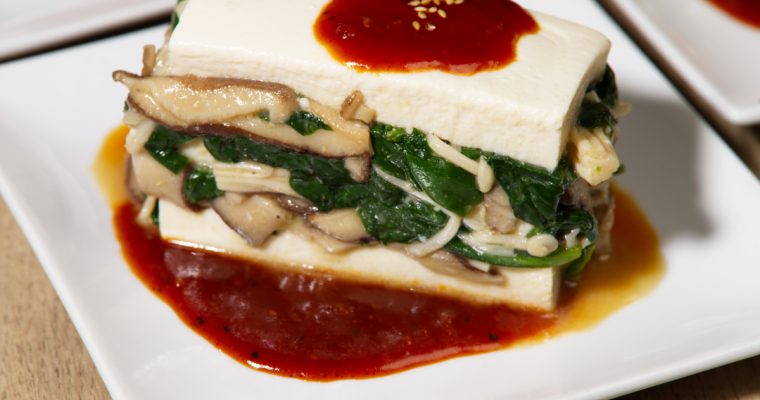
Chilled Tofu Terrine is one of those dishes that looks incredibly elegant, but is actually super simple to make. There’s no oven involved, barely any cooking, and it can be made ahead—perfect for warm weather days when the last thing you want is to stand read more

Crunchy Cabbage Slaw

Crunchy Cabbage Slaw

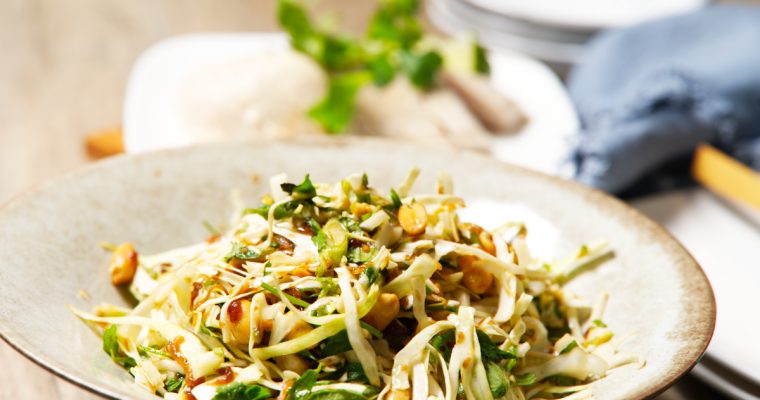
It may be February, but we are still rolling with the Veganuary/plant-based meals over here, and we have been loving this dish. If you’re looking for a fresh, crunchy side that comes together in minutes, this Vietnamese-inspired Crunchy Cabbage Slaw is it. Loaded with herbs, read more

Melting Broccoli

Melting Broccoli

Years ago, I stumbled across a recipe that suggested cooking broccoli in oil way past what you’d think was reasonable—until it melted in your mouth. Intrigued (I’m always on the hunt for new veggie sides to add to my arsenal), I gave it a shot. It ended up being…well, underwhelming. Most of the flavor had cooked out of the broccoli, leaving behind what felt like a big bowl of oil. But the concept had possibilities. After all, it’s basically the confit method of cooking—and be it duck, garlic, or tomatoes, I’ve rarely met a confit I didn’t like.

I started experimenting and tweaking and this Melting Broccoli is the result—and I think you’re going to love it, even if you’re not a broccoli fan. With just 5 minutes of hands-on time, you’re rewarded with tender, flavorful broccoli that’s leveled up with flavor bombs like crunchy sesame seeds and a glug of oyster sauce. It’s perfect as a veggie side, divine spooned onto noodles or toast, and equally delicious hot or at room temperature so let’s get into it!

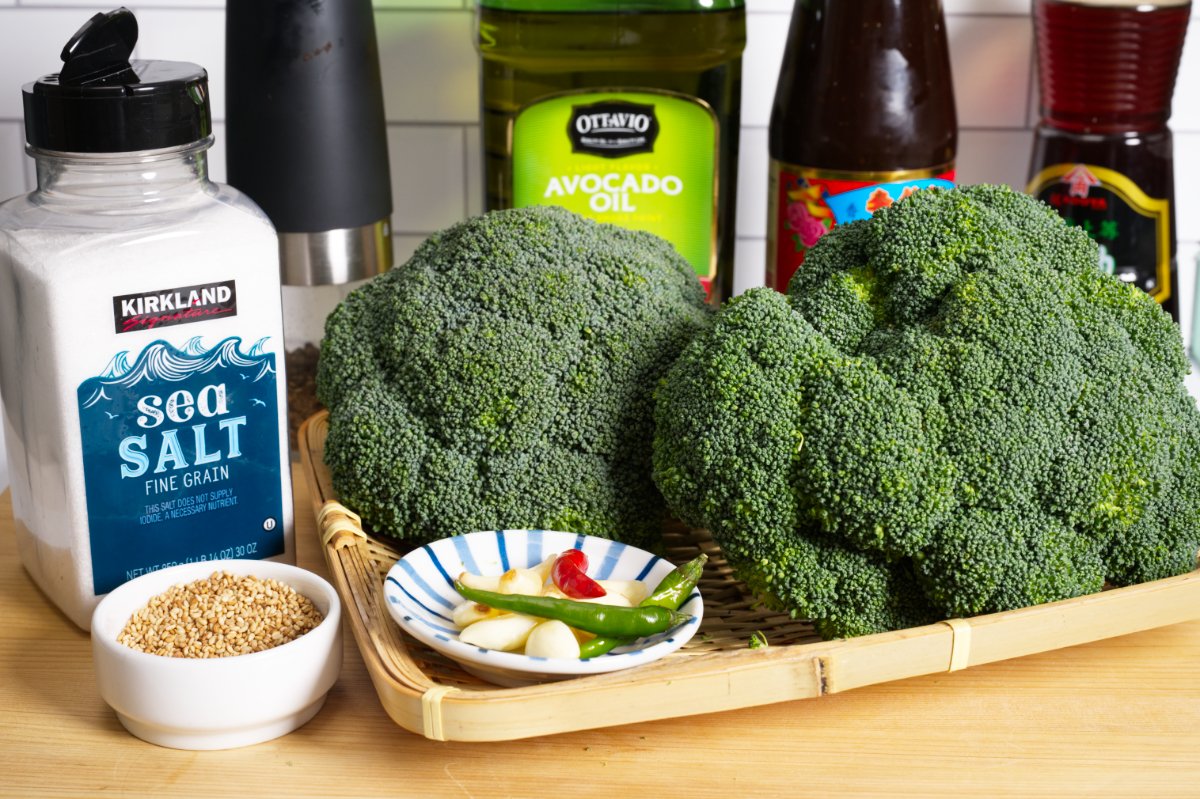
ingredient pic for melting broccoli

I start making Melting Broccoli by briefly boiling the broccoli before its oil bath. This gives it a head start at softening up a bit, imparts some moisture so it doesn’t dry up in the oven, and allows  it start to absorbing the flavors steeping in the oil right away.

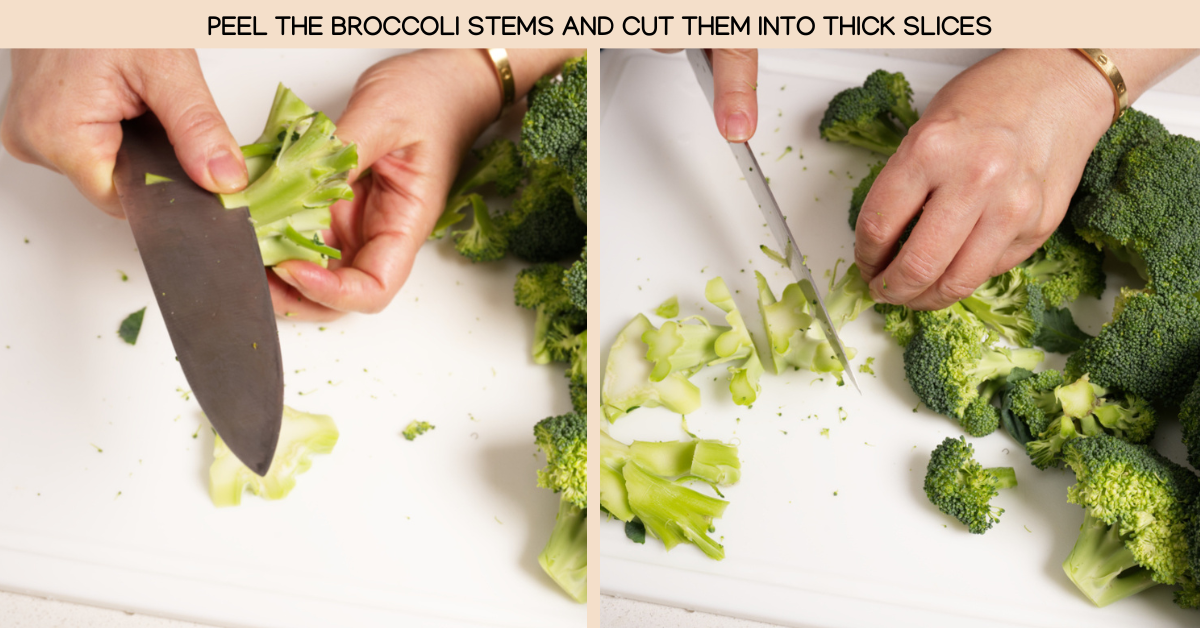
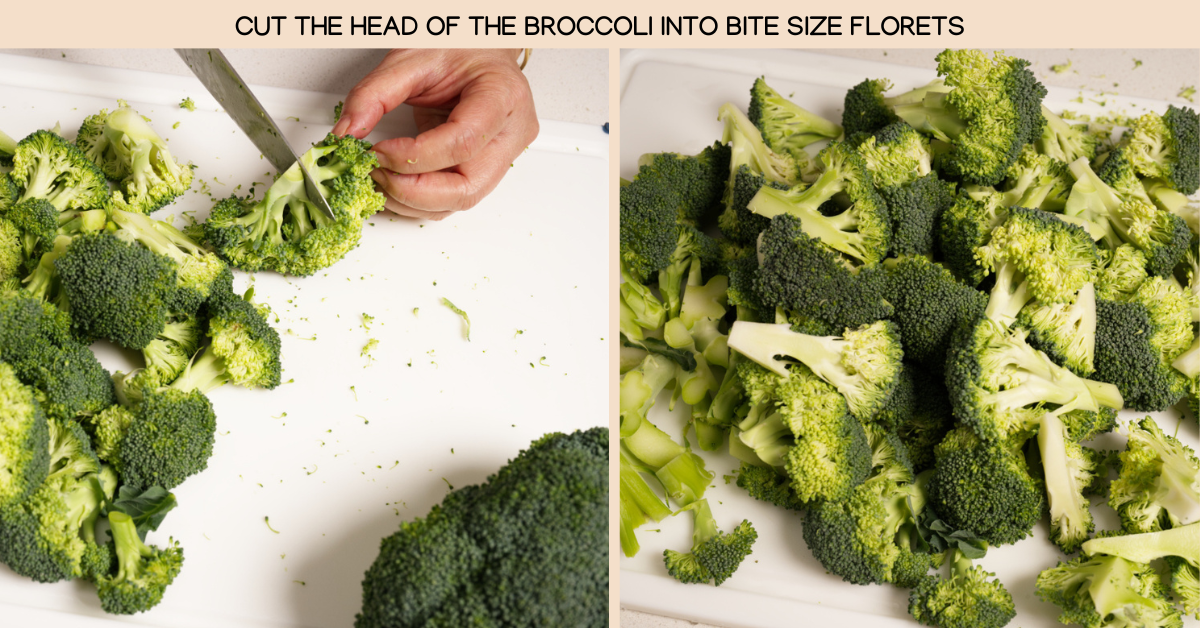
I chop the broccoli while waiting for the water to come to boil. Keep the pieces bite sized, using all of the broccoli-show those stems some love. Once peeled, the stems are just as delicious as the florets.

photo of chopping broccoli stems

photo of chopping broccoli into florets

photo adding veggies to boiling water

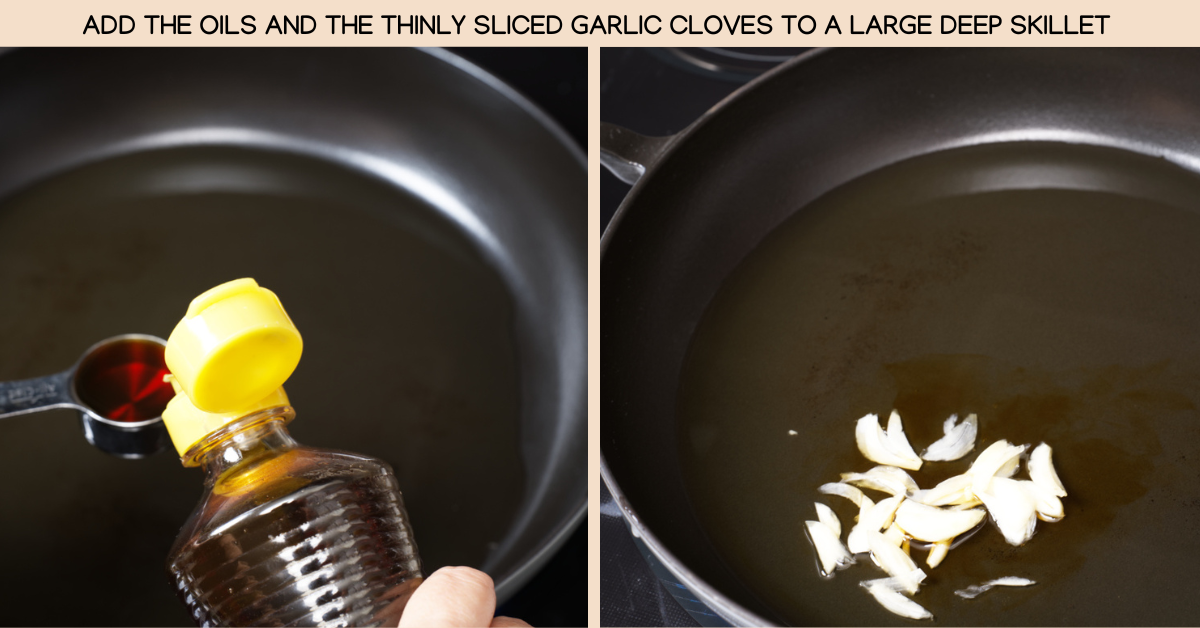
Then I drain the broccoli well and get started on making the sauce it’s going to cook in. I use only a fraction of the oil the original recipe called for, which is plenty to give it that soft texture we’re going for, and then I punch it up with aromatics and oyster sauce so the broccoli becomes deeply flavorful.

photo of adding oils and garlic to pan

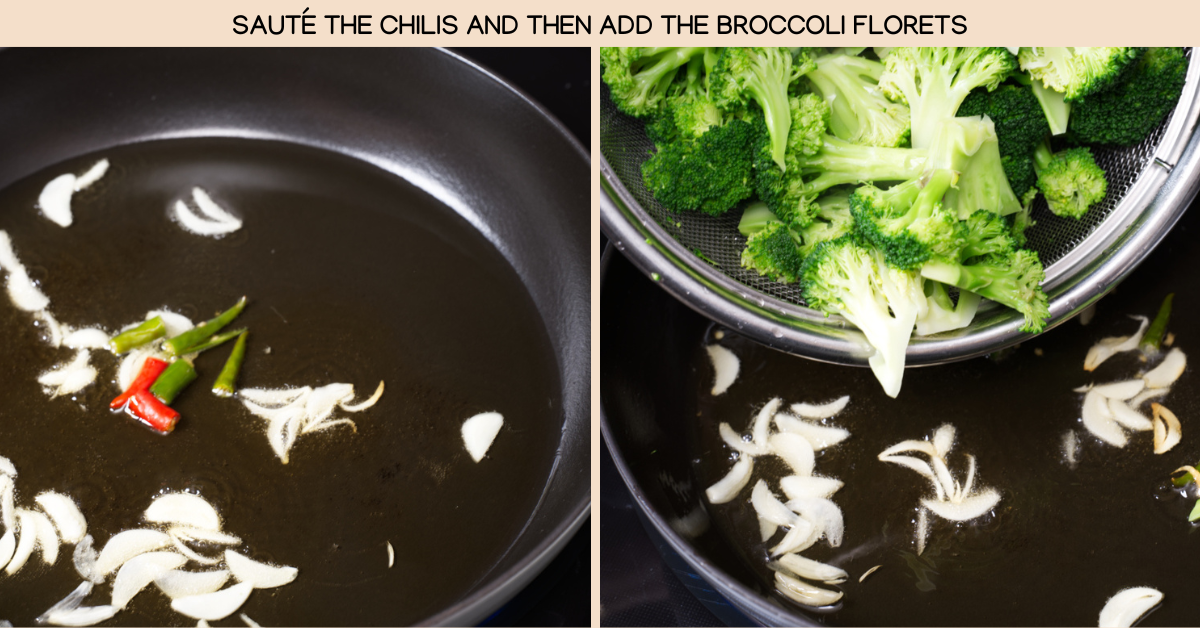
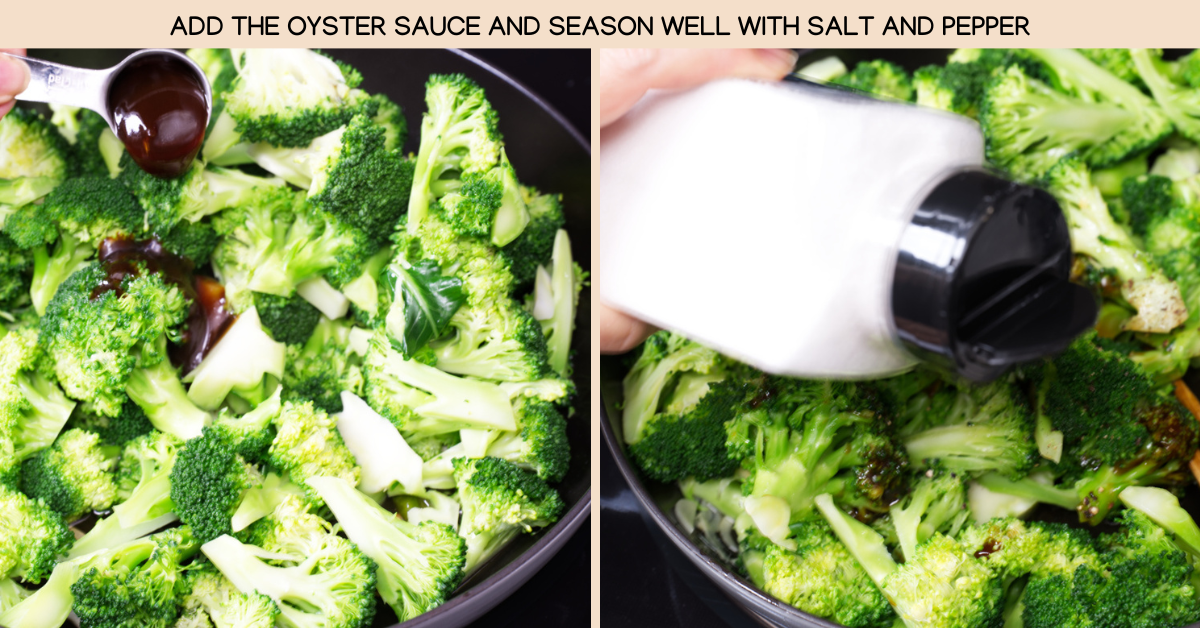
When the garlic starts to sizzle I layer more flavor with the chilis, before adding the broccoli and oyster sauce. If you want to make this vegan, seek out a vegan oyster sauce. It sounds counterintuitive but they do exist and they add tons of umami to plant based dishes.

photo of sauteing the chilis

photo adding oyster sauce and seasoning broccoli

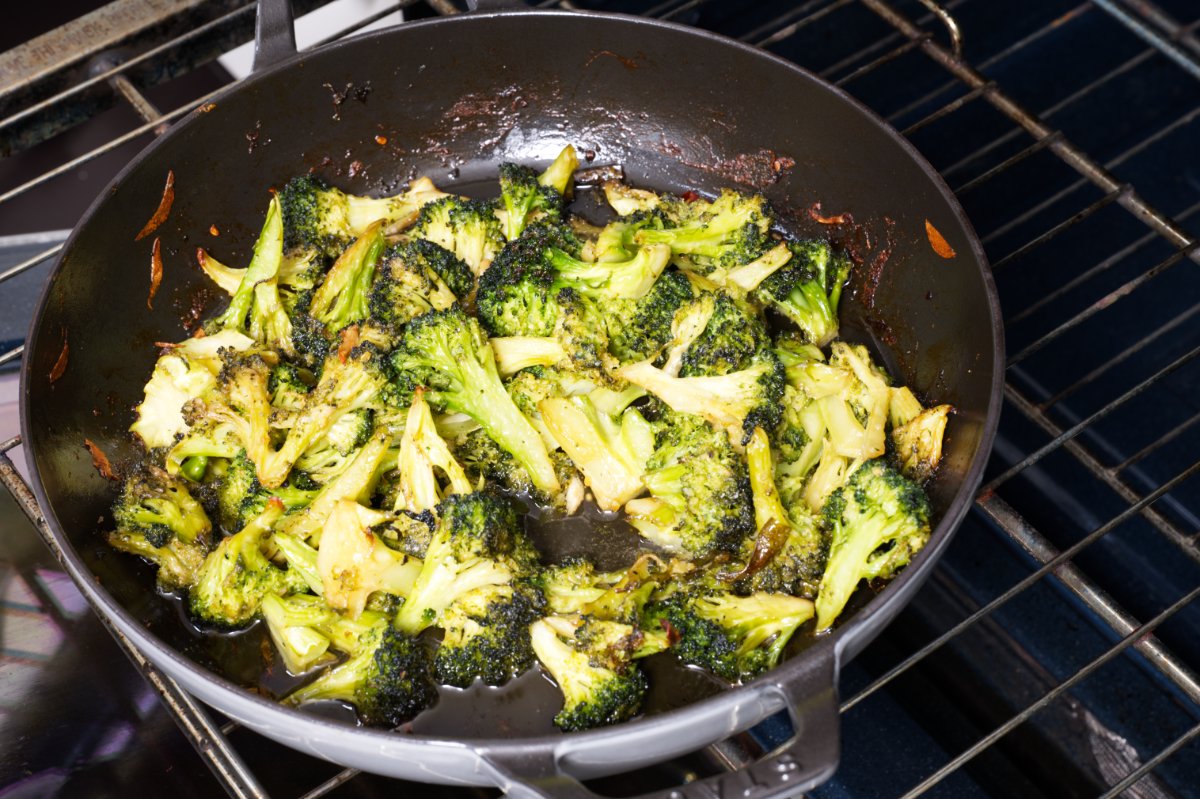
Now we just let time and heat work its magic. Slide the broccoli into the oven and let it cook for an hour, flipping the broccoli over once or twice so that it all gets cooked down in the flavorful sauce.

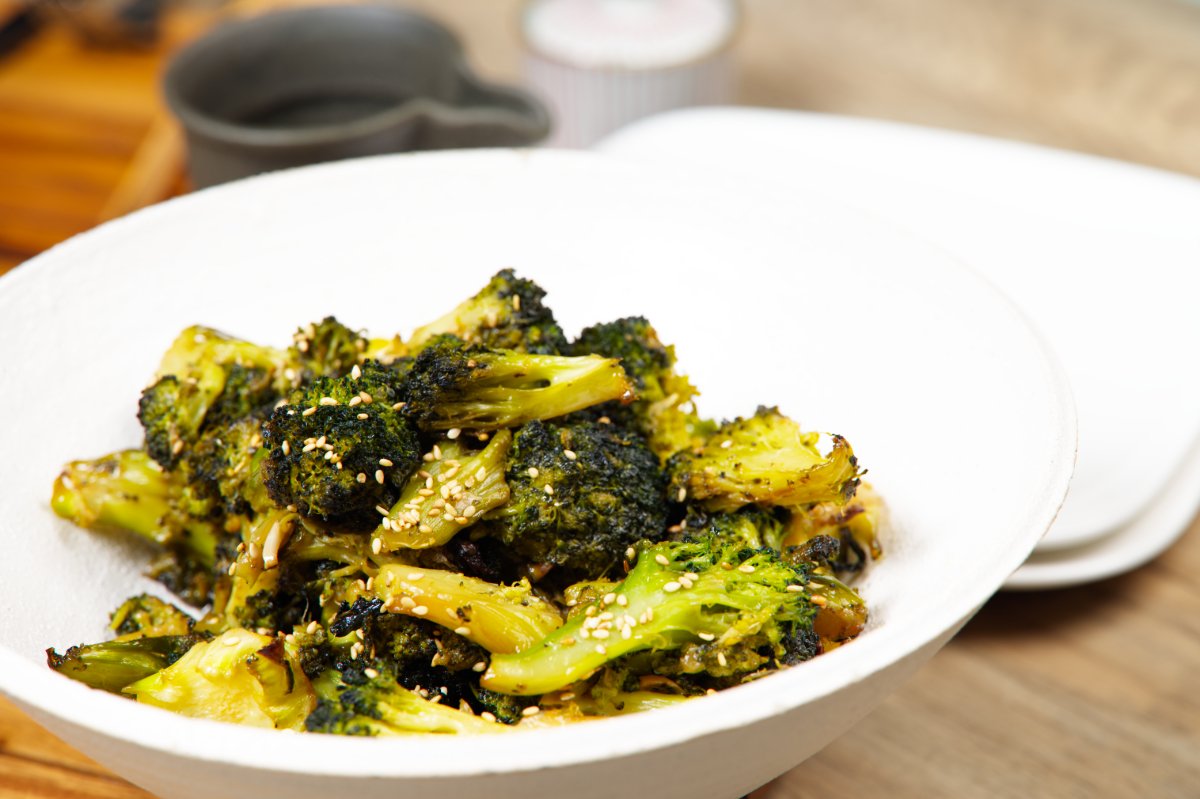
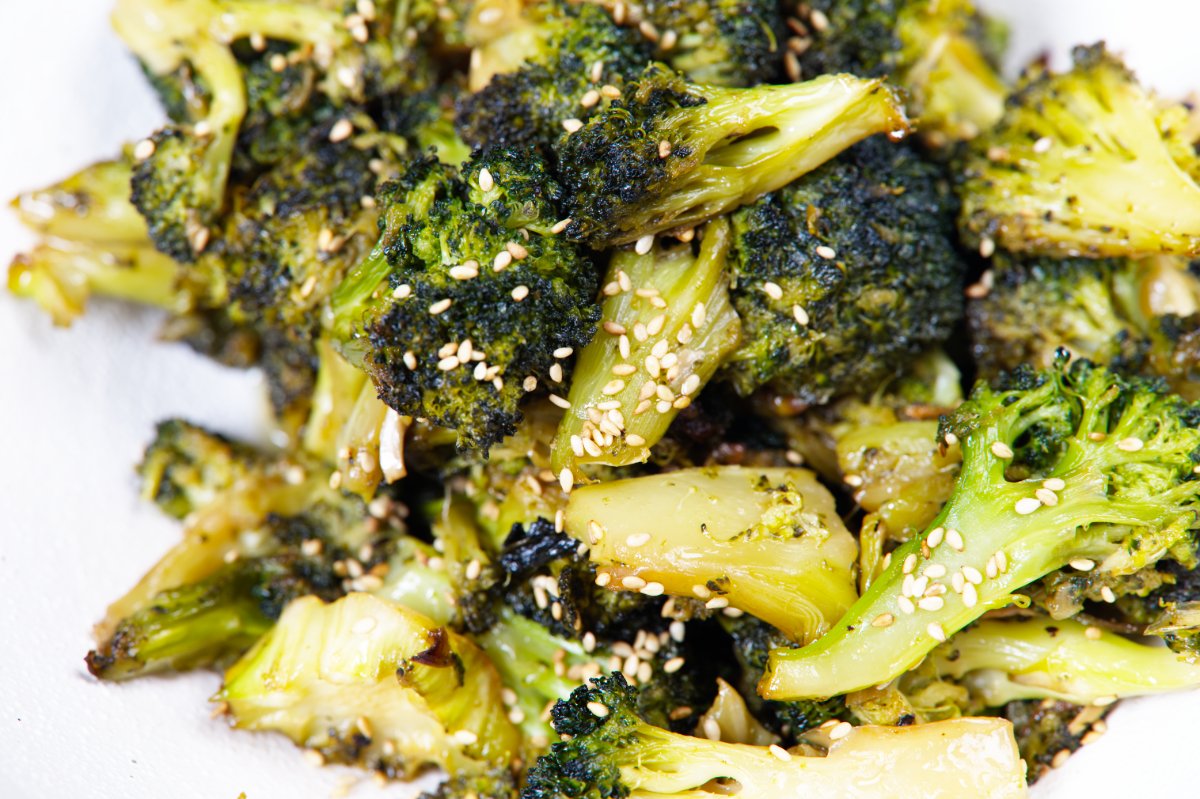
The broccoli will be incredibly tender when done, but still hold it’s shape, not a mush. I like to sprinkle some toasted sesame seeds on top to add little pops of crunch.

recipe card photo of melting broccoli

What I love most about this melting broccoli is how versatile it is. Use it as a veggie side dish, or give it the condiment treatment and pile it on a thick piece of toast.  I can’t wait to hear what you will do with it, and of course don’t forget to tag us in your photos @funkyasiankitchen, we love hearing from you!


Print
clock clock iconcutlery cutlery iconflag flag iconfolder folder iconinstagram instagram iconpinterest pinterest iconfacebook facebook iconprint print iconsquares squares iconheart heart iconheart solid heart solid icon
recipe card photo of melting broccoli

Melting Broccoli

  • Author: Funky Asian Kitchen
  • Prep Time: 10 minutes
  • Cook Time: 1 hour
  • Total Time: 1 hour 10 minutes
  • Yield: serves 4
  • Category: small plates, sides
  • Cuisine: Chinese

Ingredients

Scale
  • 2 bunches (about 2 pounds) broccoli
  • 1/4 cup neutral oil
  • 1 Tablespoon toasted sesame oil
  • 4 garlic cloves, sliced
  • 2 small hot chilis, halved lengthwise (green Thai chilis, jalapeno, various dried ones, or even just a big pinch of crushed red pepper flakes)
  • 2 Tablespoons oyster sauce
  • Sea salt and freshly ground black pepper to taste
  • 2 teaspoons toasted sesame seeds

Instructions

  1. Preheat the oven to 300 degrees.
  2. Bring a large pot of water to a boil.
  3. While the water is heating, cut bite sized florets off the broccoli. Peel the stems and cut them into thick slices.
  4. When the water comes to a boil, add the broccoli and stir. Cook the broccoli for 2 minutes. Drain well.
  5. Put the oil, sesame oil, and garlic in a large deep skillet (oven safe) over medium heat. When the garlic starts to sizzle, add the hot peppers and stir. Add the oyster sauce and broccoli, and season with salt and ground pepper, and stir well. 
  6. Place the skillet in the oven and cook for about one hour, gently flipping the broccoli once or twice during cooking. It will be very tender when done. Taste and adjust seasoning as needed.
  7. Transfer the melting broccoli to a serving dish and serve. It is delicious hot or at room temperature.

Keywords: broccoli, oyster sauce, veggie sides,