Category: Quick

Coconut Tapioca

Coconut Tapioca

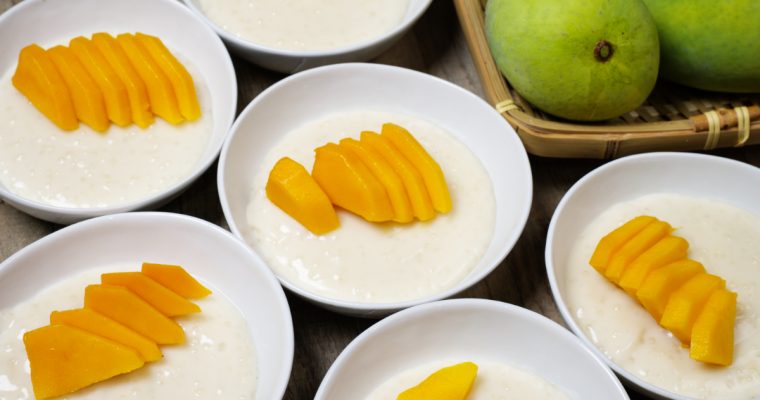
If the only tapioca pudding you’ve had is from a plastic cup, my version is about to blow your mind. Creamy, lightly sweet, and made with coconut milk, this Coconut Tapioca is a simple, chilled dessert that feels both comforting and tropical—especially when you top read more
Strawberries and Milk

Strawberries and Milk

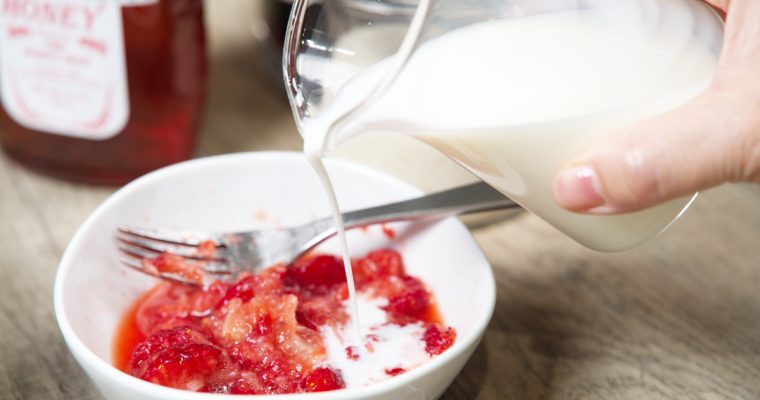
I used to think my mom made this up. When I was little, she’d serve us bowls of strawberries and let us mash them up, drizzle in a little honey or a sprinkling of sugar, and pour cold milk over the whole thing. The strawberries read more
Chilled Tofu Terrine

Chilled Tofu Terrine

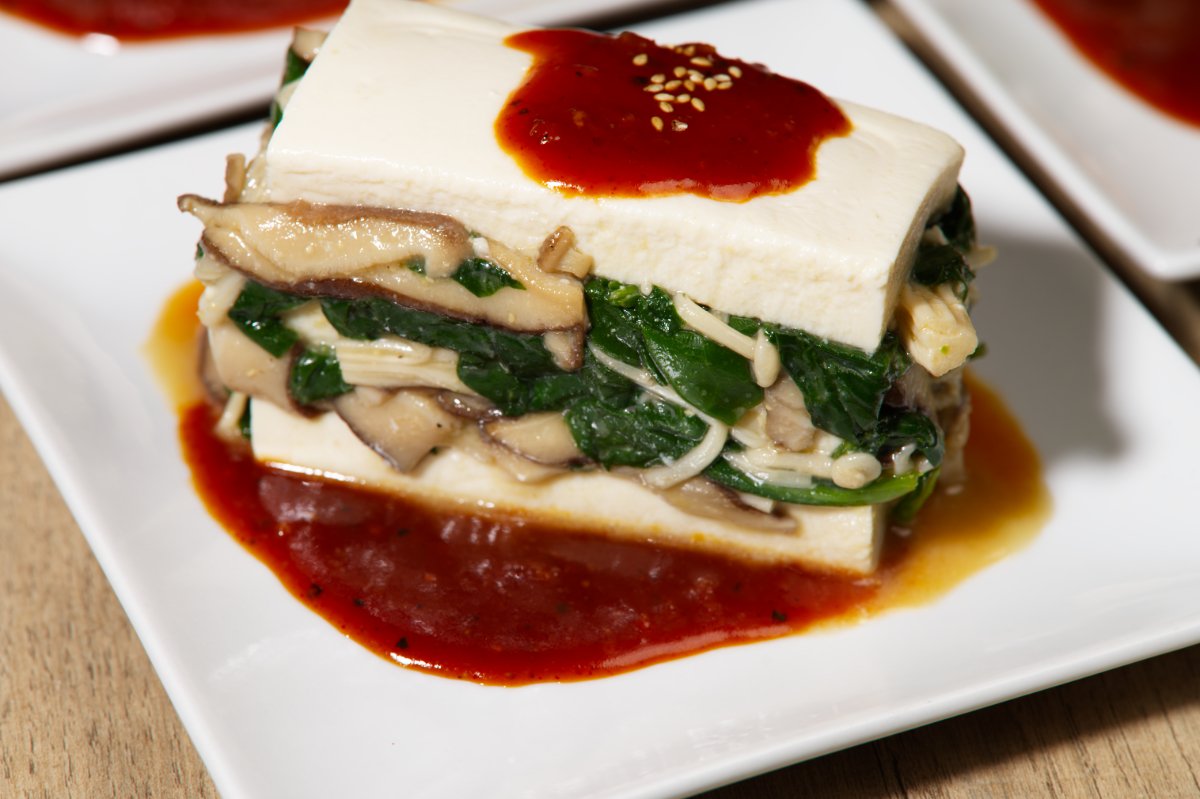
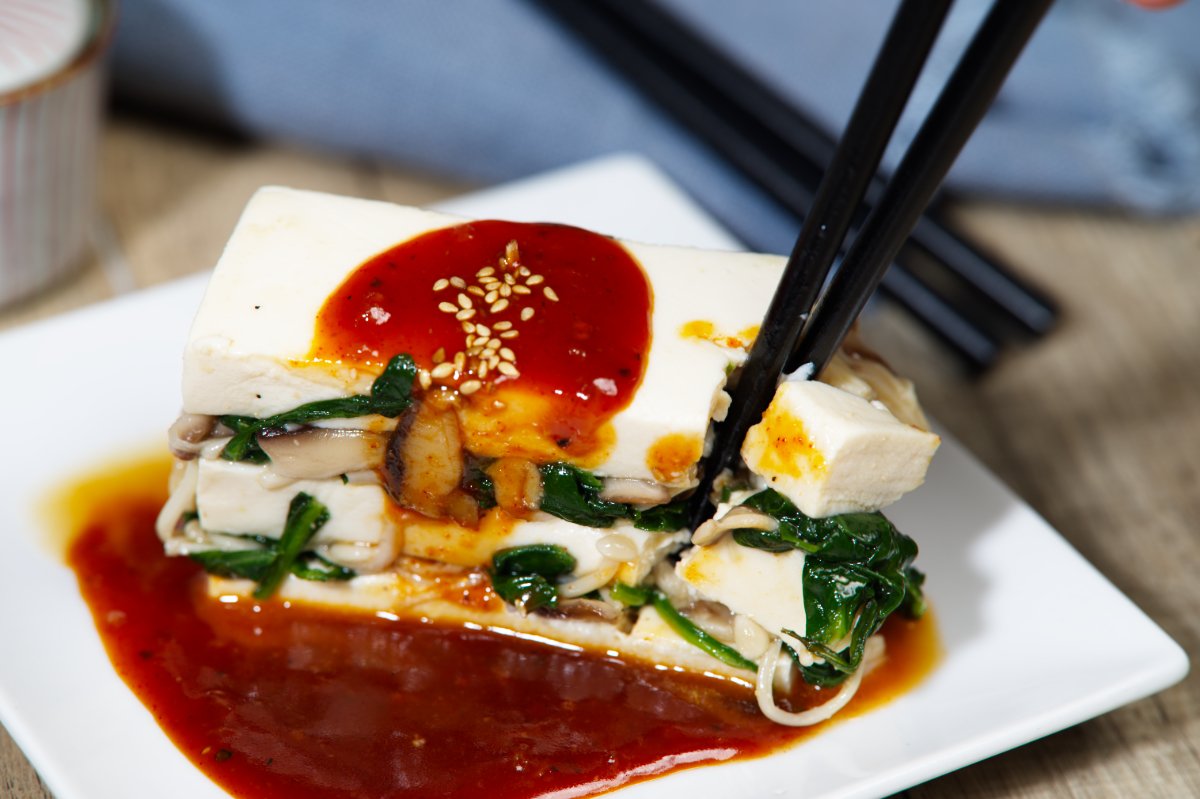
Chilled Tofu Terrine is one of those dishes that looks incredibly elegant, but is actually super simple to make. There’s no oven involved, barely any cooking, and it can be made ahead—perfect for warm weather days when the last thing you want is to stand over a hot stove. Living in Florida, I’m always on the lookout for light, refreshing dishes that won’t heat up the kitchen, especially during the hottest days of summer. This terrine layers silken tofu with a savory filling of sautéed mushrooms, spinach, and miso. “Terrine” usually refers to a French dish that’s layered and pressed into a mold, often served cold. This version skips the mold and meat, but keeps the layered, make-ahead vibe—with tofu standing in as the perfect cool, creamy base. Once chilled, it firms up beautifully and slices cleanly into elegant, savory stacks—cool, refreshing, and full of flavor.

Then just before serving, the Chilled Tofu Terrine gets zhushed up with a punchy sauce made from gochujang, miso, garlic, and sesame oil that gets drizzled over the top. It’s bold, garlicky, and packed with umami; the perfect contrast to the cool, creamy tofu. I love serving this as a make-ahead appetizer, a light lunch, or part of a small dinner spread. It’s plant-based, fridge-friendly, and perfect for keeping cool while still eating well. Perfect for entertaining or as a make-ahead meal when it’s too hot to cook, so let’s get into it.

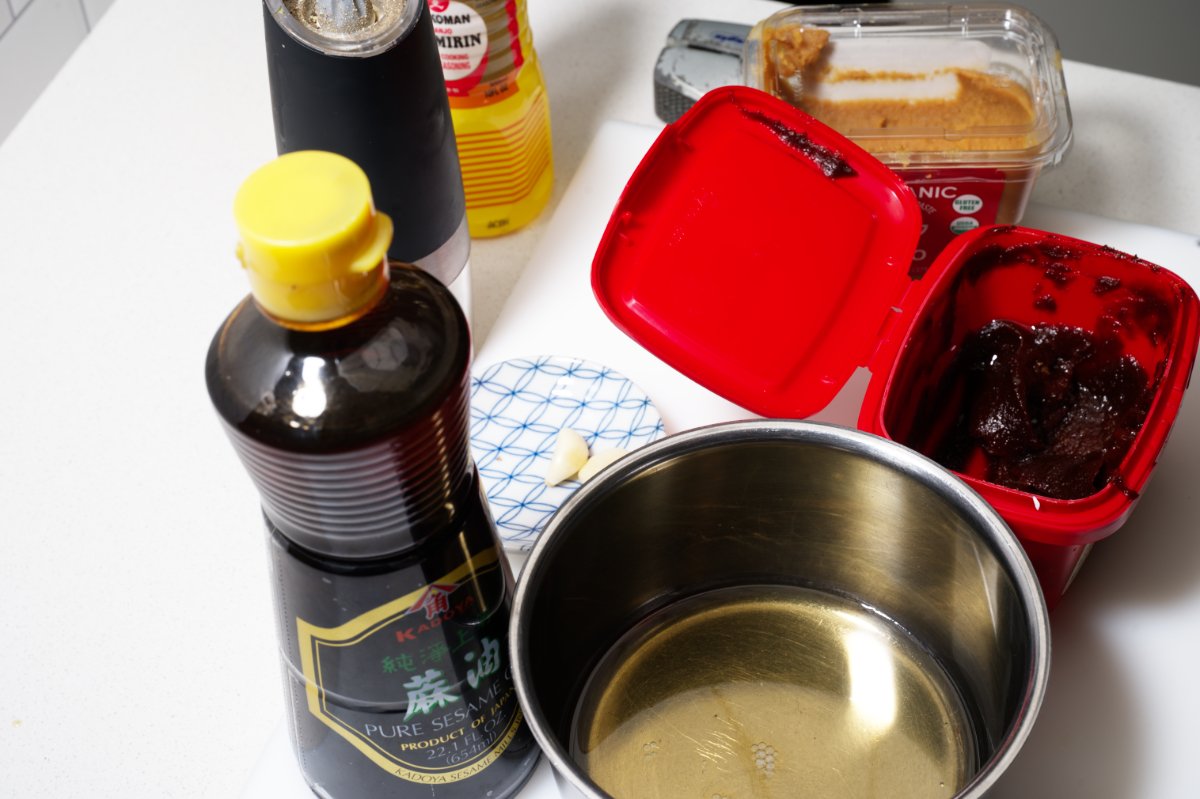
ingredients for chilled tofu terrine

I start making my Chilled Tofu Terrine by making the magical sauce. It’s the kind of sauce that makes you want to eat it with a spoon, so feel free to make a double batch. Drizzle it over fried eggs, chilled soba noodles, or even use it as a sandwich spread.

Making it is as simple as bringing all the ingredients to a simmer and then chilling it.

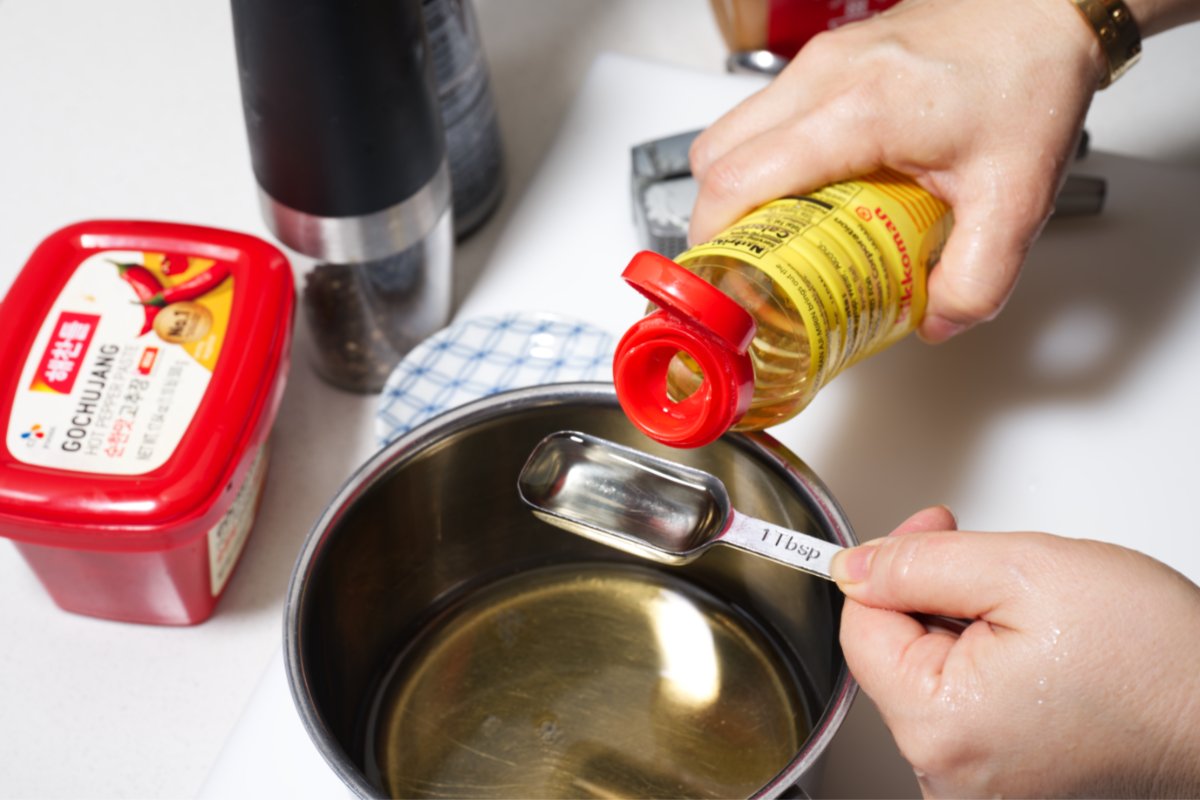
First I add the mirin:

adding mirin to saucepan for chilled tofu terrine

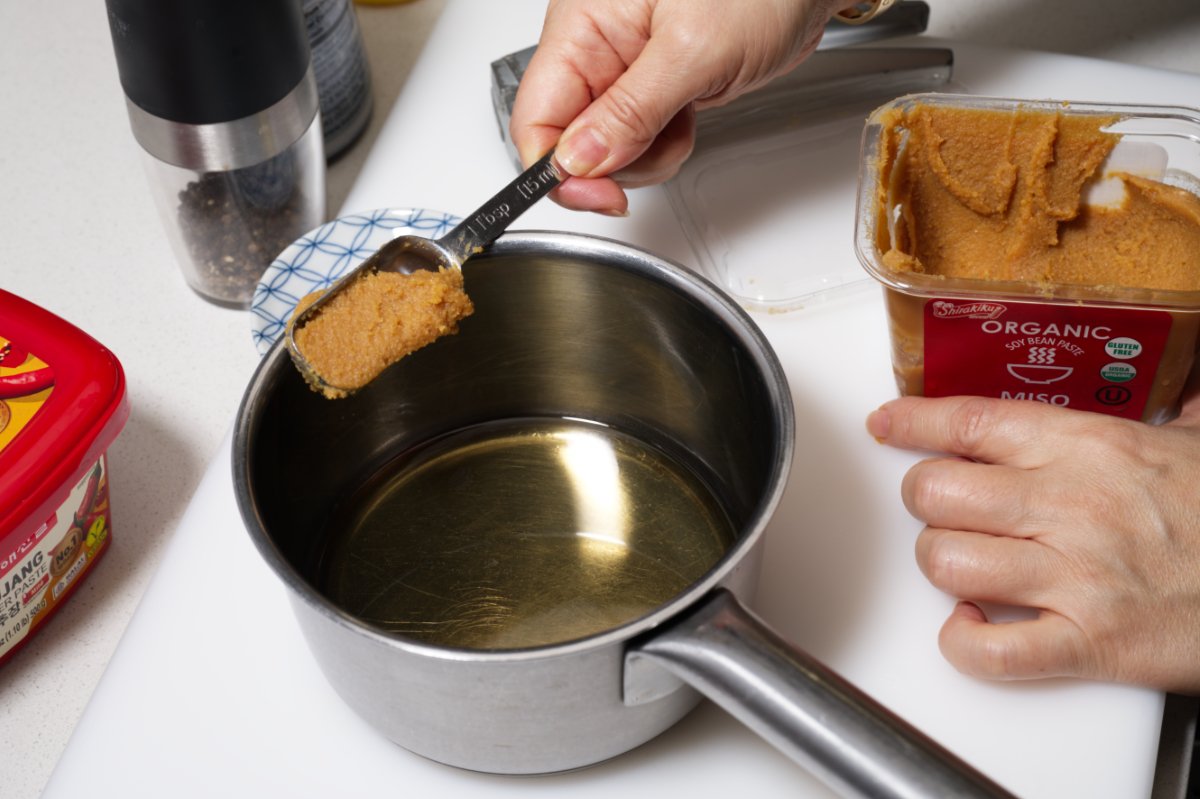
Then the miso, you can use any color you  have on hand:

adding miso to chilled tofu terrine sauce

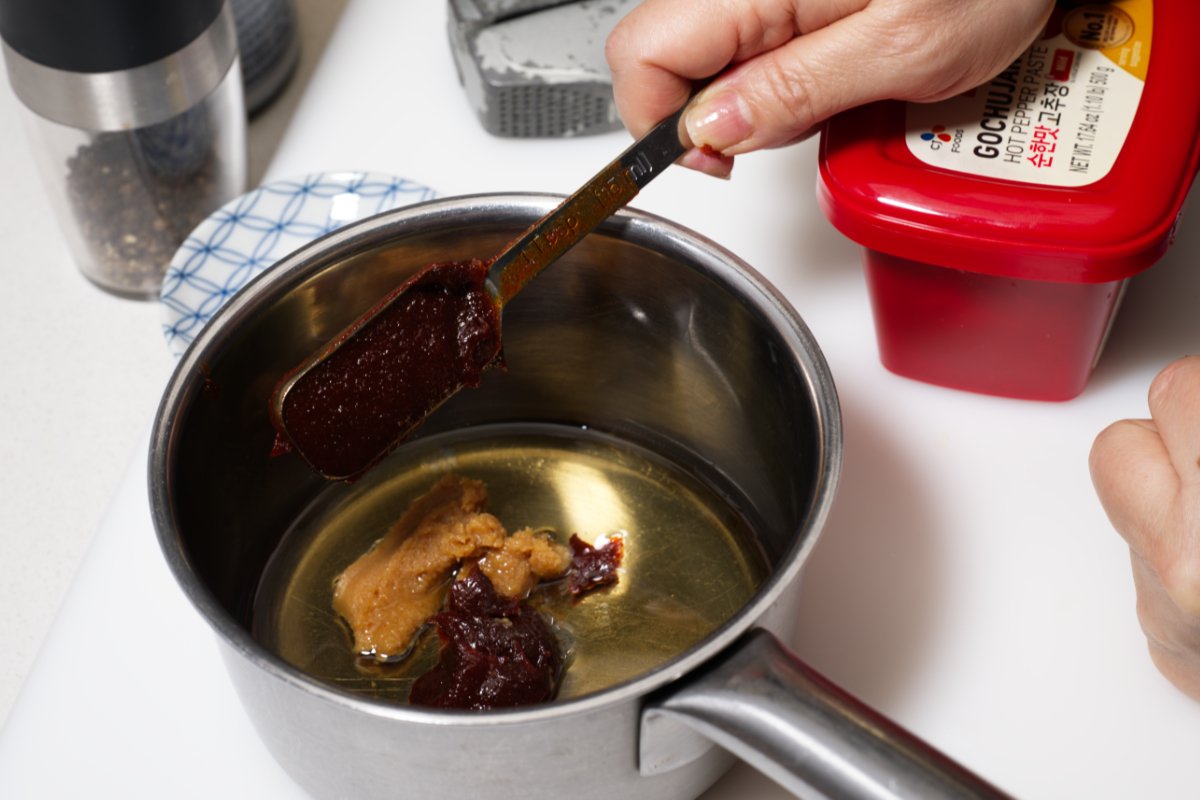
Then comes the gochujang:

adding gochujang to terrine sauce

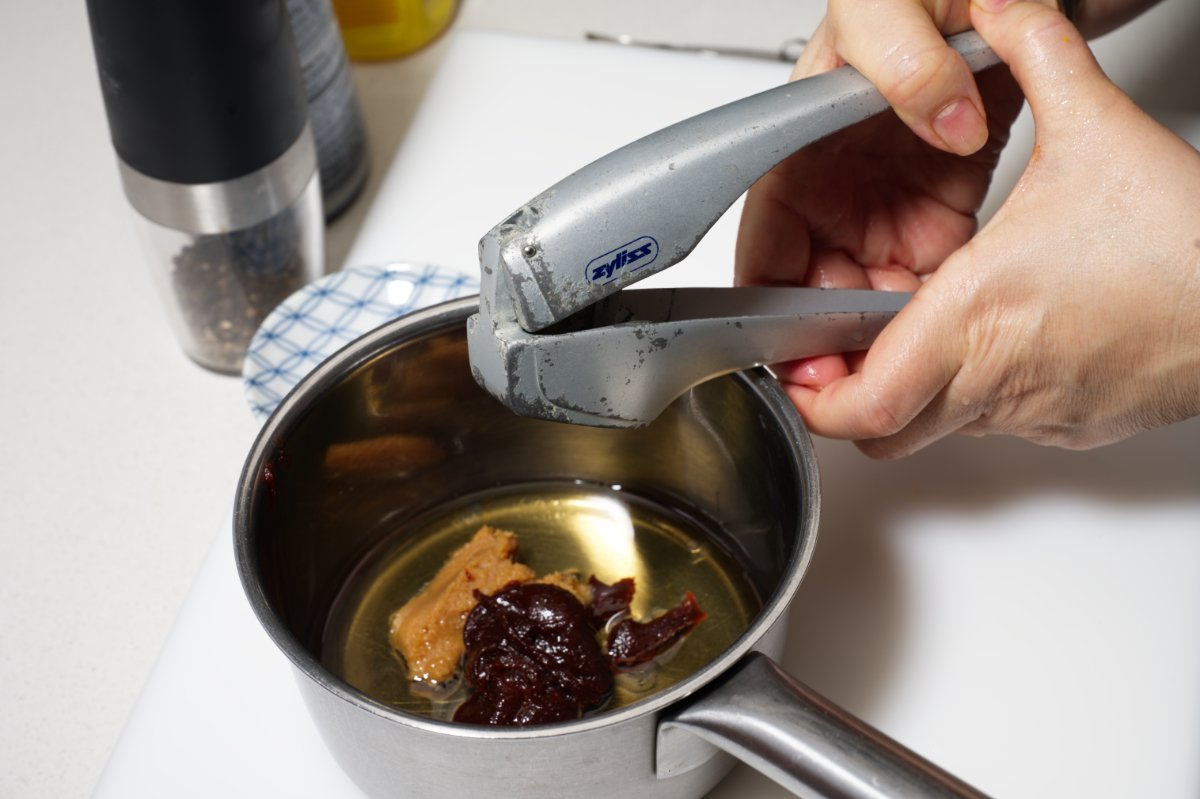
A little freshly minced garlic:

mincing garlic into chilled tofu terrine sauce

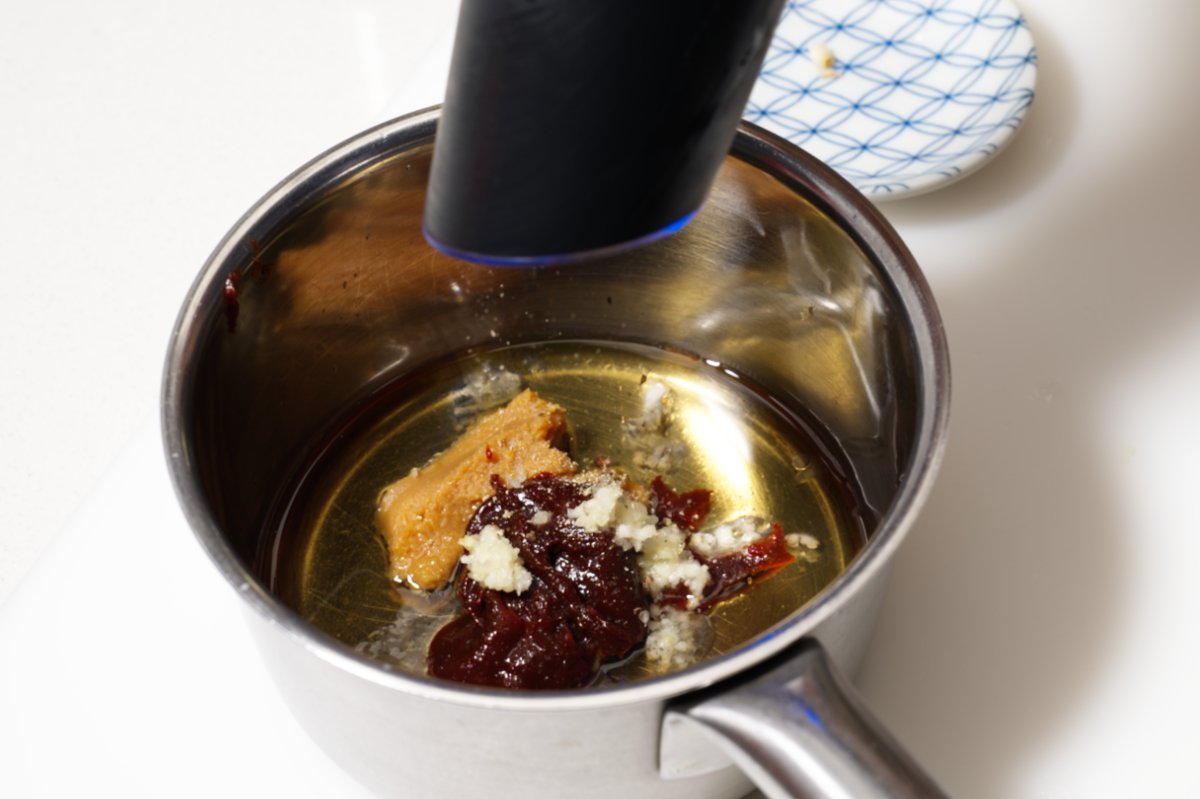
And finally some freshly ground black pepper:

grinding black pepper into sauce

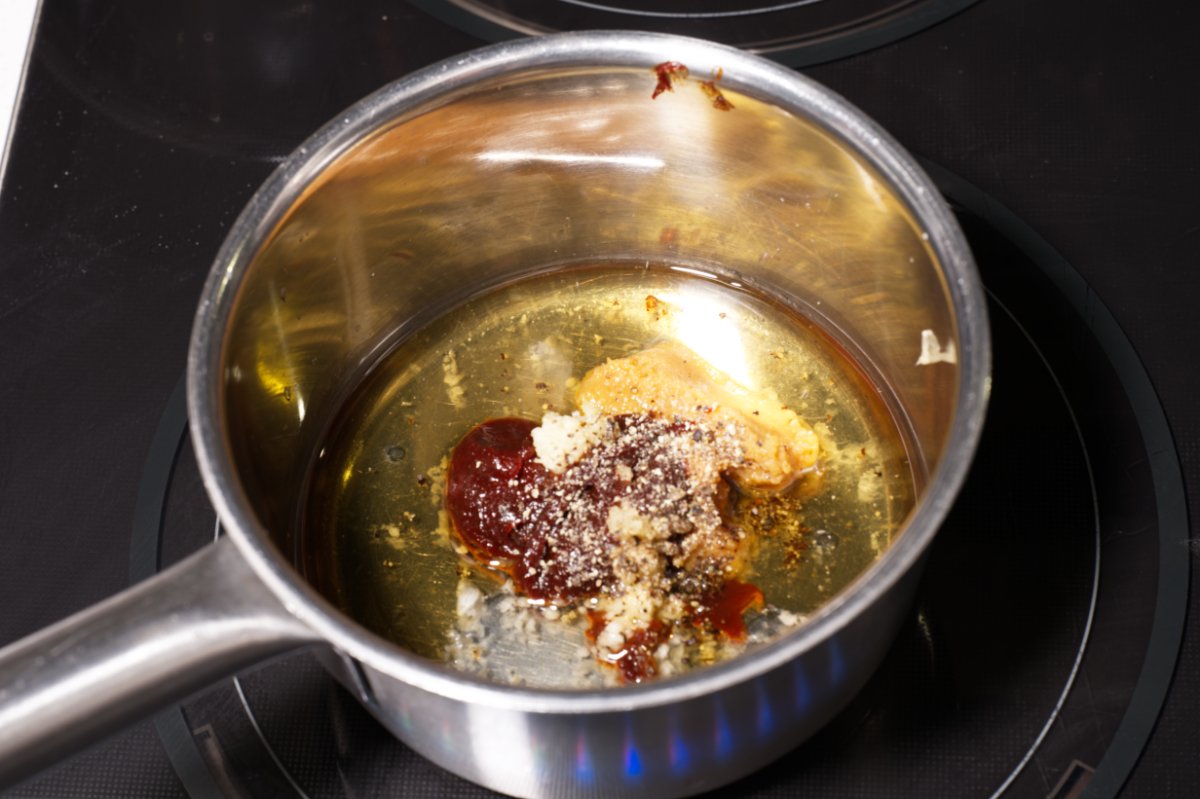
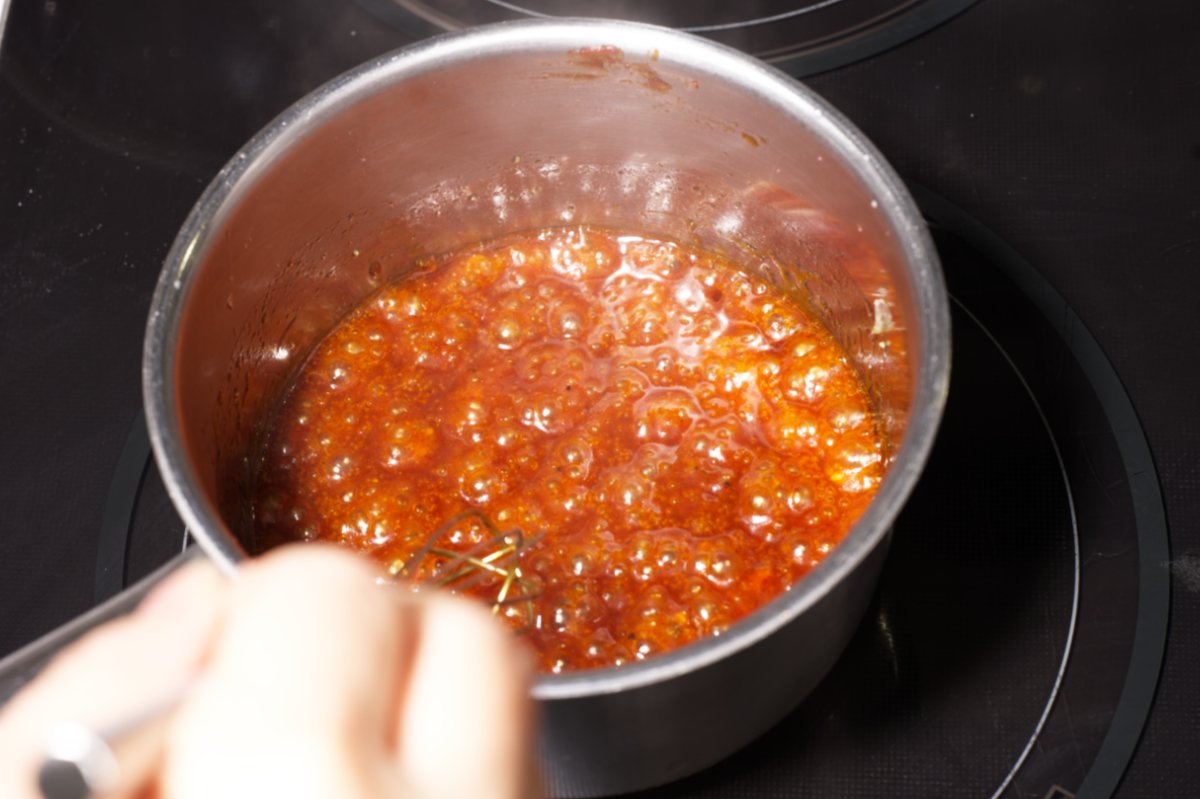
Then I just bring it to a simmer:

bring tofu terrine sauce to a simmer

Once it starts to simmer I take it off the heat, let it cool down to room temperature, and then chill it in the fridge. Then it’s time to make the filling for the chilled tofu terrine.

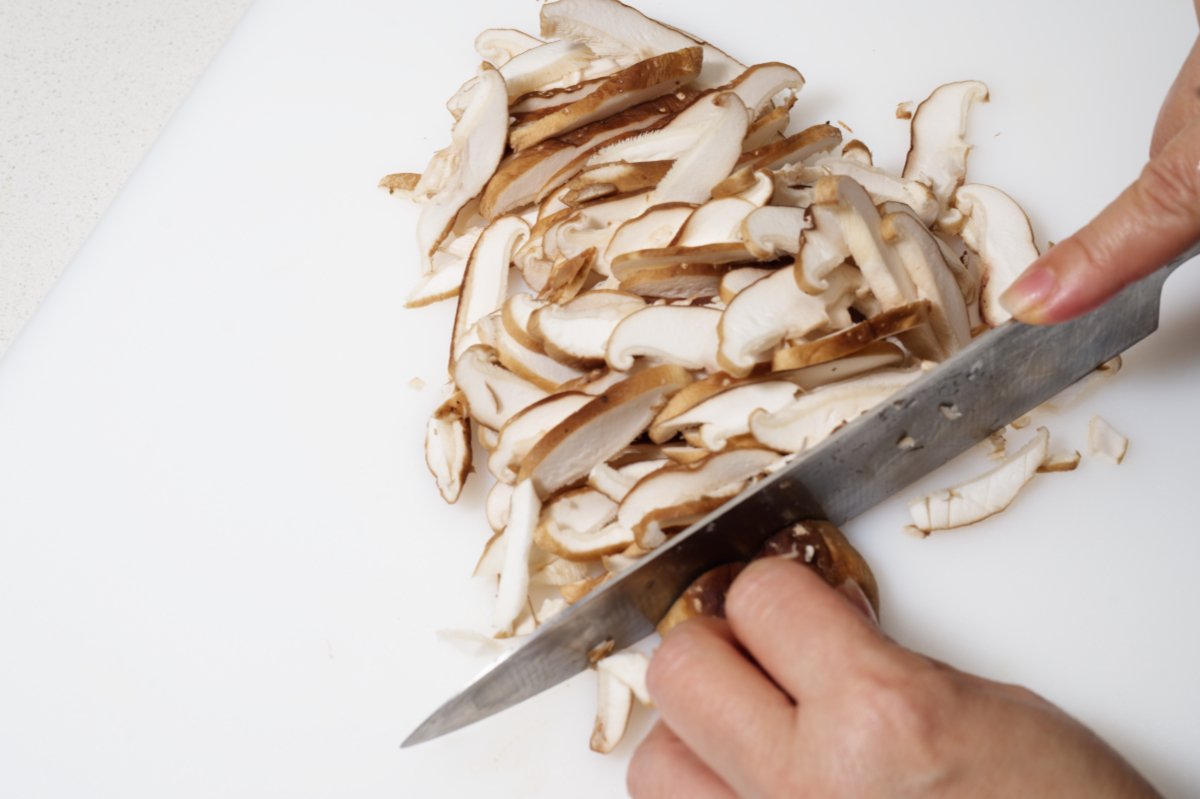
Remove the woody stem from the shiitakes and slice them:

removing stem from shiitakes for chilled tofu

slicing shiitakes

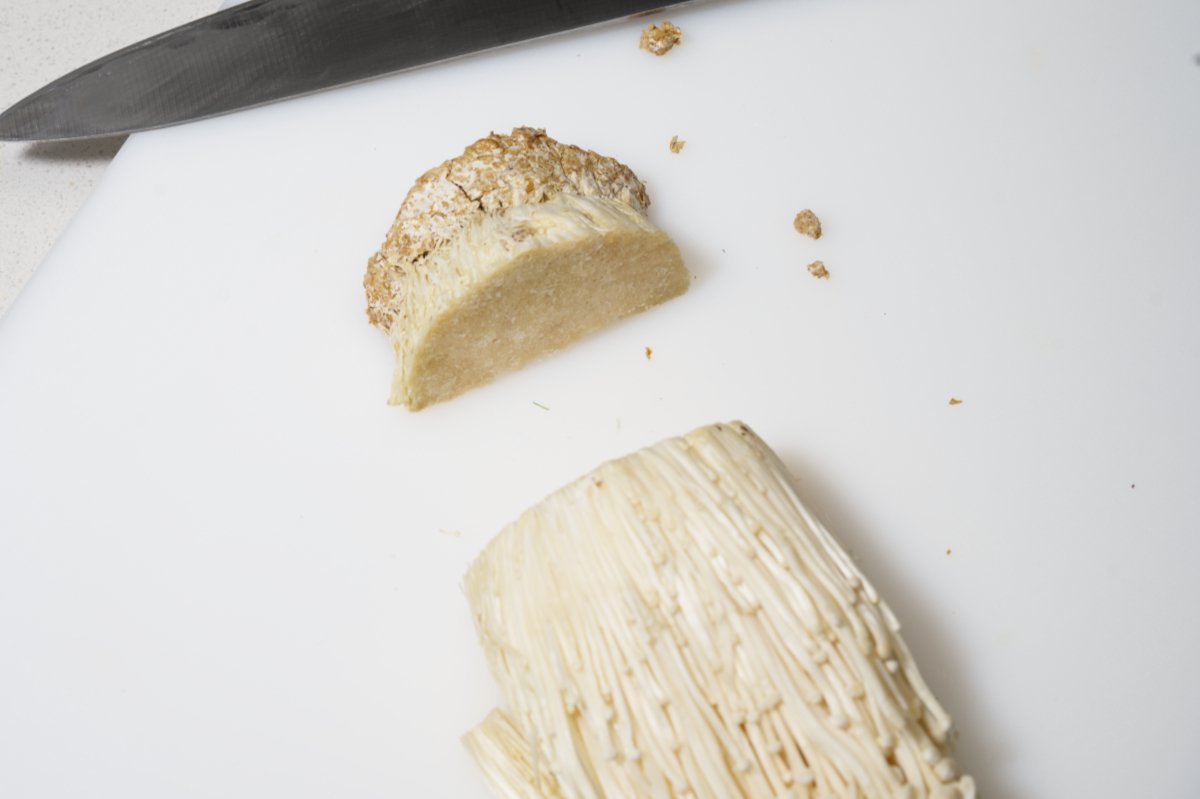
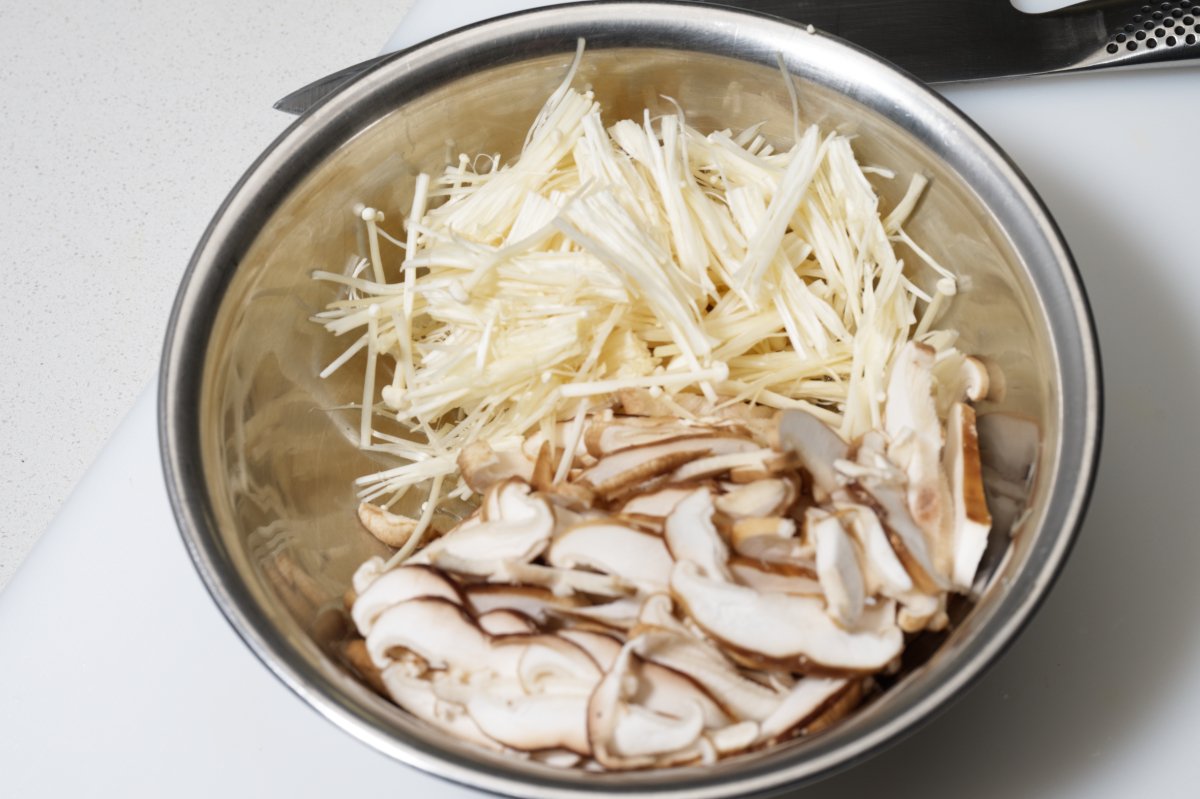
Then trim the enoki mushrooms and separate them into little bundles:

cutting off bottom of enokis

enoki bundles and shiitakes

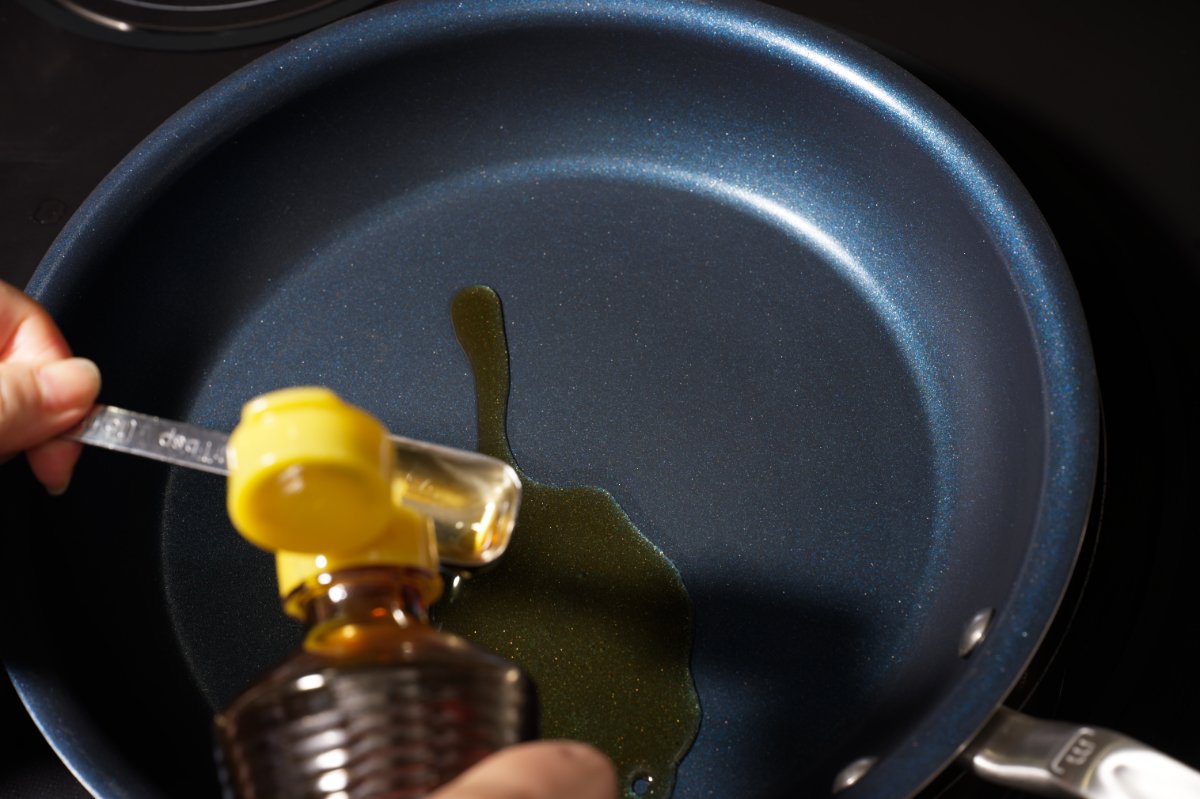
Once the mushrooms are prepped it’s time to start cooking! I begin by heating a pan and adding the sesame oil:

sesame tofu terrine

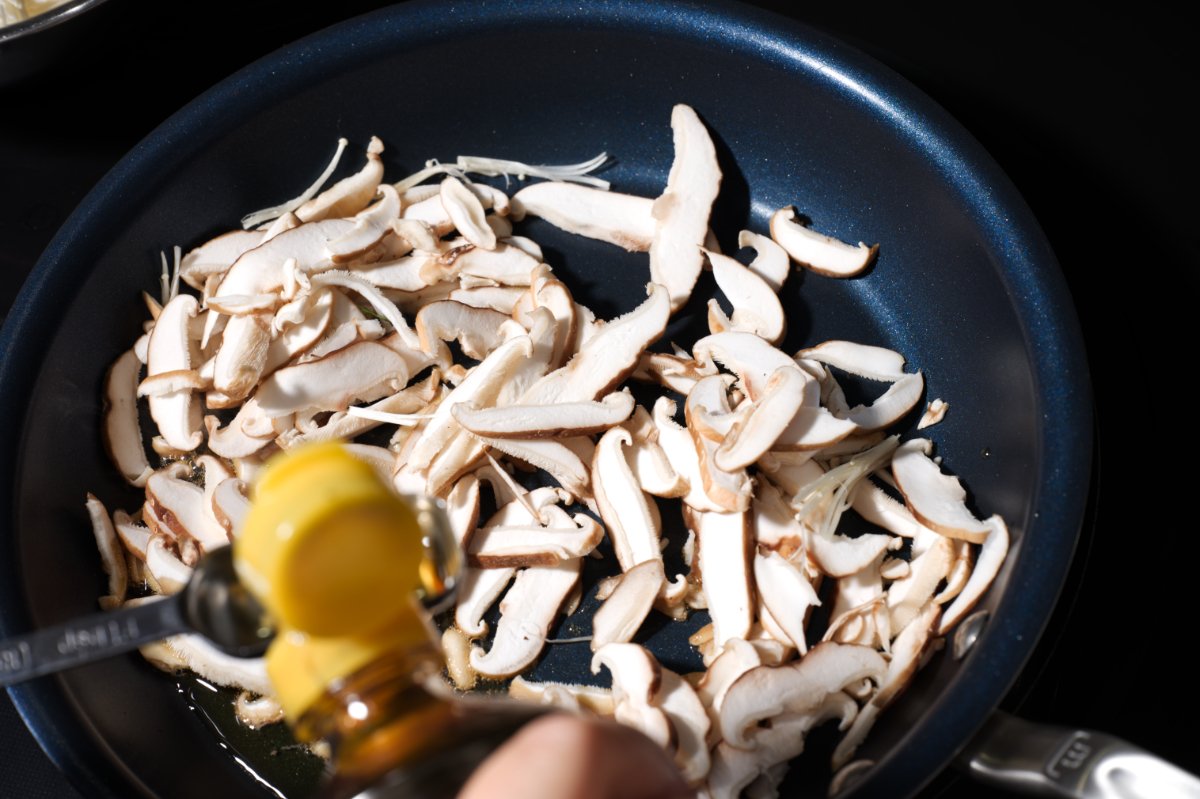
Then I add the mushrooms:

cooking mushrooms for terrine

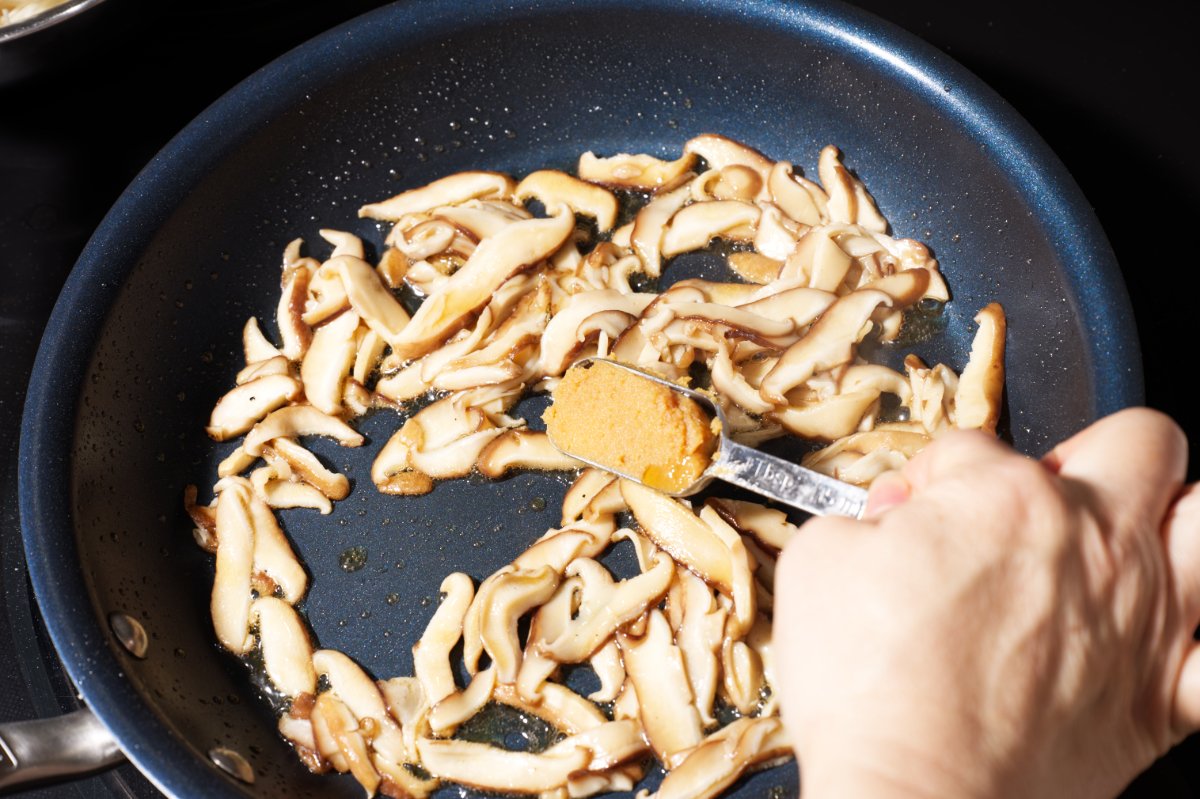
Stir-fry for 2-3 minutes until they start to brown and stir in the miso:

adding miso to chilled tofu terrine

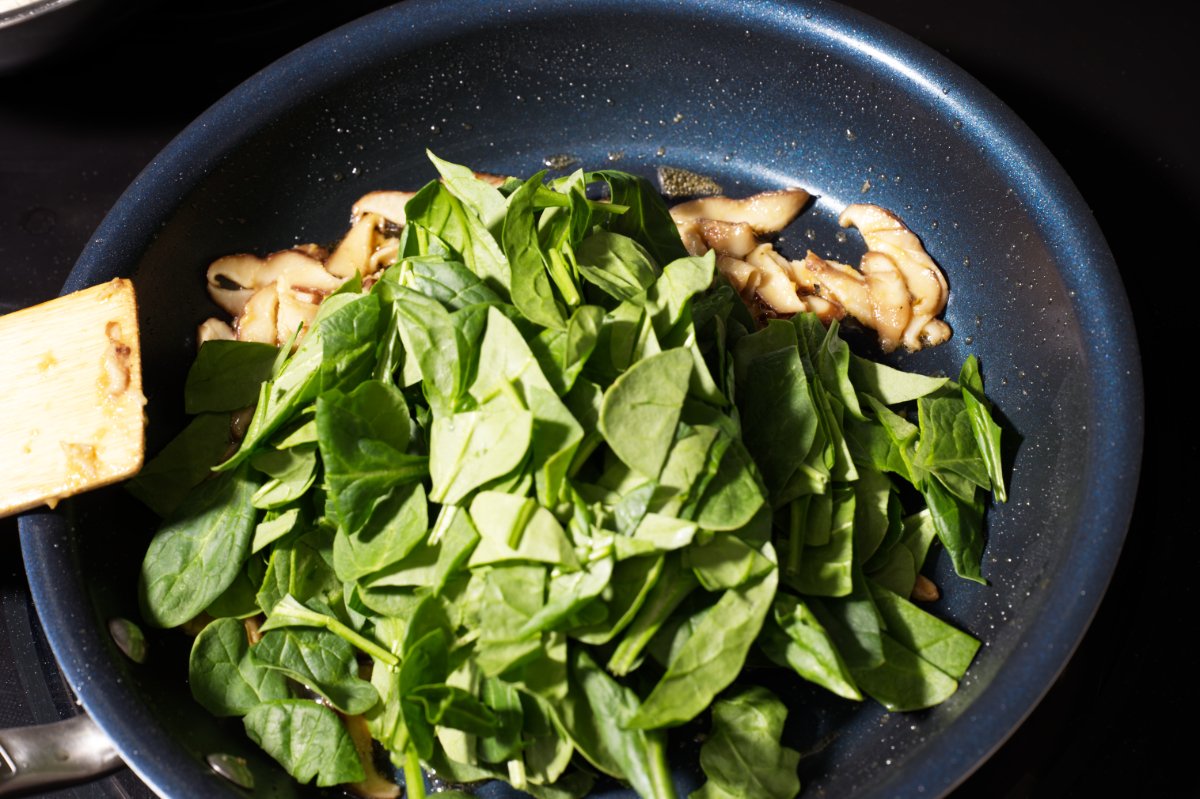
Add the spinach to the shiitakes, and stir until wilted, about a minute. The liquid the spinach releases will help the miso turn saucy.

add spinach to terrine filling

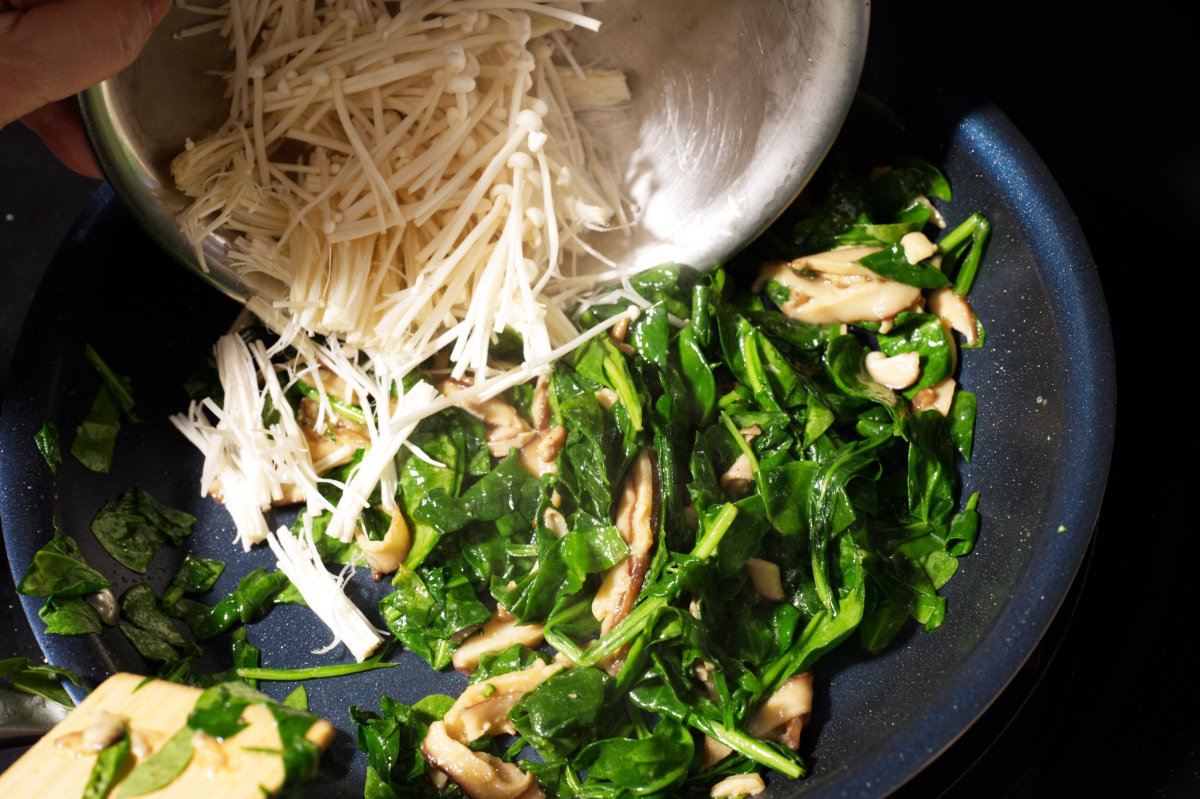
Add the enoki:

adding enoki to chilled tofu terrine filling

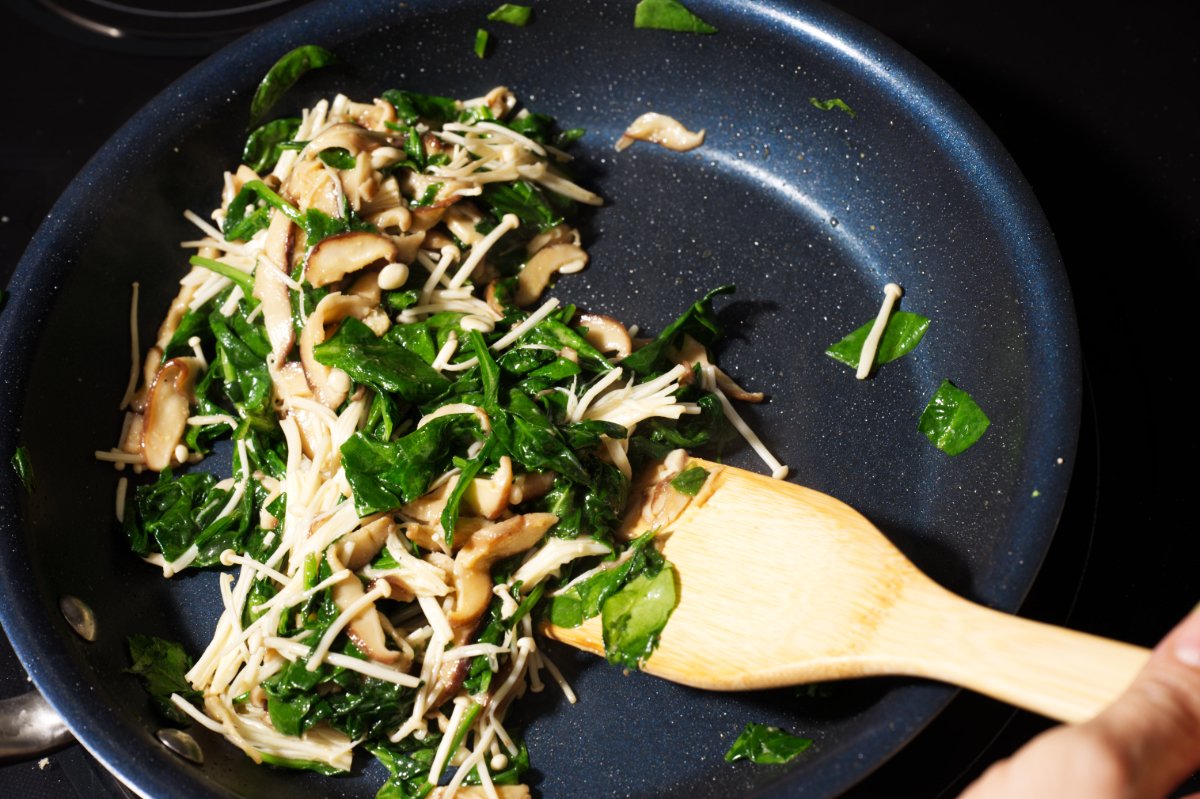
And stir for another minute until the mushrooms are soft:

cooking filling for terrine

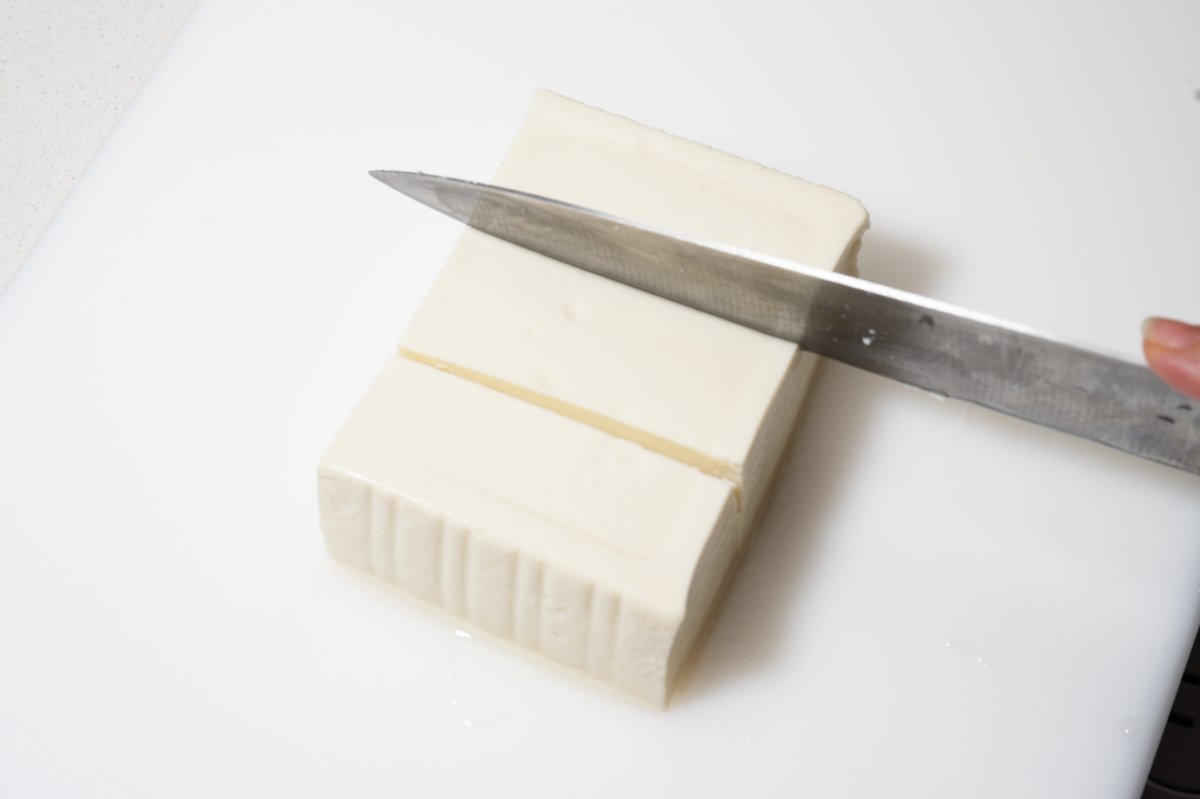
Then I set the filling aside to cool and get to work slicing and shaping the terrine. First cut the slab of tofu into 3 equal pieces lengthwise:

cutting tofu into 3 pieces

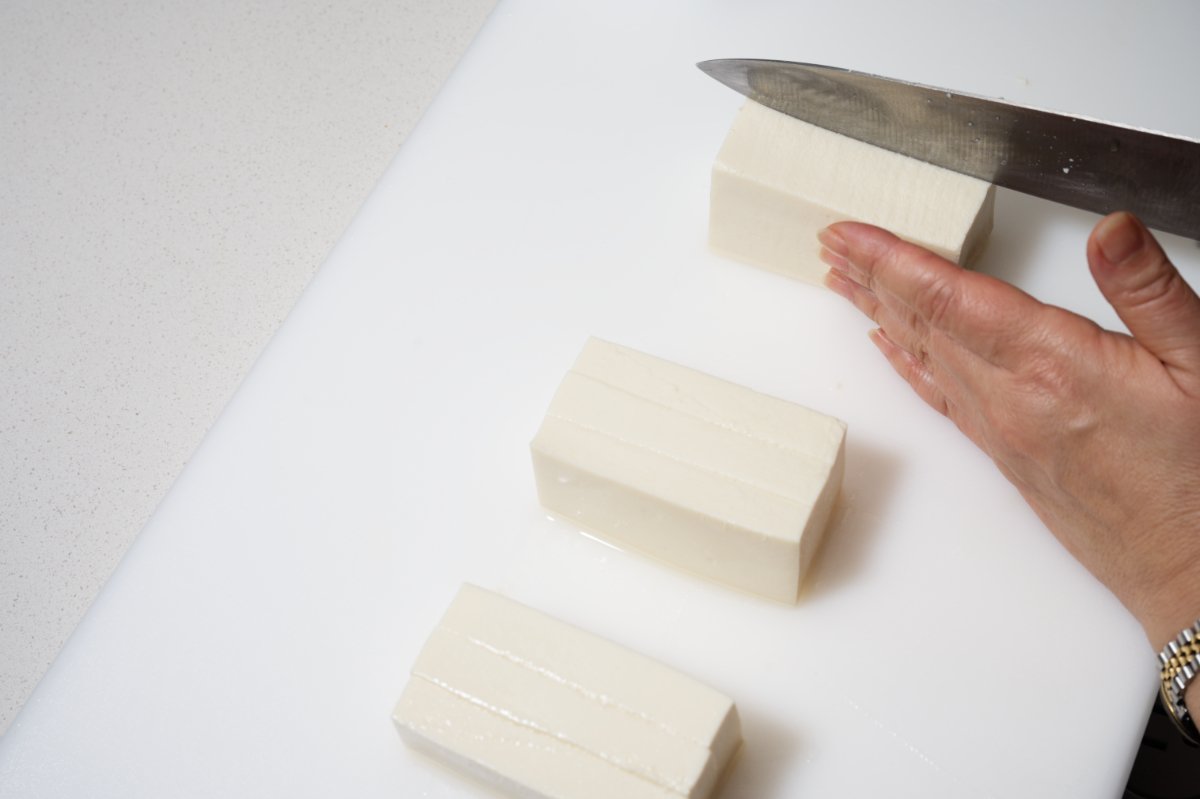
Then you are going to cut each of those horizontally into 3 pieces. You’re aiming for 9 thin slices total.

slicing tofu into smaller pieces for terrine

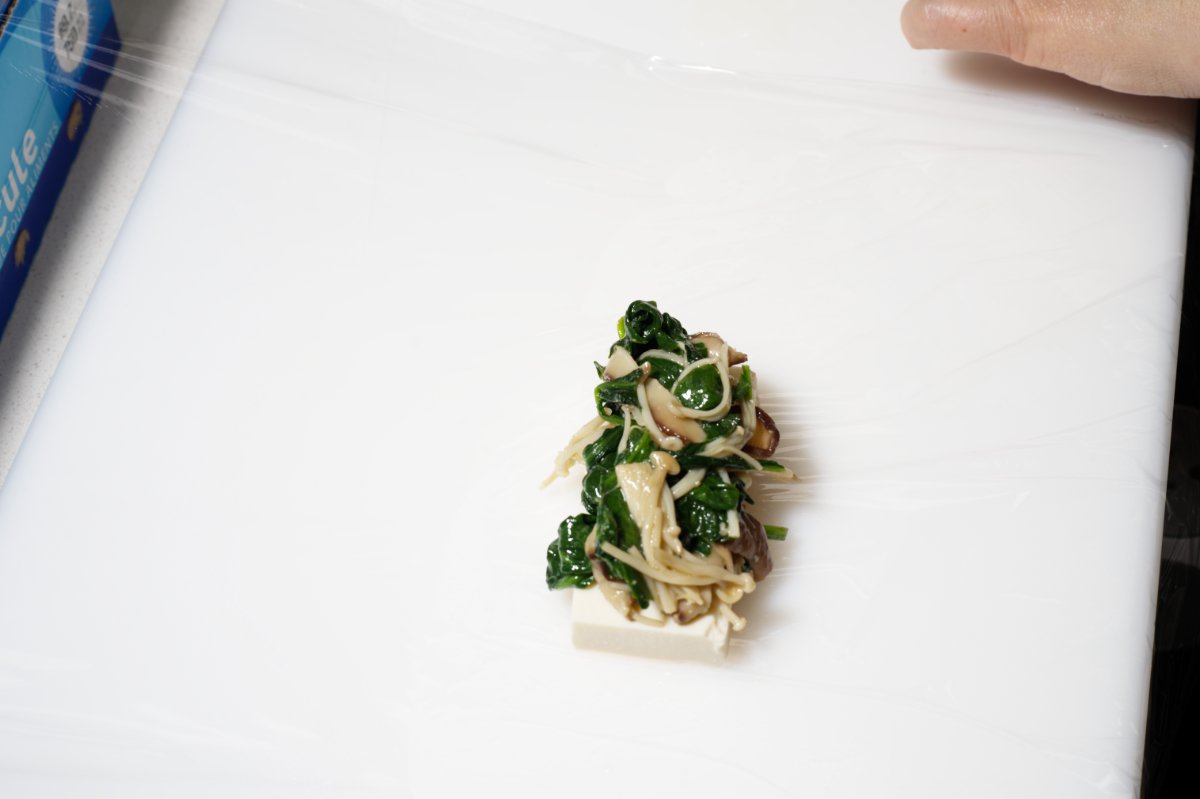
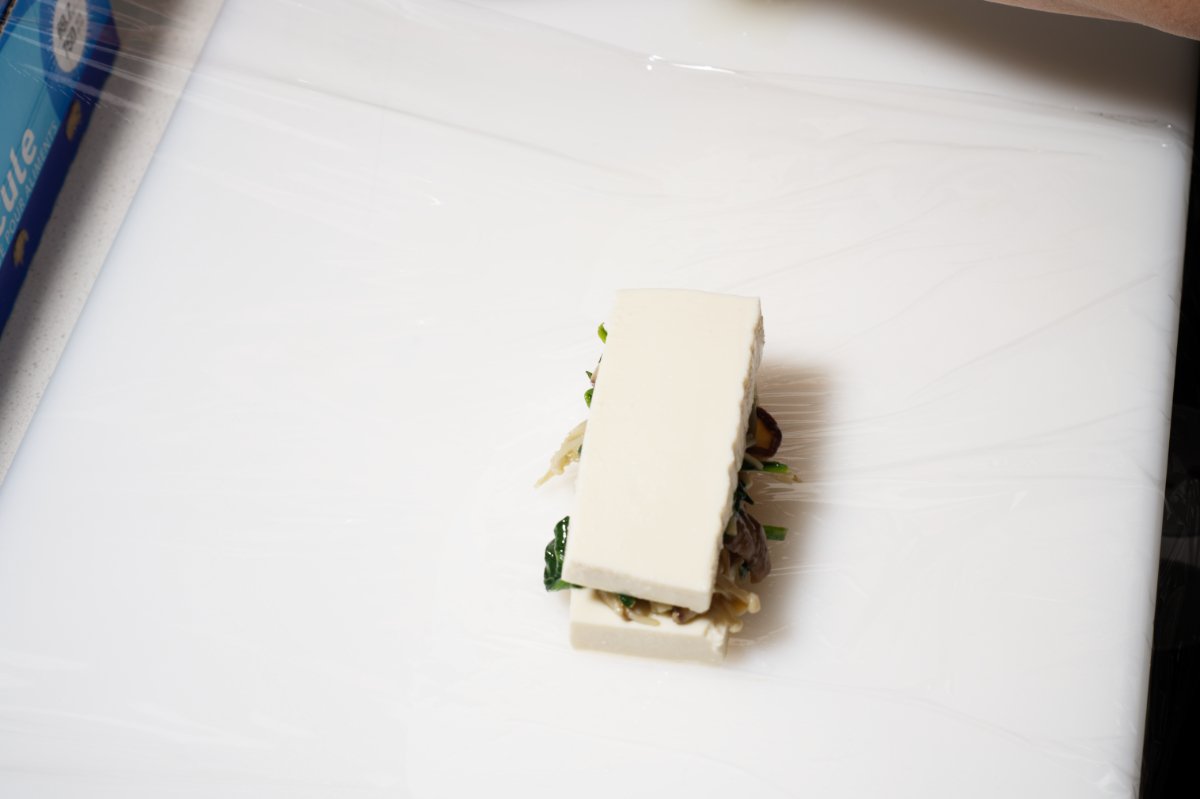
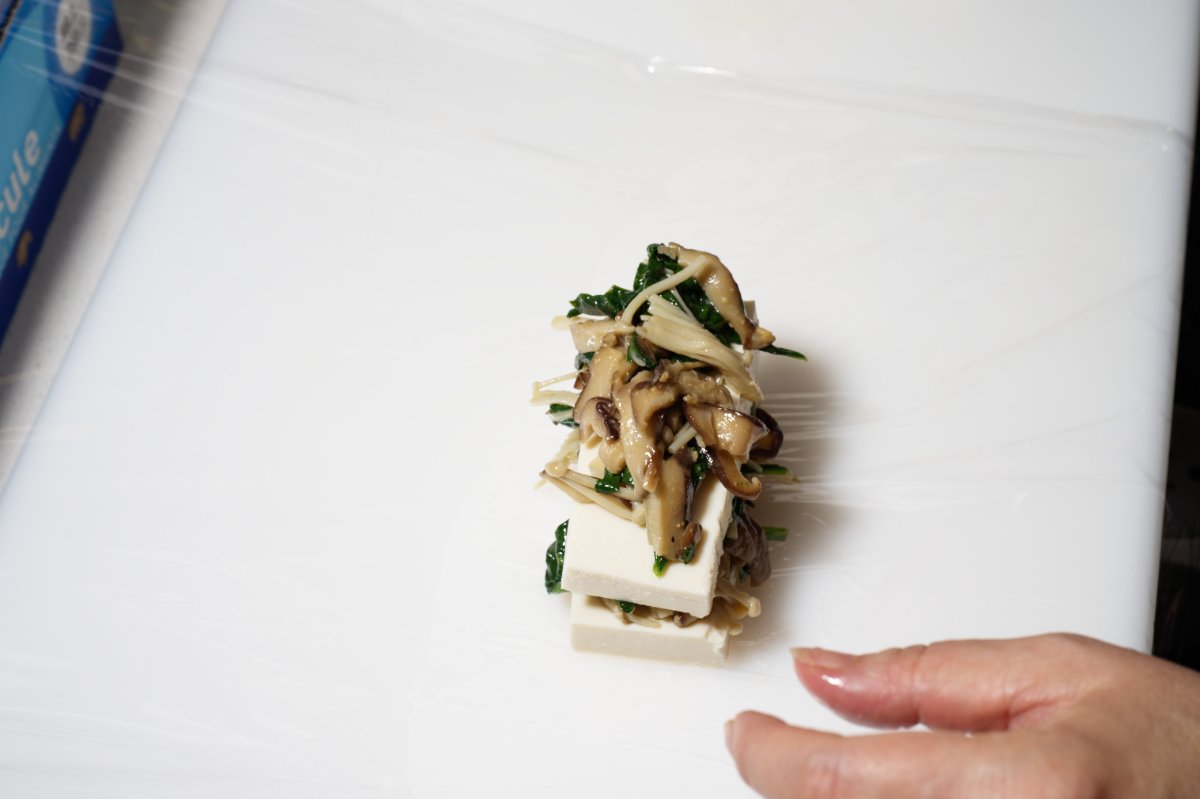
Now it’s time to add the filling and make your stacks.

adding filling

filling and shaping chilled tofu terrine

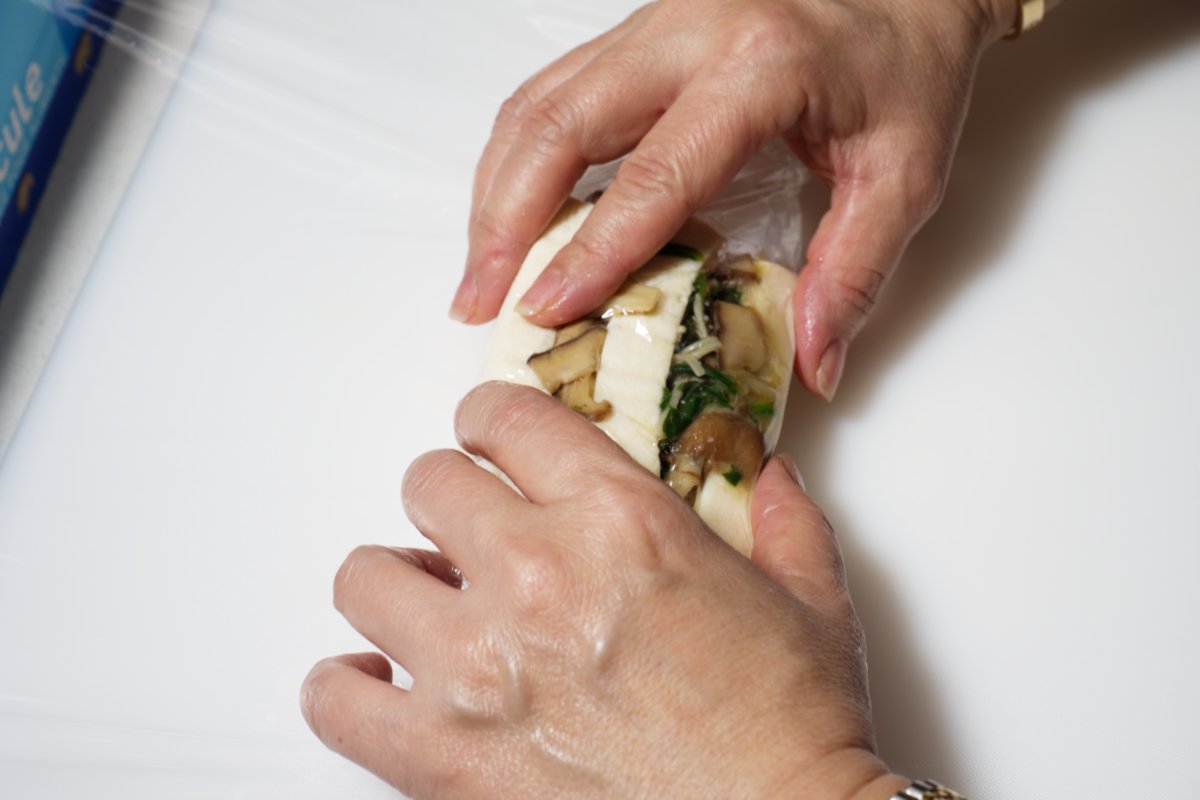
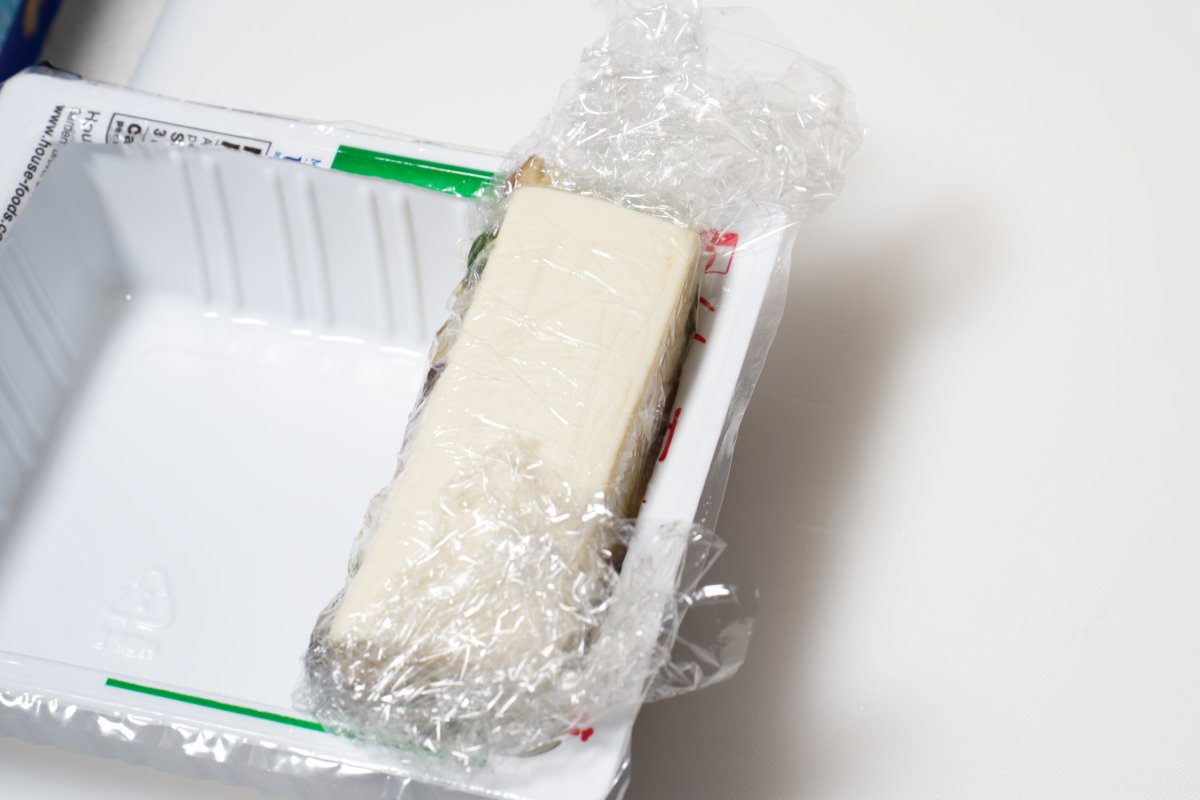
Once I have my triple stack, I wrap it in plastic wrap to help keep its shape.

wrapping tofu terrine stack in plastic

The tofu container makes for excellent storage here, it’s already the perfect size and shape:

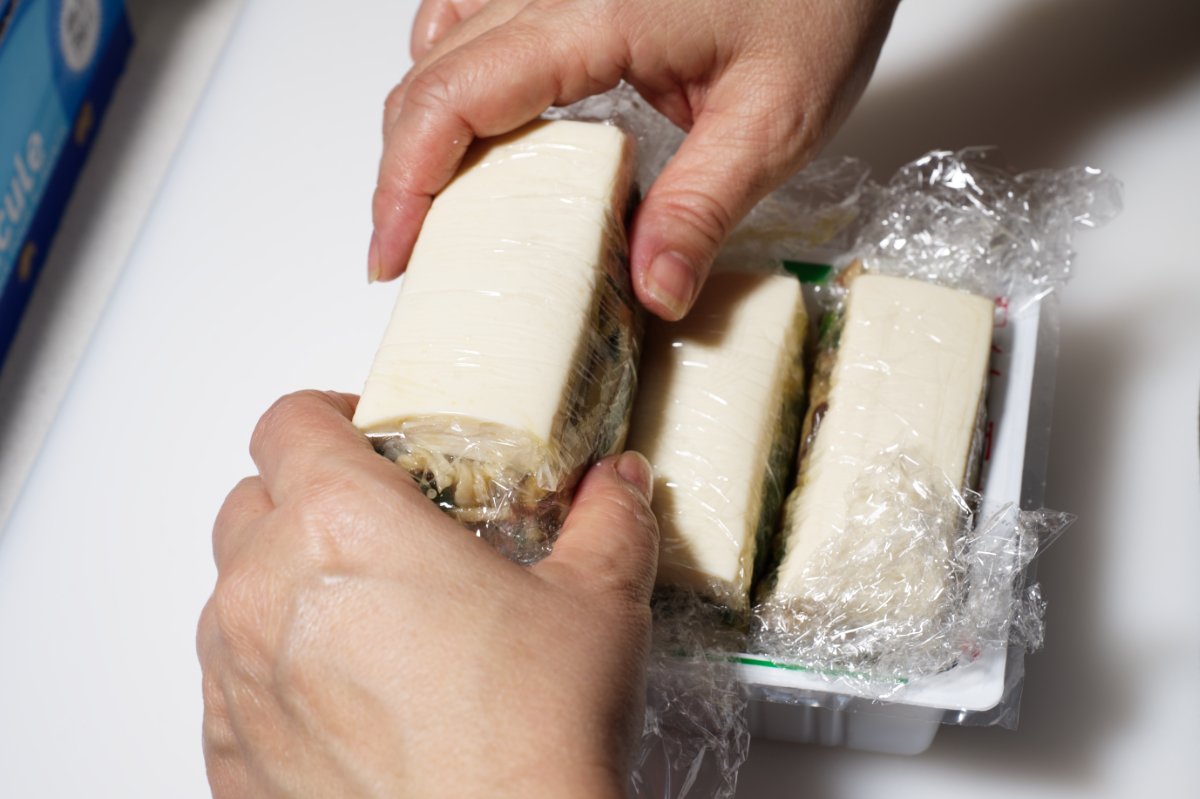
putting stacks in tofu container

I make the remaining two stacks and then I chill them for a few hours to help the flavors marry. They can hang out in the fridge for a couple days, and you can be all smug in the knowledge that you have a glorious dish ready to go at a moment’s notice.

packing terrine into tofu container

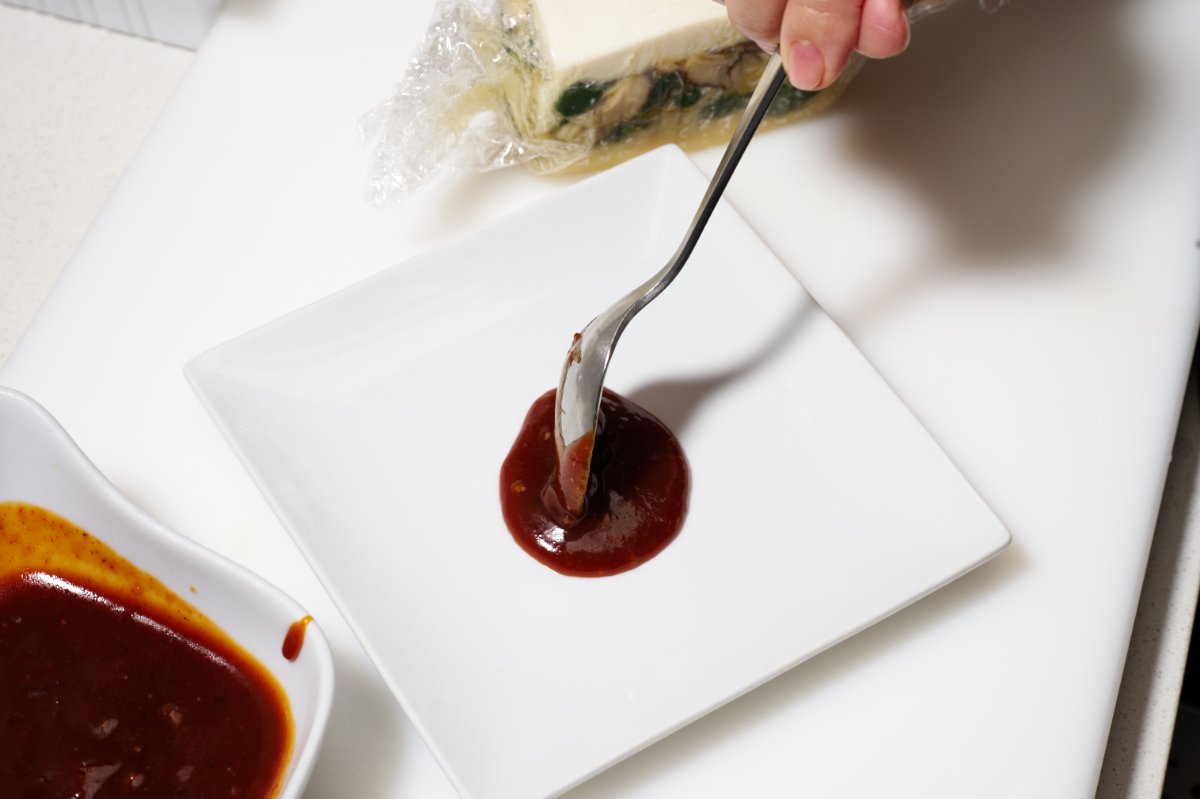
When ready to serve I put some of the sauce on 3 small plates:

adding sauce to serving plates for chilled tofu terrine

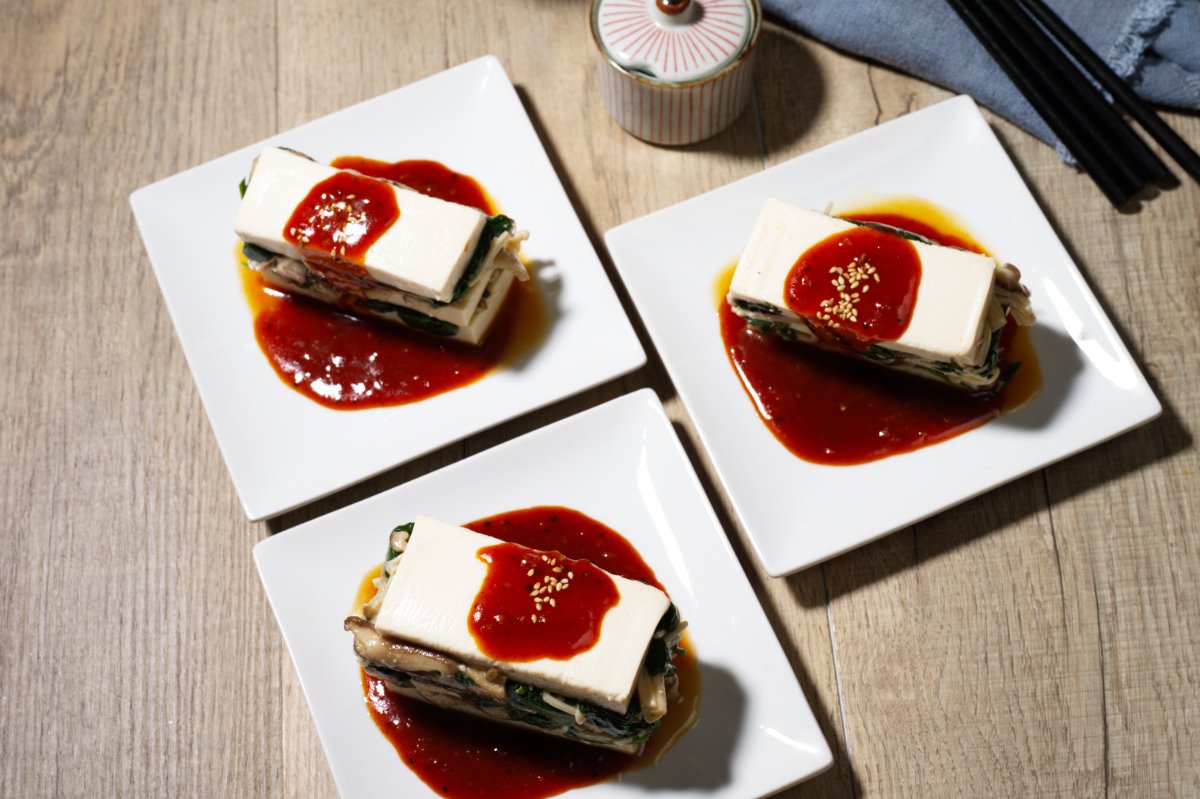
Then place your beautiful terrines on the plate and top with more sauce and toasted sesame seeds:

plating chilled tofu terrine

I hope you love these vegan chilled tofu terrines. They offer an exciting blend of colors and flavors and textures, and are just perfect for the long hot days heading our way. Let me know what you think and tag me in your pics @funkyasiankitchen, we wanna see how you rock this dish!  Looking for more vegan dishes? Check out our Vegan Archives and indulge in some favorites like Melting Broccoli or Yakimatsu.


Print
clock clock iconcutlery cutlery iconflag flag iconfolder folder iconinstagram instagram iconpinterest pinterest iconfacebook facebook iconprint print iconsquares squares iconheart heart iconheart solid heart solid icon
recipe card pic chilled tofu terrine

Chilled Tofu Terrine

  • Author: Funky Asian Kitchen
  • Prep Time: 30 minutes
  • Total Time: 30 minutes
  • Yield: serves 3
  • Category: starter, small plate
  • Cuisine: japanese

Ingredients

Scale

Sauce:

  • 4 Tablespoons Mirin
  • 1 Tablespoon toasted sesame oil 
  • 2 Tablespoons gochujang
  • 1 Tablespoon miso
  • 2 cloves garlic minced
  • Ground black pepper to taste

Filling:

  • 4 ounces shiitake mushrooms, stemmed and sliced thin
  • 4 ounces baby spinach, roughly chopped
  • ½ package of enoki mushrooms, about 2.5 ounces
  • 3 Tablespoons sesame oil
  • 1 Tablespoon miso
  • 2 cloves garlic, minced

For tofu:

  • 1 package silken tofu, about 14 ounces
  • 1 teaspoon toasted sesame seeds for garnish

Instructions

Prepare The Sauce: Put all of the sauce ingredients into a small sauce pan. Bring to a simmer over medium high heat while stirring. Turn off the heat as soon as it starts to simmer. Set aside to cool and then store in the fridge until ready to serve.


Make The Filling: Cut the bottom inch off of the enoki mushrooms, which is the growing medium. Cut the enoki in half lengthwise and gently shred the mushrooms into little bundles. 

Heat a medium pan over medium high heat. Add the sesame oil and the shiitake mushrooms. Stir-fry for 2-3 minutes until cooked and starting to brown. Add the garlic and stir into the shiitakes. Next add the miso. Stir the miso into the mushrooms as best you can (it’s clumpy and may not fully dissolve into the mushrooms, which is fine.)

Add the spinach and cook for 1 minute until wilted. The liquid from the mushrooms and spinach will help dissolve the miso and turn it into a sauce. Add the enoki mushrooms and stir for another minute until the mushrooms have wilted. Set aside to cool to room temperature. 

Make The Tofu Terrine: Open the block of tofu and cut it into thirds on the longer side. Then gently tip the blocks to the side and slice it into thirds horizontally. Now each little block is cut into 3 thin pieces.

Once the filling is cool, spoon a couple tablespoons of filling onto the bottom piece of tofu. Layer another piece of tofu on top and again spoon a couple tablespoons of filling onto the tofu. Top with the last piece of tofu. Place this completed block of tofu on a piece of plastic wrap and gently roll it a couple of times. Place it back in the tofu carton or in a plastic container.

Repeat with the two remaining blocks of tofu. You will yield three layered tofu blocks.

Place your tofu blocks in the fridge for a couple hours. This will allow the tofu to absorb the flavors of the filling. 

Plate your Terrine: Spoon a couple tablespoons of sauce onto three small serving dishes. Gently unwrap the tofu terrines and place them on the plate. Spoon a little more sauce onto the terrine and sprinkle with toasted sesame seeds. Serve immediately.


Notes

*These terrines and the sauce can be made and stored in the fridge for a couple of days. They are served cold so it’s the perfect make ahead dish.

Keywords: chilled tofu, vegan, mushrooms, make ahead, summer, no cook

Tarako Fried Rice

Tarako Fried Rice

If you’ve got some leftover rice in the fridge and a pack of tarako in the freezer, you’re already halfway to dinner. This Tarako Fried Rice is one of those easy, comforting meals that delivers big flavor with minimal effort. The salted cod roe melts read more
Roasted Asparagus

Roasted Asparagus

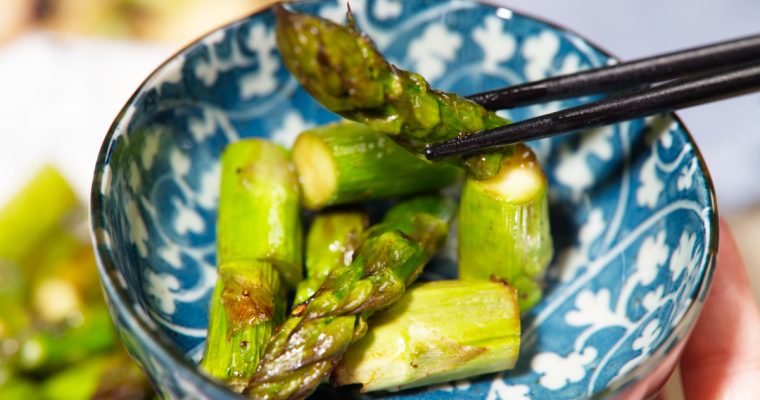
Few things say “Spring” like asparagus. And when it comes to quick, delicious side dishes, roasted asparagus is hard to beat. It’s one of those recipes that proves simple ingredients and minimal effort can still deliver amazing results. Whether you’re pulling together a weeknight dinner read more
Crispy Shrimp Dumplings

Crispy Shrimp Dumplings

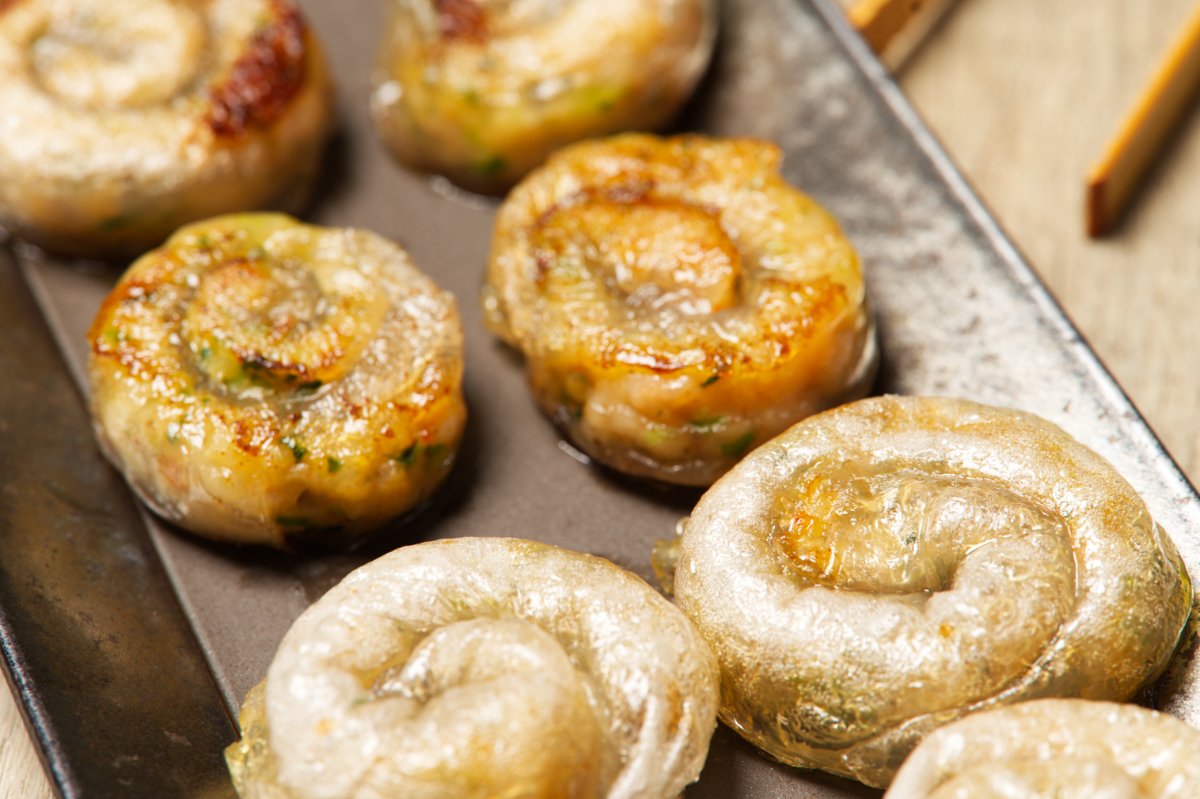
I love a good dumpling as much as the next girl, but let’s be honest—wrapping them can be a bit of a chore. If you’ve ever found dumplings intimidating—fancy pleats, sticky dough, a million steps—these Crispy Shrimp Dumplings are here to change your mind. They’re made with rice paper instead of traditional wrappers, so there’s no fiddling with dough or flour. Just juicy, flavorful shrimp filling, wrapped up and pan-fried (or air-fried!) to golden perfection. They’re crispy on the outside, tender inside, and so packed with flavor they don’t even need a dipping sauce.

Whether you pan-fry them for maximum crisp or toss them in the air fryer for convenience, these little rolls of joy are perfect for a snack, appetizer, or even a light meal so let’s get into it!

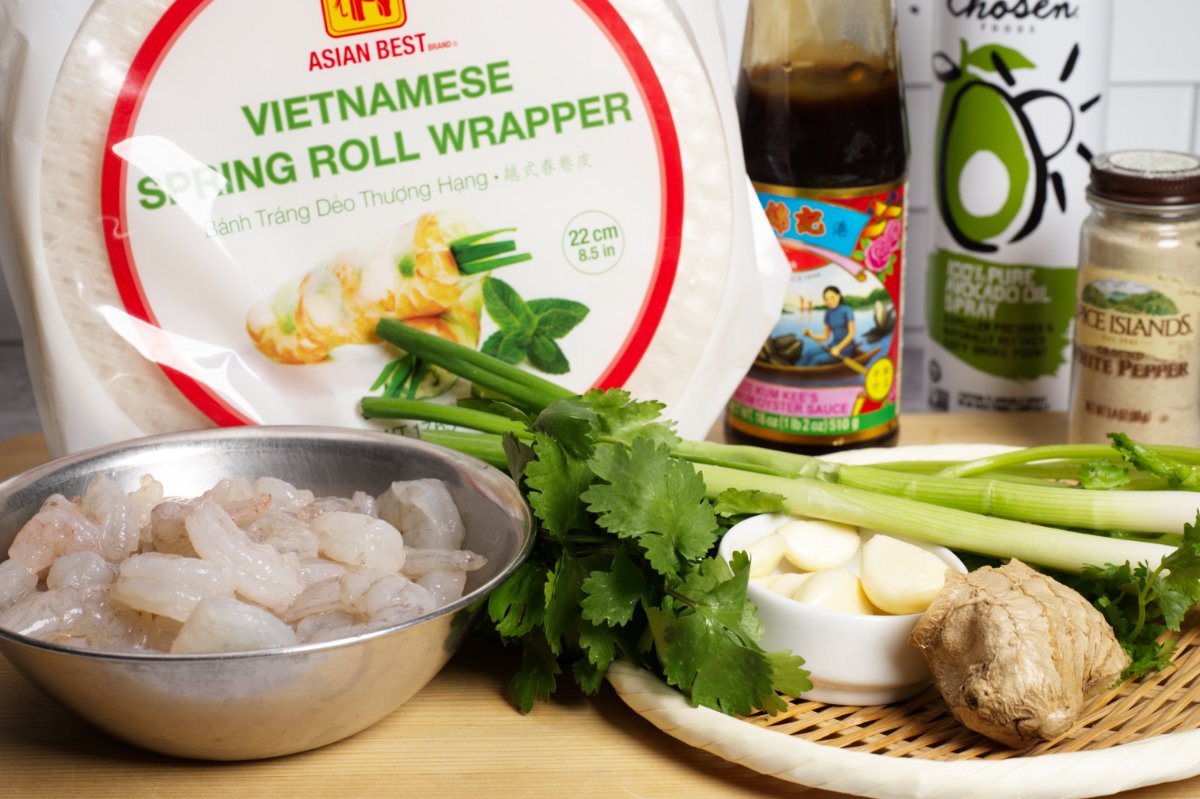
ingredient photo for crispy shrimp dumpling

My sister Mimi is always on the prowl for fun tasty food. She cooks a ton and looks through social media a ton. So when she comes across something that she thinks will interest me, she’ll forward it. This started with a clip of a super cute Asian girl making this snack. I’m not sure what’s in hers except that it was a shrimp filling. I thought it was creative, especially the rolled up little packages and so I went about creating my own version. My favorite dim sum are the ones with shrimp and cilantro, sometimes called parsley in Chinese restaurants. There’s a magical synergy between the shrimp and cilantro that’s just amazing. And this dumpling is chock full of fabulous filling. If you’re one of those, looking at you dad, who’s not a fan of thick wrappers, then you’ll love these.

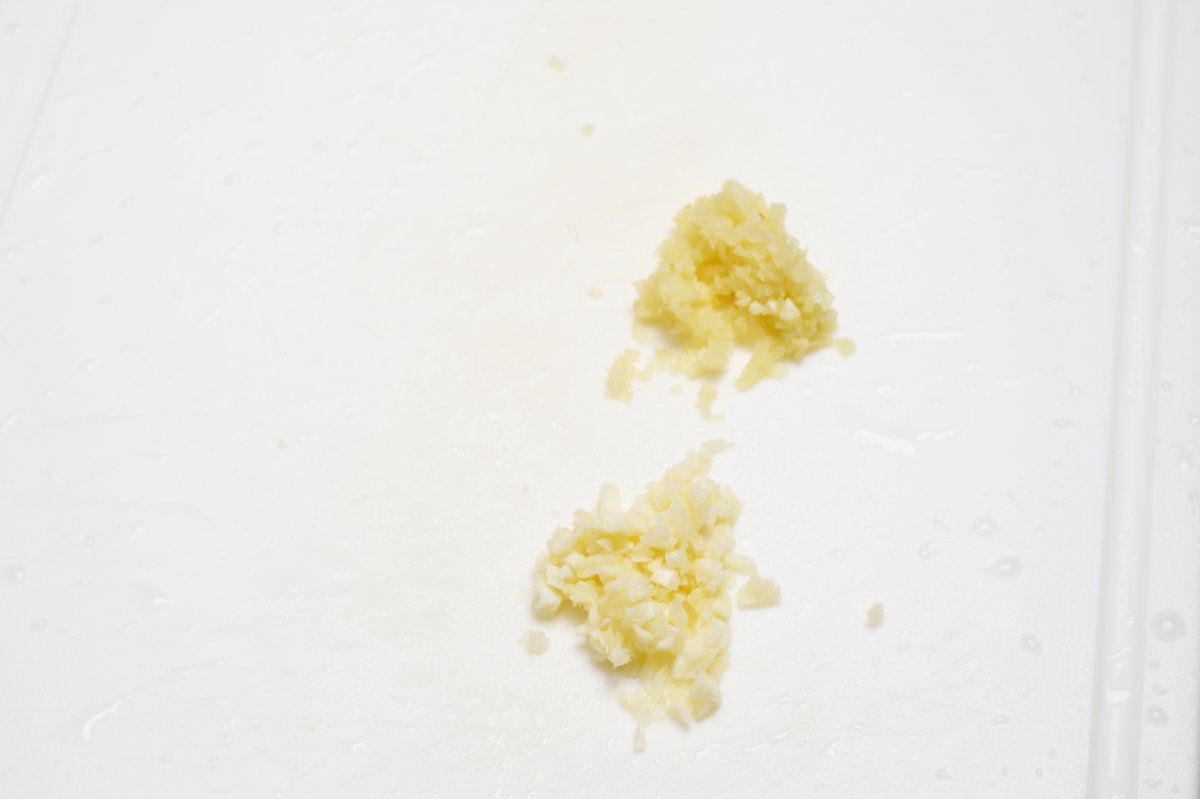
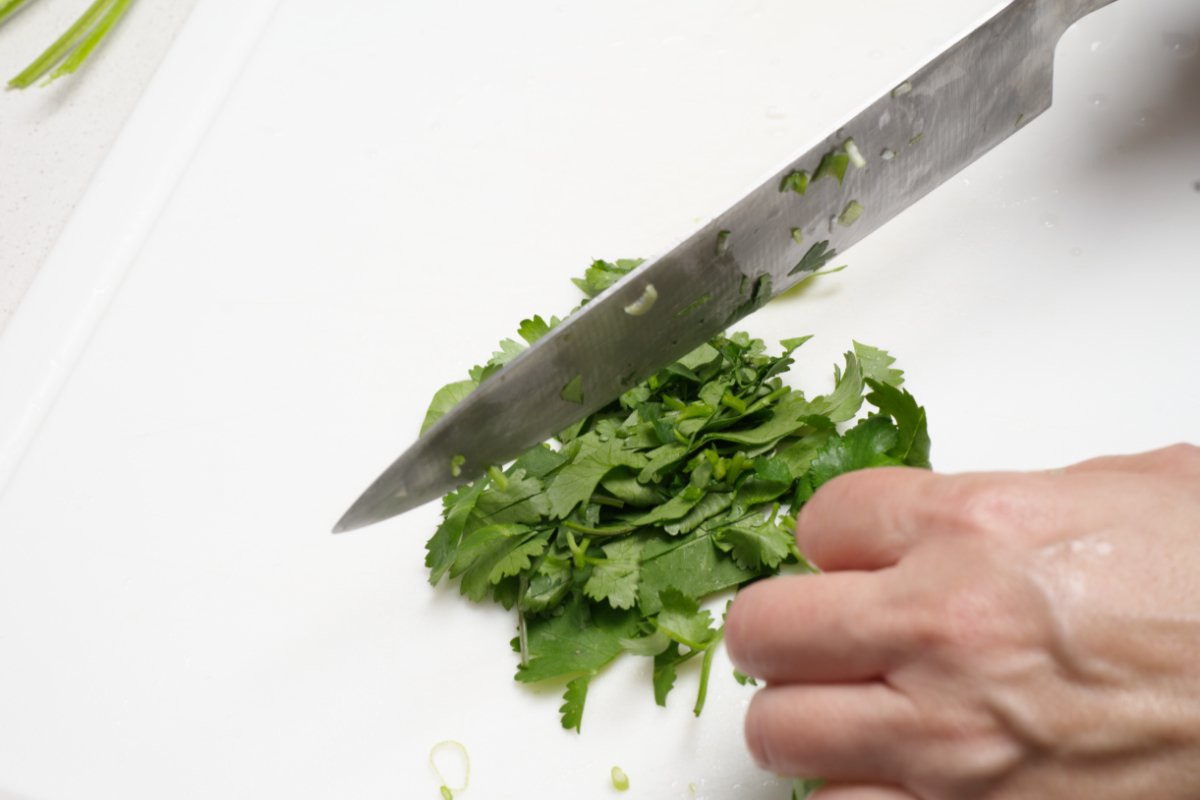
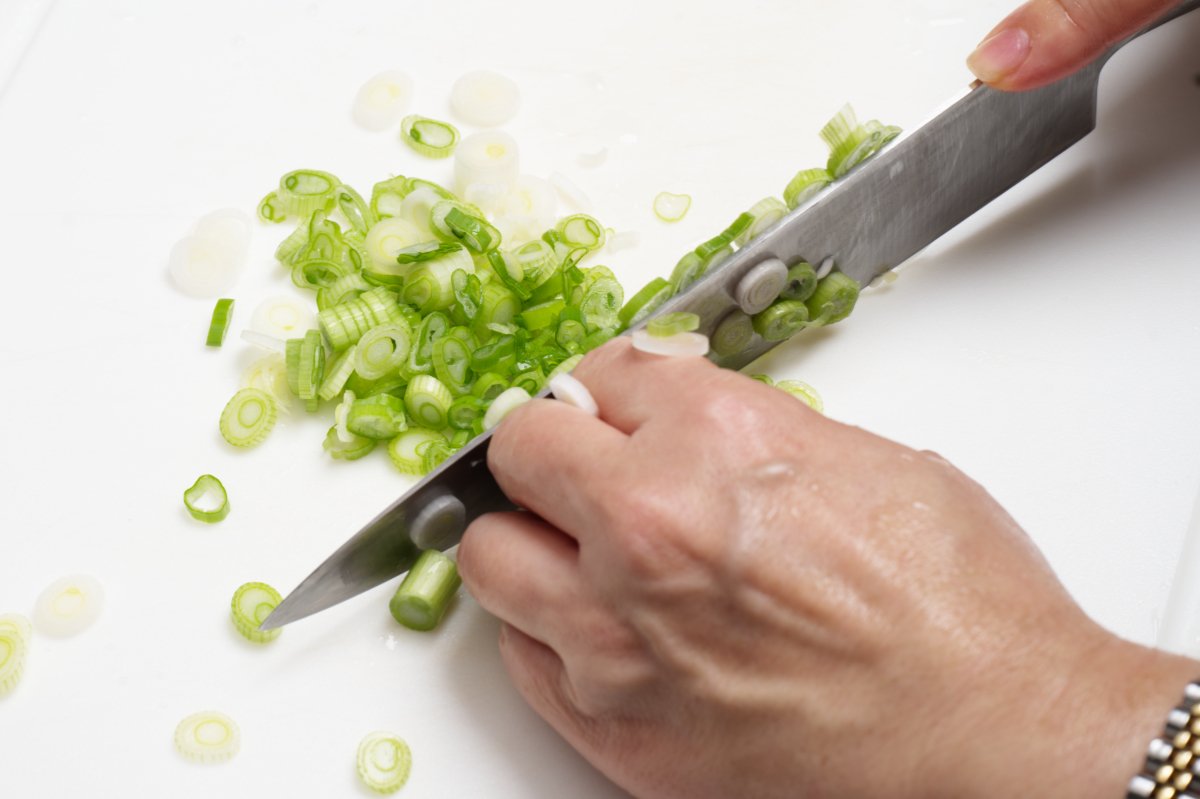
It all starts with the filling, which is packed with flavor bombs like garlic, ginger, scallions, and fresh cilantro. Oyster sauce lends depth, toasted sesame oil brings nutty goodness, and a little white pepper for funk rounds it out. First I quickly chop the aromatics. You need to chop them fine because they don’t spend enough time in the food processor to get thoroughly chopped.

cutting herbs for crispy shrimp dumpling

cutting scallions crispy shrimp dumpling

mincing garlic

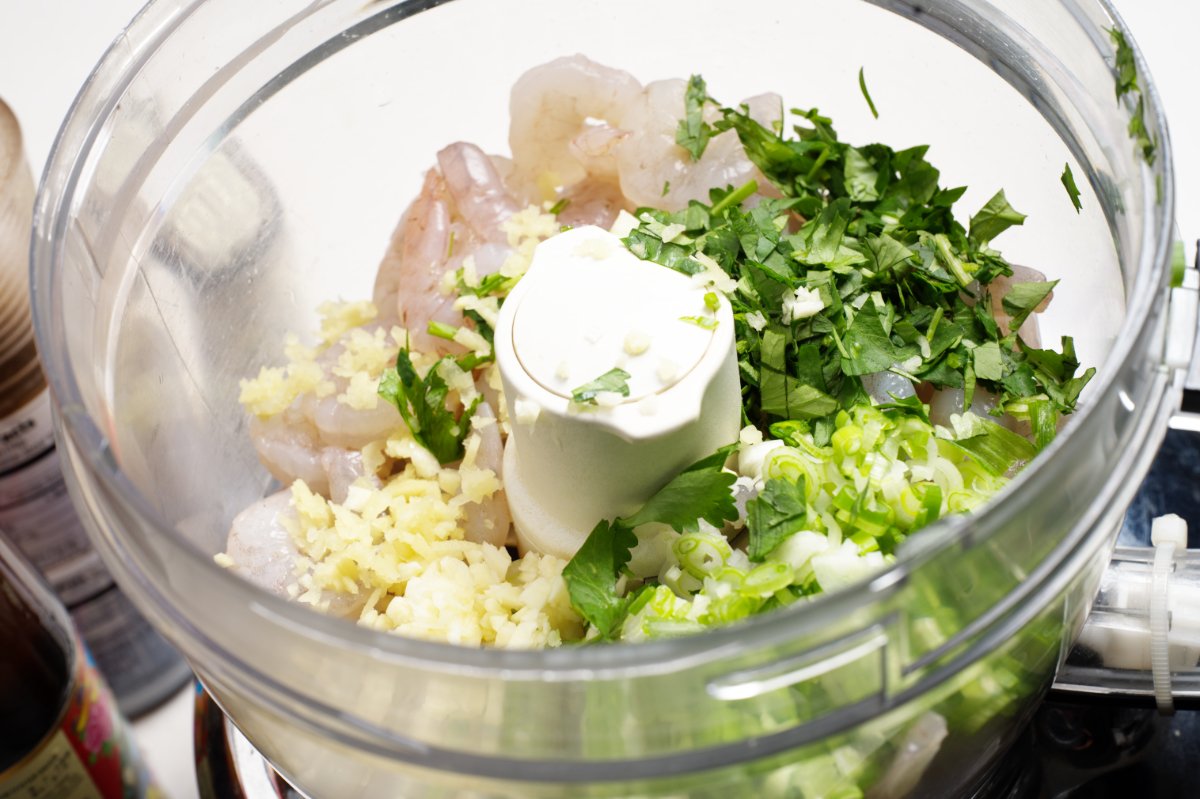
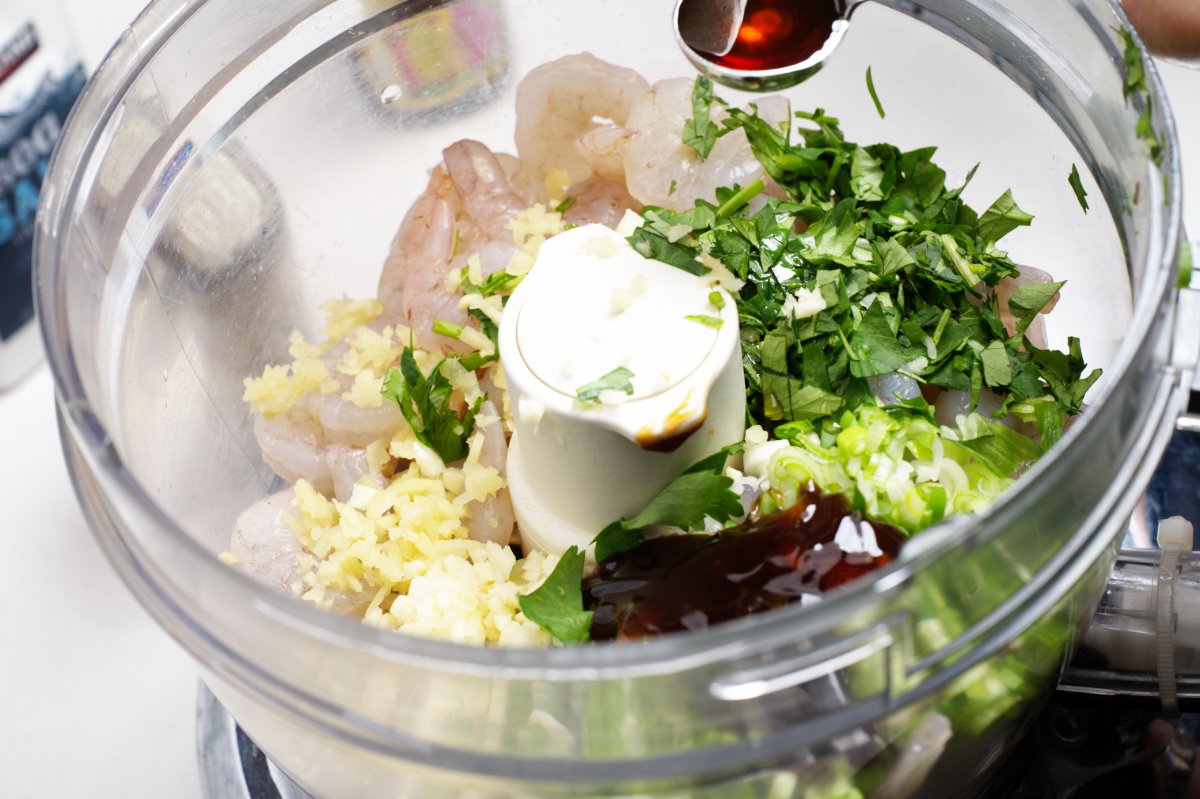
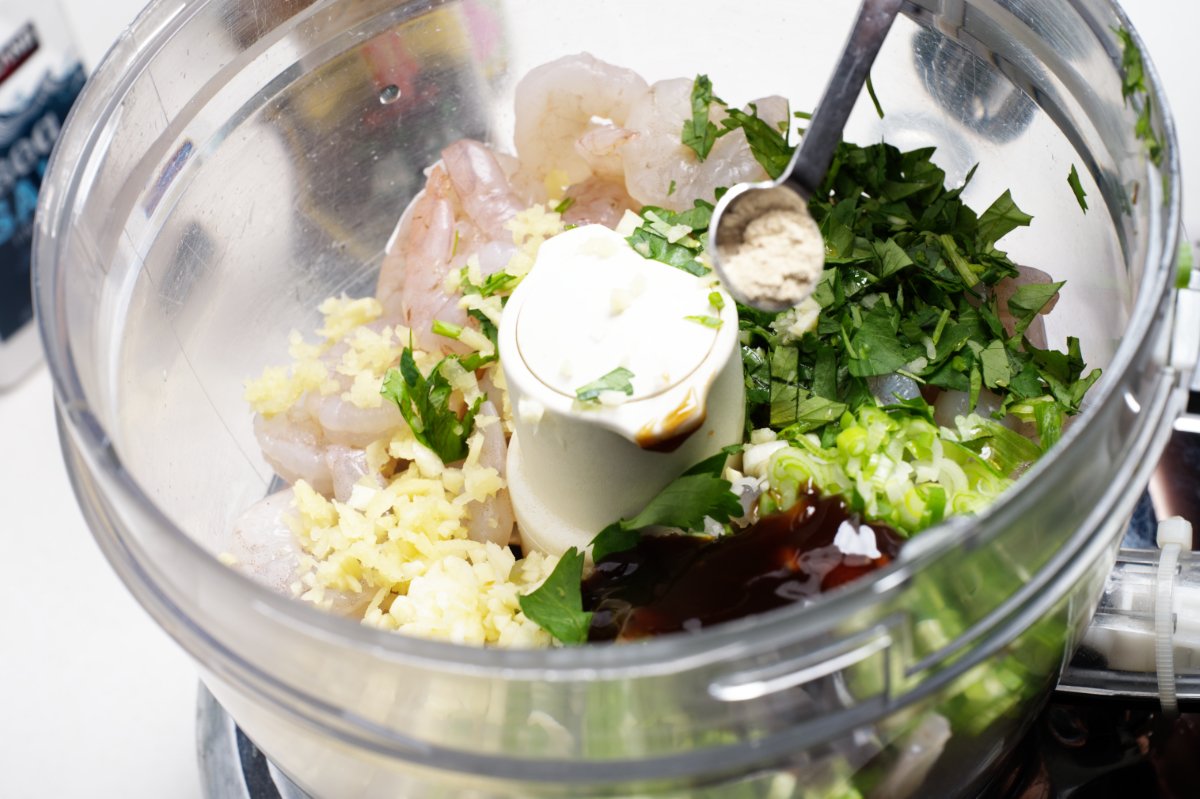
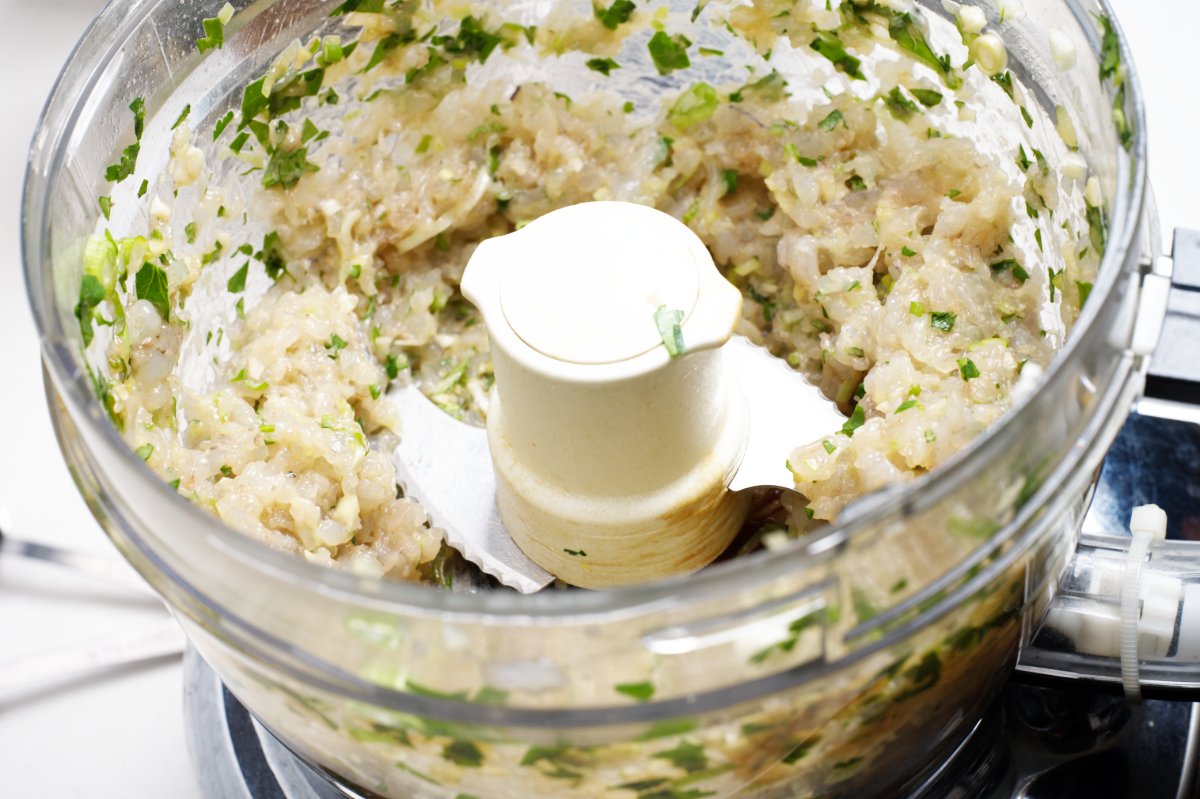
Pop everything except the rice paper and oil into a food processor. Pulse 8–10 times until the shrimp are very roughly chopped. You want texture, not paste. Scoop the mixture into a bowl and give it a good stir to make sure everything is evenly combined.

adding ingredients to processor crispy shrimp dumplings

sesame oil added

filling mixed

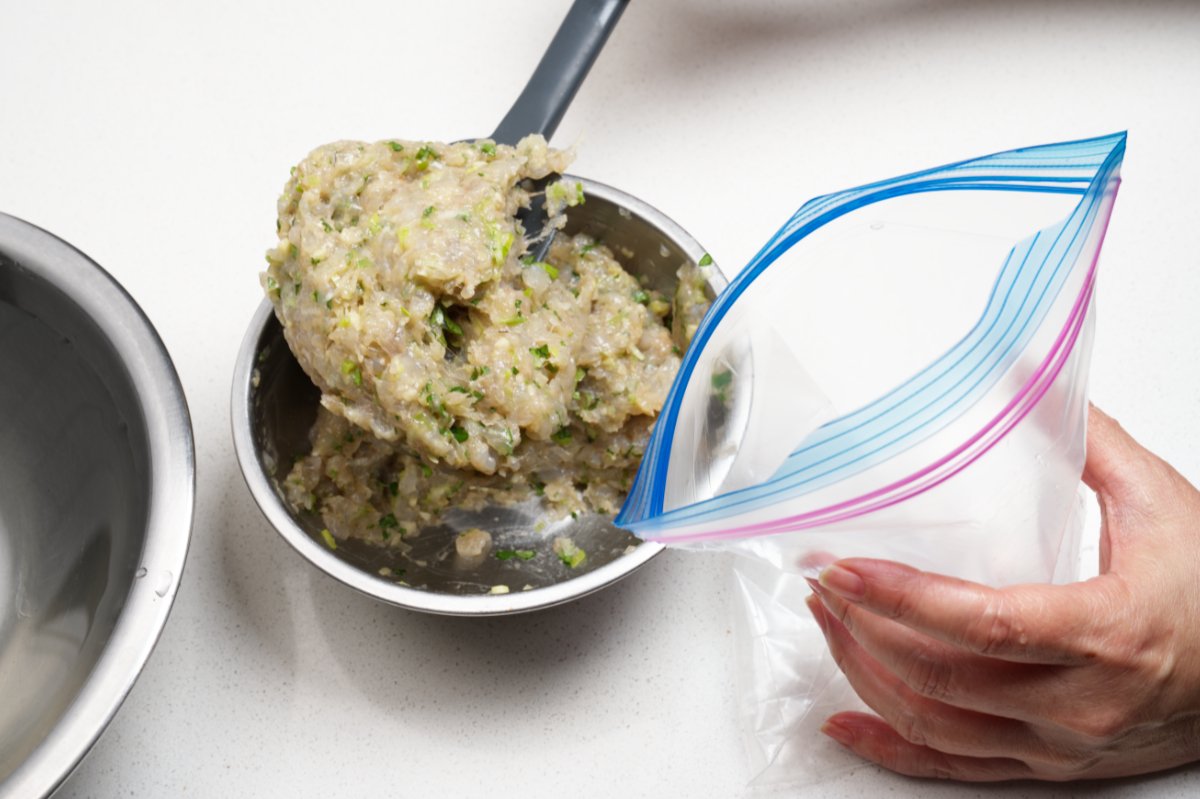
Then, I transfer the filling into a quart-sized zip top bag and squeeze out all the air. You could certainly skip this step and try and spoon the filling onto the rice papers, but I find this to be the quickest, most consistent way.adding filling to bag

pressing air out of bag

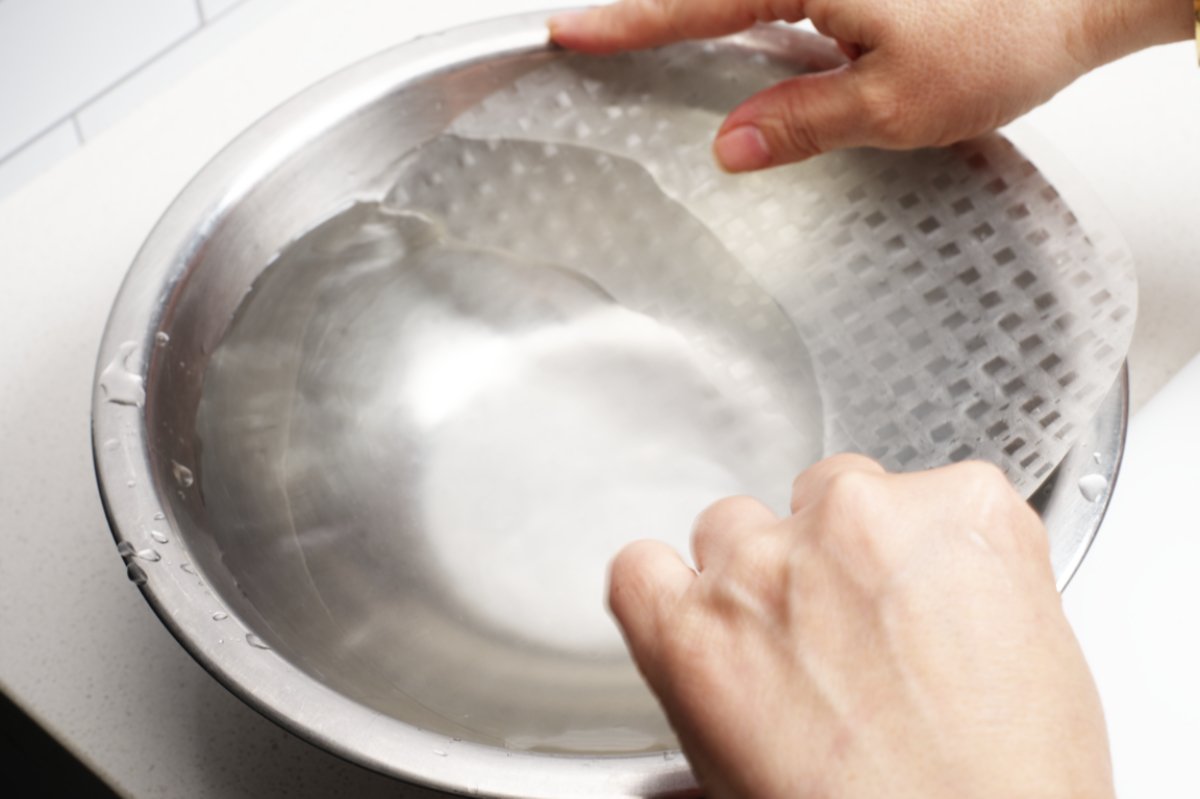
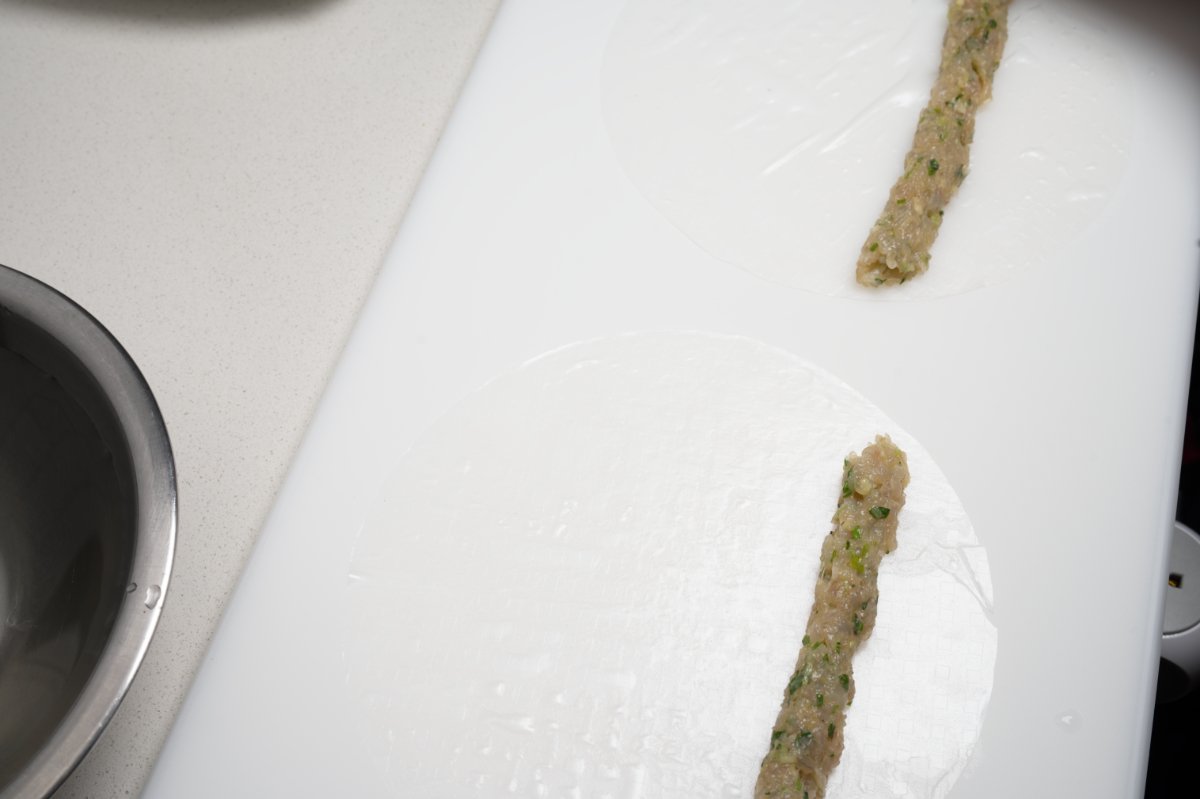
Now it’s time to shape the dumplings. First fill a large bowl with water. Dip a rice paper sheet in until fully submerged, then lay it flat on a cutting board. Repeat with another piece and lay it next to the first. Give them a minute to soften.

softening rice paper in water for shrimp dumplings

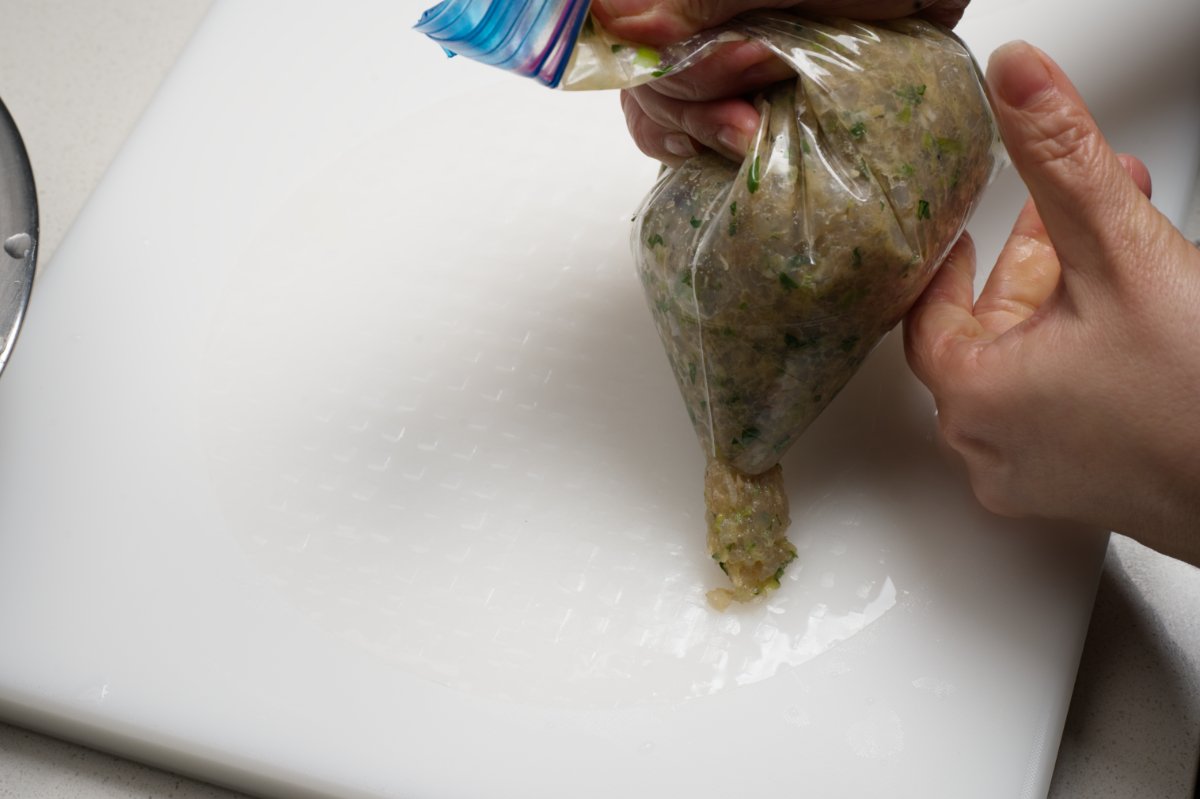
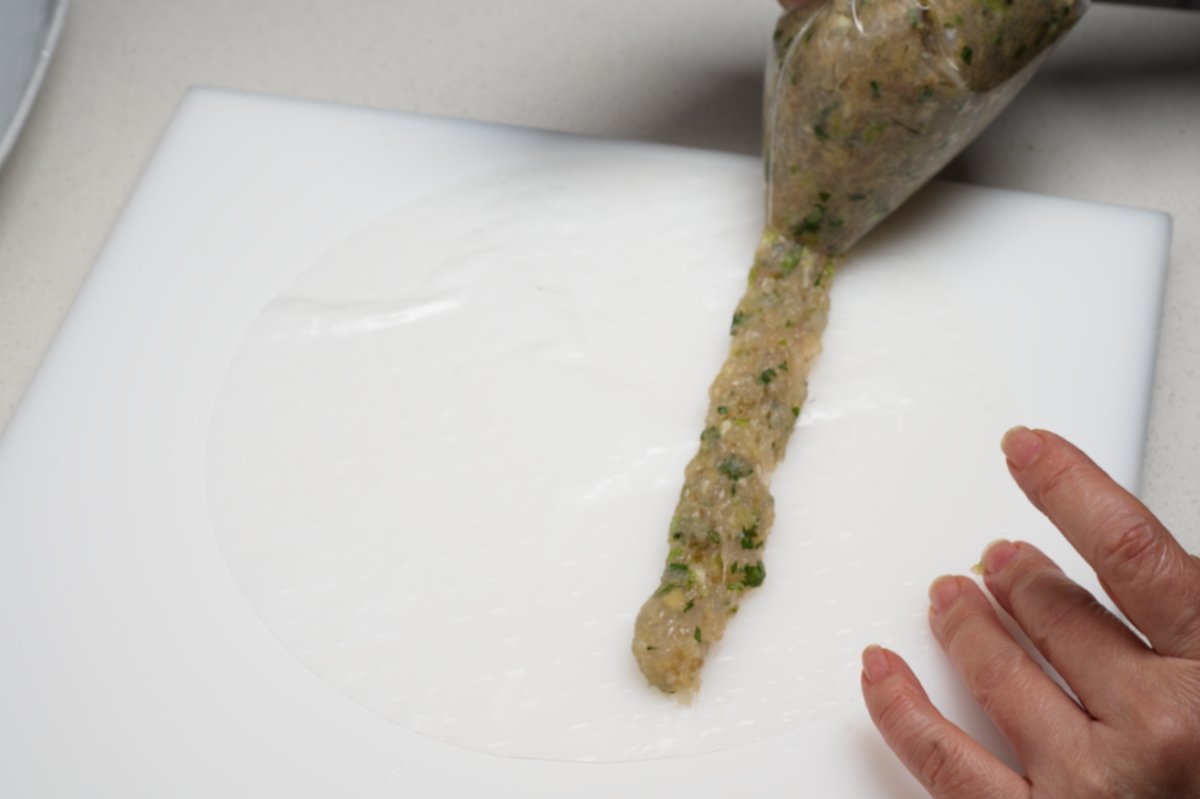
Snip off one corner of the filling bag so the opening is about ½ inch wide. Voilà: makeshift piping bag. This will make filling the dumplings really easy and virtually mess free. Pipe a line of shrimp filling across the bottom third of each sheet, leaving a little space at the sides.

snipped bag of filling

piping shrimp dumpling filling

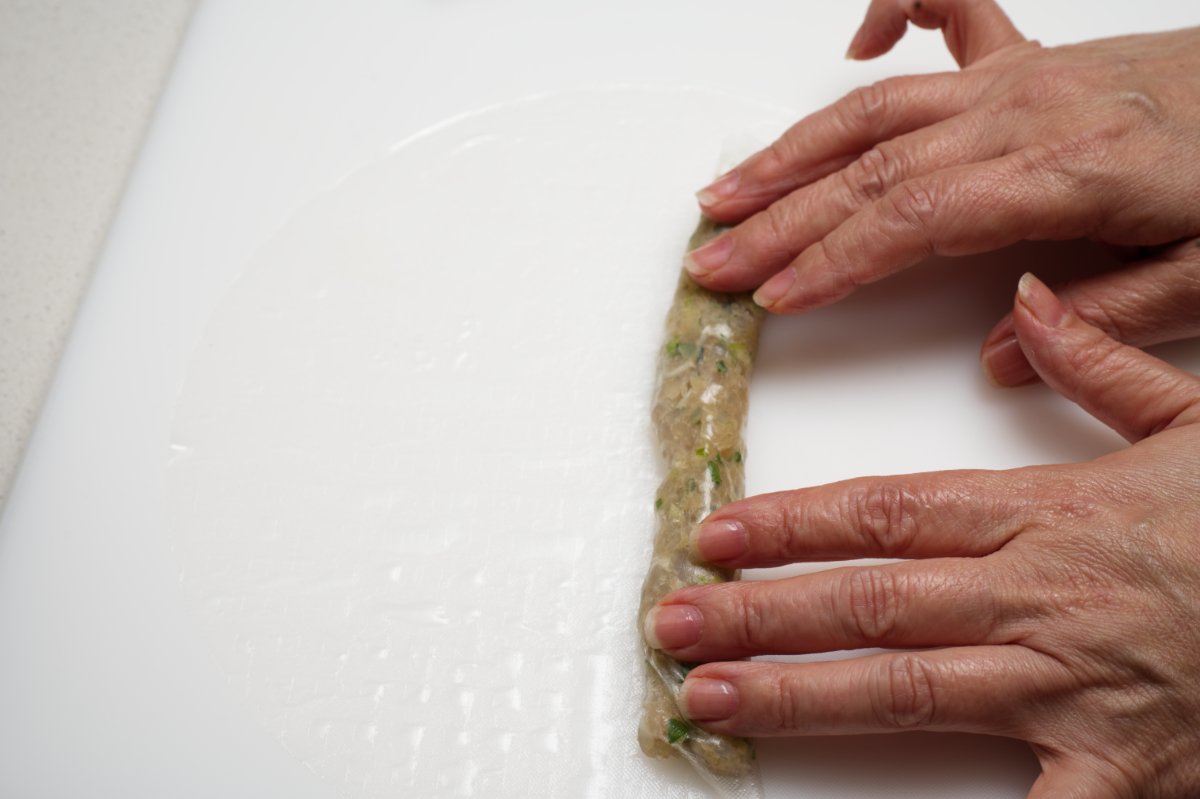
Fold the bottom of the rice paper up over the shrimp filling, then continue rolling it up like a cigar.

rolling cigar shapeCurl one end in and roll again to form a little spiral—kind of like a mini cinnamon roll. The rice paper is sticky, so it’ll hold its shape.

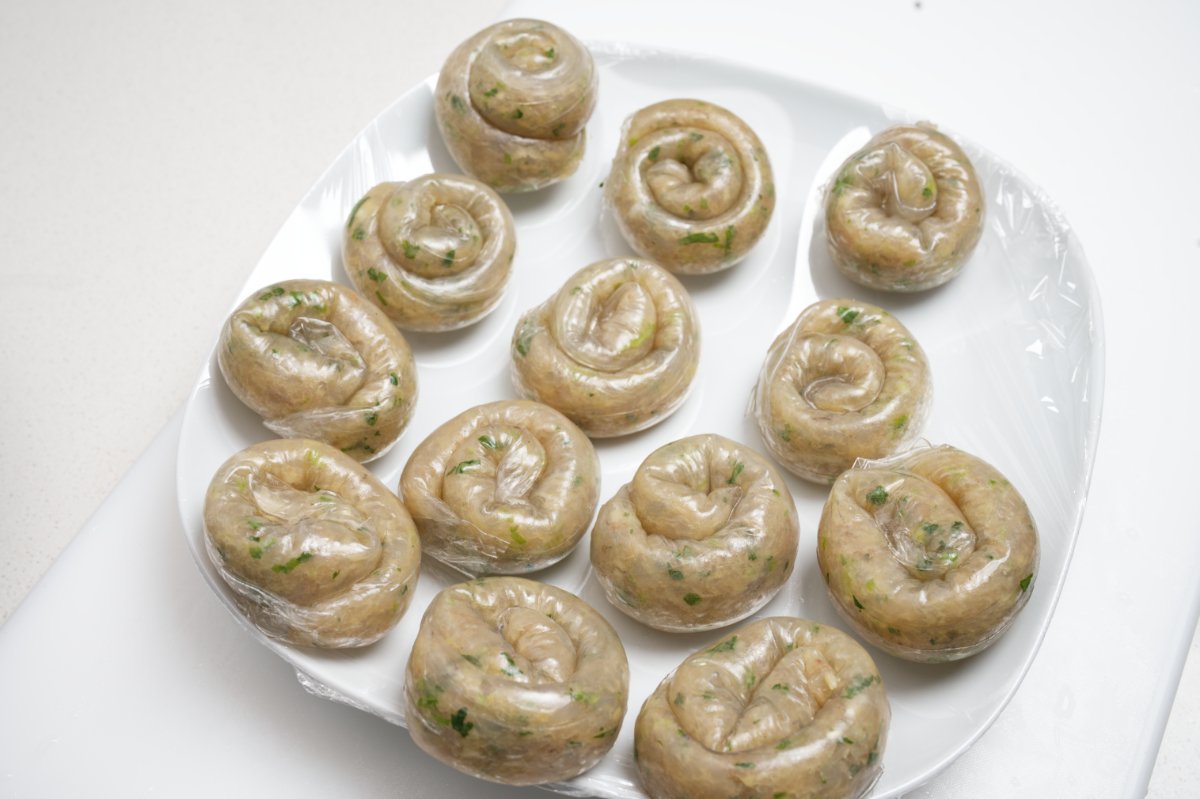
Place them on a plate lined with plastic wrap or a silicone mat so they don’t stick. Aren’t they so cute?!

all rolled up!

Repeat until all your filling is used—you’ll get about a dozen dumplings. It’s important to leave space between each dumpling so they don’t stick together. Remember the rice paper is very sticky.

Now it’s time to cook these babies up! You have two options, you can either pan fry in air-fry them. I prefer pan frying because that really puts the crispy in my Crispy Shrimp Dumplings and the dumplings have better color, plus it helps them stay intact better. Most importantly, they are ready for devouring quite a bit faster. I give instructions for both though on the recipe card below.

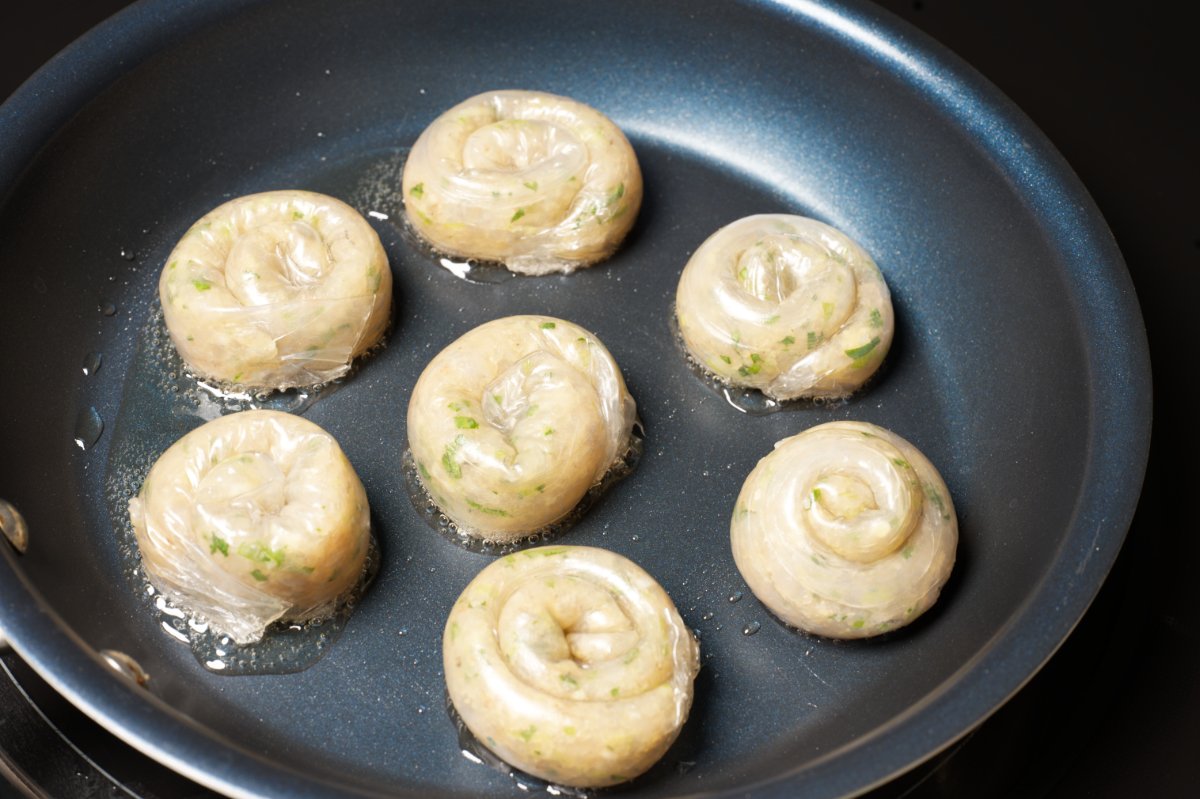
To pan fry, heat a large nonstick skillet over medium heat with a tablespoon of neutral oil. Add dumplings in a single layer, making sure there’s space between them.

dumplings in pan

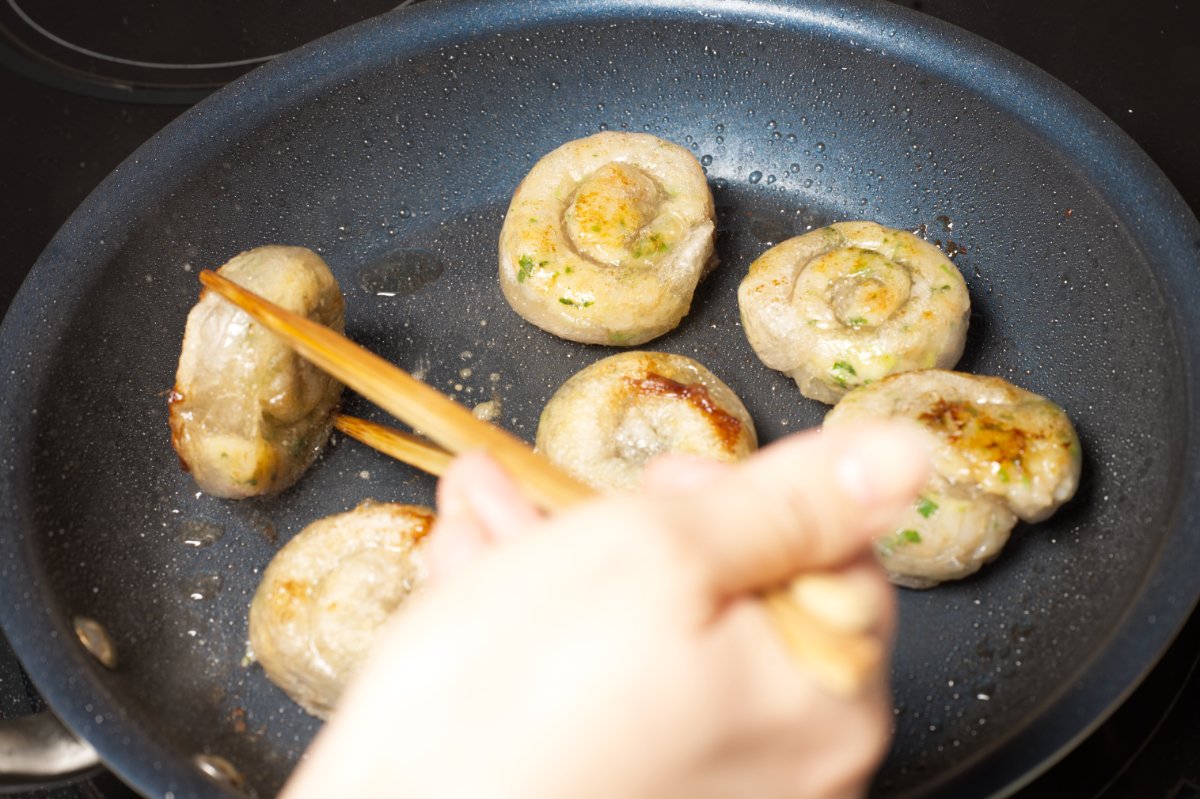
Cook for 3 minutes until golden, then flip gently.

flipping shrimp dumplings

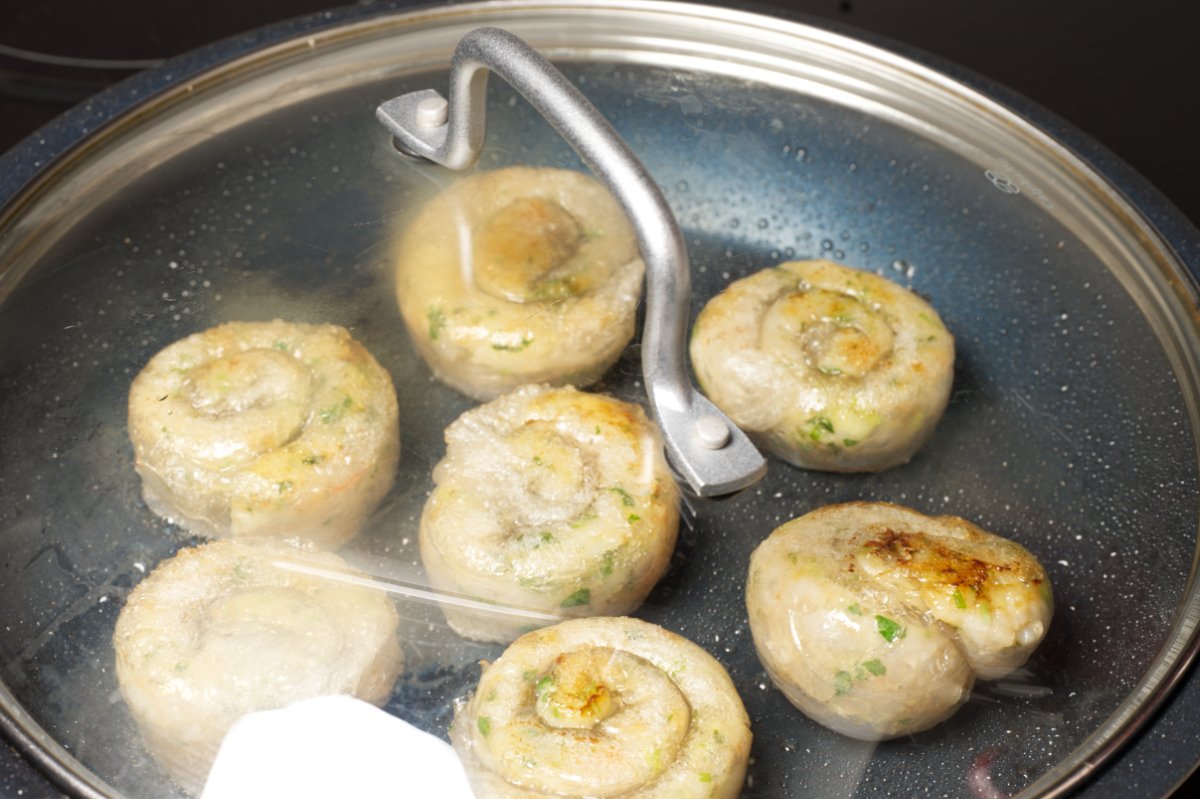
Cover the pan and cook for another 3 minutes to steam the filling through.

putting lid on pan

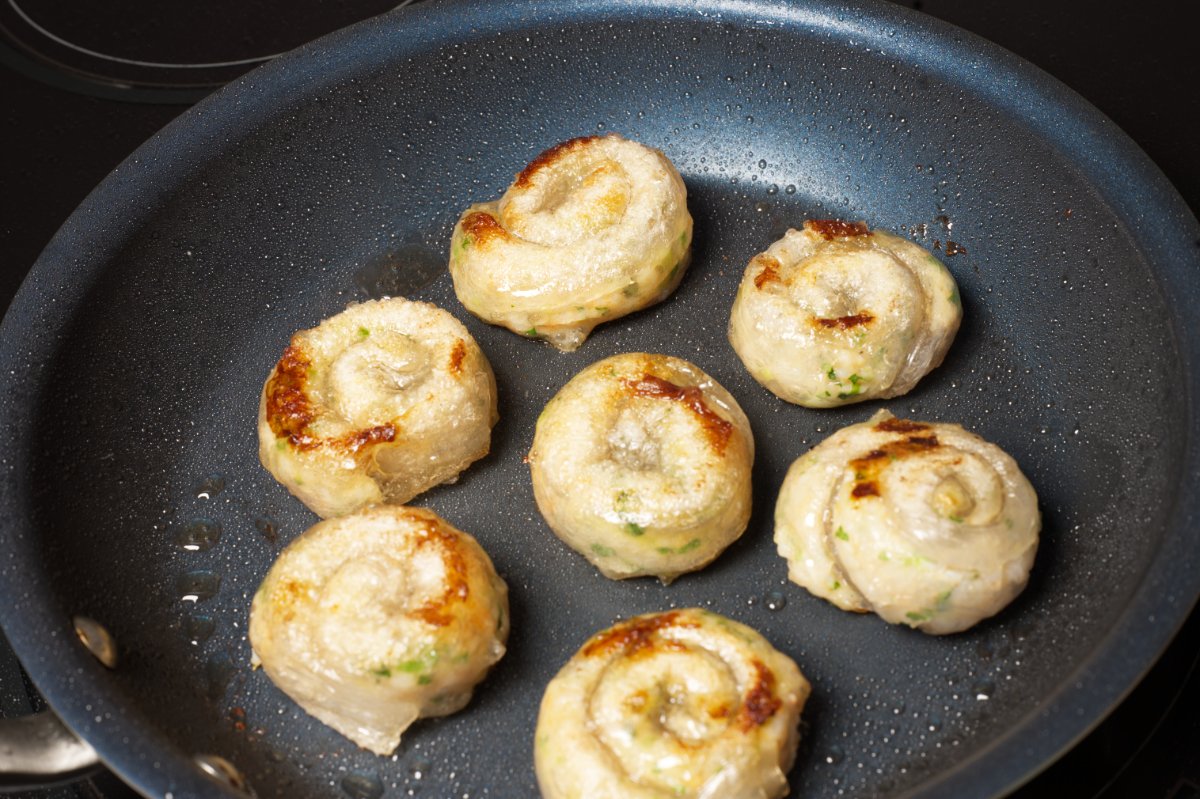
Uncover, flip one more time, and cook for an extra minute to crisp the other side.
cooking til crispy

These delectable little snacks are meant to be eaten right away, they don’t hold well and lose their crispiness. I mentioned how flavorful the filling is and how they don’t need a dipping sauce. Of course, we won’t judge you if you still want to dip. The classic dipping sauce in our Pork Gyoza will go beautifully with these. Or the nuoc cham dipping sauce from our noodle bowl would perfectly at home here as well.

beauty shot

If you’ve been craving dumplings but dreading the folding, give these a go. They’re the perfect shortcut with zero compromise on flavor. Let me know if you try them—tag me @funkyasiankitchen so I can cheer you on!

Print
clock clock iconcutlery cutlery iconflag flag iconfolder folder iconinstagram instagram iconpinterest pinterest iconfacebook facebook iconprint print iconsquares squares iconheart heart iconheart solid heart solid icon
recipe card pic crispy shrimp dumpling

Crispy Shrimp Dumplings

  • Author: Funky Asian Kitchen
  • Prep Time: 15 minutes
  • Cook Time: 10 minutes
  • Total Time: 25 minutes
  • Yield: makes about a dozen
  • Category: snacks
  • Cuisine: pan-Asian

Ingredients

Scale
  • 1 pound shrimp, any size
  • 2 scallions, trimmed and minced
  • 3 Tablespoons chopped cilantro
  • 2 teaspoons peeled and minced ginger
  • 2 cloves garlic, minced
  • 1½ Tablespoons oyster sauce
  • ⅛ teaspoon salt 
  • ⅛ teaspoon ground white pepper
  • 2 teaspoons sesame oil
  • 12 sheets round rice paper
  • 1 Tablespoon neutral oil or Oil Spray if using air-fryer

Instructions

Make the filling- Put all of the ingredients except for the rice paper and oil spray into the bowl of a food processor. Pulse 8-10 times until the shrimp is very roughly chopped. Scrape the shrimp mixture into a bowl and give it a good stir so everything is well mixed. Place the shrimp filling into a quart size zip top bag, squeezing out all of the air. Cut a corner tip off so that the hole is about ½ inch long. 


Make the dumplings- Fill a large bowl with water. Slide the rice paper into the water and submerge it gently. Put the rice paper onto the cutting board. Repeat with another piece of rice paper and put it next to the first one. Let it sit for a minute to rehydrate and soften. Squeeze the shrimp filling across the paper at the bottom third of the rice paper, leaving a small gap at the edges.


Fold the rice paper over the shrimp filling and then continue to roll it up like a cigar. Next curl one edge in and start rolling it up so it looks like a mini cinnamon roll. Place the rolls on a plate (I covered my plate first with plastic wrap so the rolls wouldn’t stick.) and continue making dumplings until you use up all of the filling. 


It is very important that you leave enough space between the dumplings so they do not stick together. 


You will yield about a dozen pieces.


Cook the dumplings– You can either cook the dumplings in a non-stick pan or air fry them. I prefer pan-fried, which gives the dumplings better color, texture, and the skins break apart less too.


Pan Fry– Heat a large non-stick skillet over medium heat with a Tablespoon of oil. Place the dumplings in the pan so that there is space between them. Cook them for 3 minutes and then flip them over gently. Place a lid over the pan and continue to cook for 3 minutes. Take the lid off and flip the dumplings one more time, cooking for another minute or so to give them a little more crispiness. Transfer the dumplings to a plate and serve immediately.
 

Airfry- Spray the baking sheet with oil and then place the dumplings on the sheet, leaving space between them. Spray the dumplings with the oil spray and cook for 12 minutes on 350 degrees. Transfer the dumplings to a plate and serve immediately.


Notes

*These dumplings are highly seasoned and do not need any sauce.
*Eat these dumplings right away as they do not reheat well. If 12 dumplings are too many to finish, either make half the recipe or only make half of the dumplings, reserving the rest of the filling. Cover and refrigerate the leftovers. Use up the rest of the filling within 2 days.
Keywords: dumplings, crispy, rice paper, shrimp