Category: Quick

Beef Lo Mein

Beef Lo Mein

Few dishes hit the retro comfort-food sweet spot quite like a big plate of Beef Lo Mein.  Tender slices of beef, springy egg noodles, and crisp vegetables are tossed in a savory sauce rich with oyster sauce, soy sauce, and fragrant sesame oil. It’s the read more
Green Curry Wings

Green Curry Wings

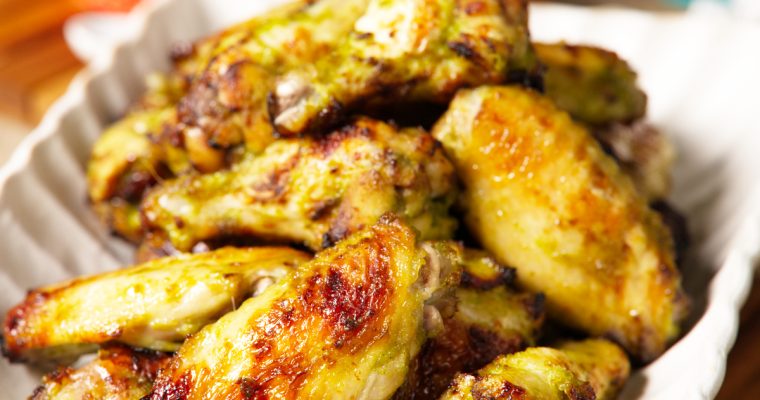
So apparently there’s going to be a football game during the Bad Bunny concert this weekend . While I’m sure you can deduce that the Super Bowl is not be my thing, tailgating certainly is. And what is more iconic at a tailgate than wings…but read more

Healthy Breakfast Muffins

Healthy Breakfast Muffins

Yes, yes, it’s January and we all know what means. Resolutions, clean eating, green juices, early morning workouts, stop skipping breakfast, get 10k steps a day, go to sleep at a reasonable hour, less screen time, eat more fiber, floss more, yadda yadda. But hear me out-what if you could knock a couple of those out with something that is actually delicious, and you’ll genuinely look forward to eating it? My Healthy Breakfast Muffins are naturally sweetened with ripe bananas and dates, packed with oats and seeds, and ridiculously moist thanks to buttermilk and oil. They are super quick to make, and all those oats and seeds mean they keep you full.

They’re flexible too — apples, berries, stone fruit, whatever you’ve got hanging out on the counter. Just don’t expect a fluffy cupcake situation here. These are hearty, nourishing, and exactly the kind of muffin you can feel good about grabbing on your way out the door, so let’s get into it.

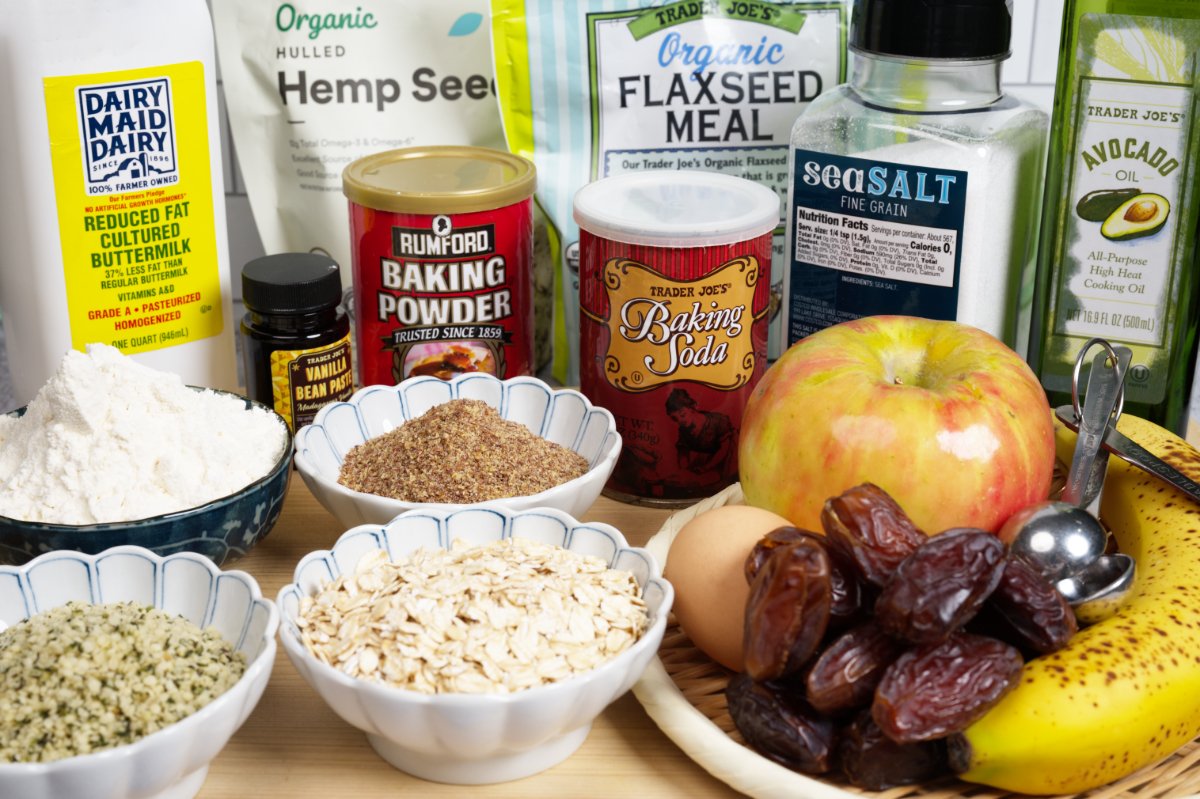
ingredient pic for healthy breakfast muffins

If you took a glance at the photo above, you may be asking yourself, where’s the sweetener in the recipe? My personal challenge was to make a muffin without any. So none of the usual suspects made it into my line up. And for once, this isn’t a photo blooper with a missing item (Guilty!), but rather an intentional collection of whole ingredients that boost sweetness without adding any sweetener. If you’re looking to move away from SAD (Standard American Diet for those who missed this cute little acronym) breakfasts full of sugar, processed meats, and refined carbs, look no further. Every ingredient here we use will boost your energy and fuel your body with good nutrition.

While I love something quick and healthy in the morning, I’m not a huge fan of eating something just because it’s healthy. And my biggest pet peeve is a dry, heavy, flavorless bran/oat/fiber muffin. Well I can guarantee that this is not one of those. These muffins are super moist and have a smooth texture that doesn’t taste like a traditional muffin. For those of you burned by bad healthy muffins, I humbly ask you to give these a try.

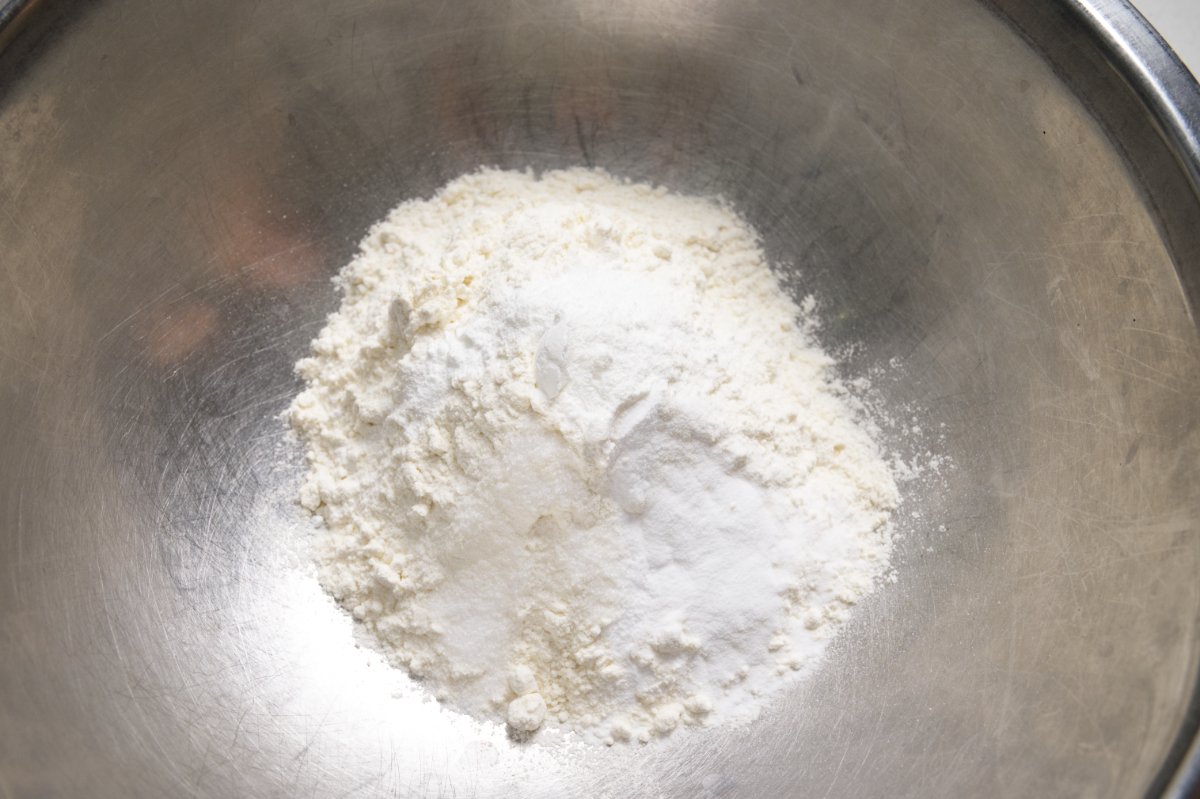
Healthy Breakfast Muffins start by combining the dry ingredients in a bowl. I like to always mix my dry ingredients together first. I know many recipes dump all the ingredients into one bowl and then ask you to mix; however, I like to know that the leavening agents are mixed with the flour before adding anything else. I used all purpose unbleached flour here, but you could also use whole wheat or even a combination of white and whole wheat flours:

adding flour to mixing bowl for healthy breakfast muffins

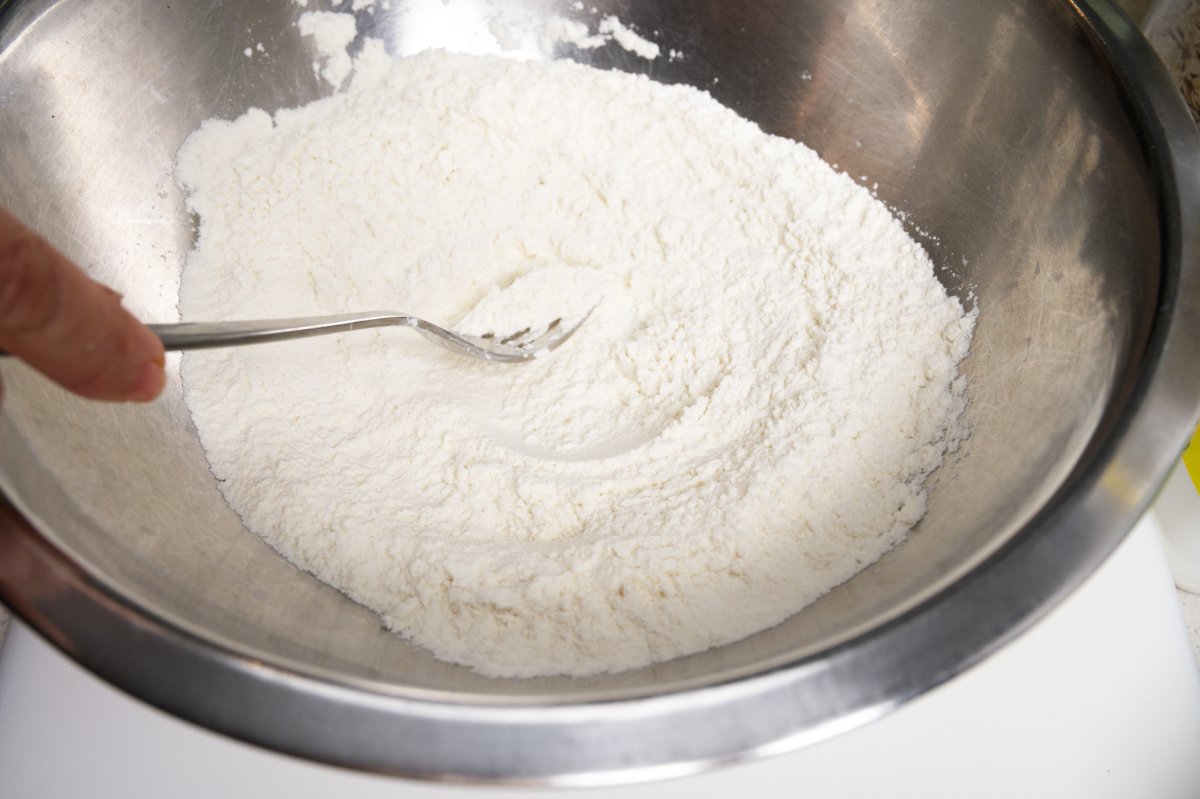
Give it a good stir to combine:

stirring dry igredients for healthy breakfast muffins

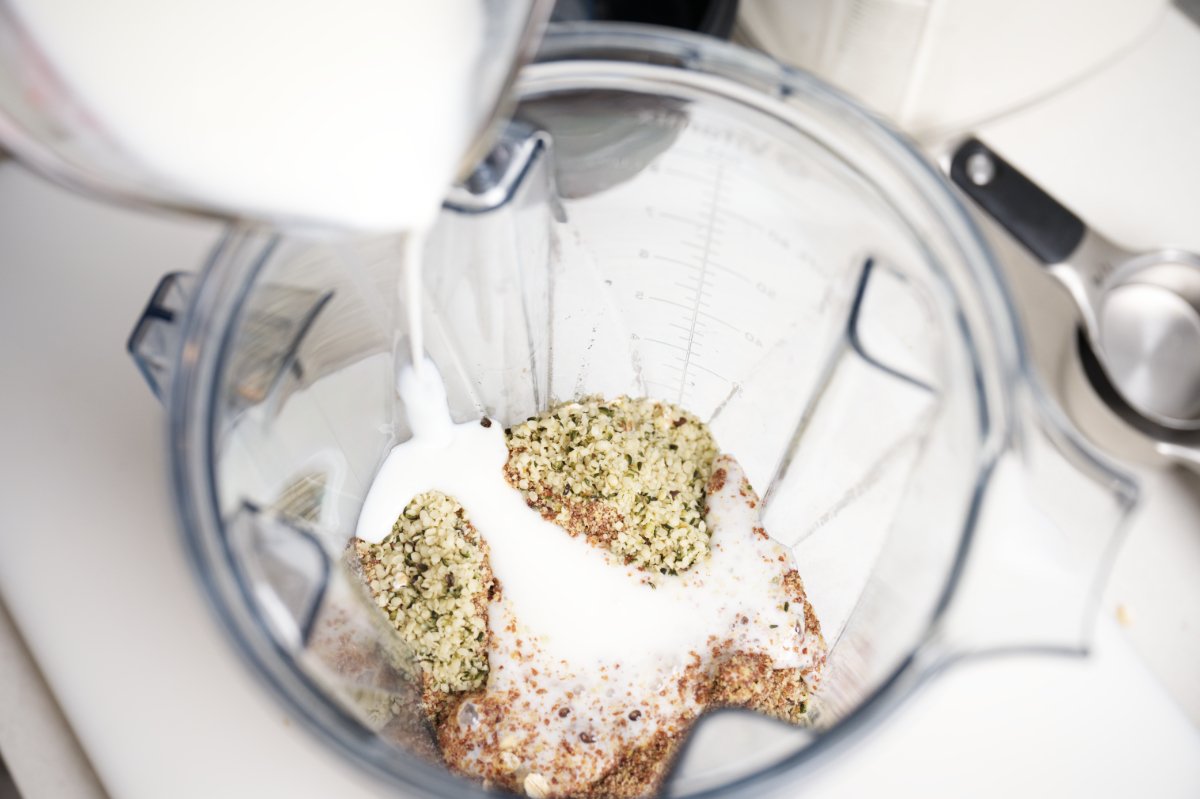
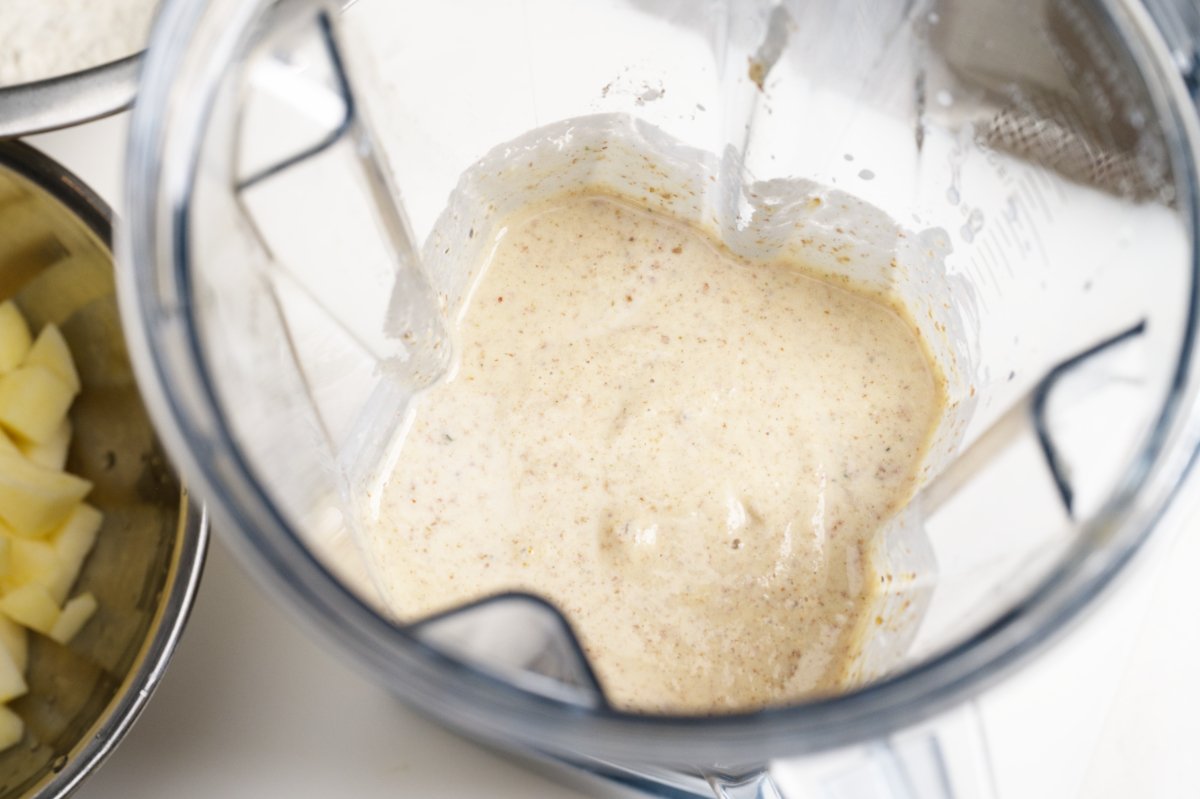
Then I blend the rest of the ingredients. Blending the oats and seeds with the wet ingredients may seem unorthodox, but it gives the muffins a smooth texture instead of a coarse, gritty one. Add the oats, hemp and ground flax seeds to the blender along with the buttermilk, banana, dates, egg and vanilla:

blending seeds for healthy breakfast muffins

Blend until smooth (you can also use an immersion blender):

blending until smooth healthy breakfast muffins

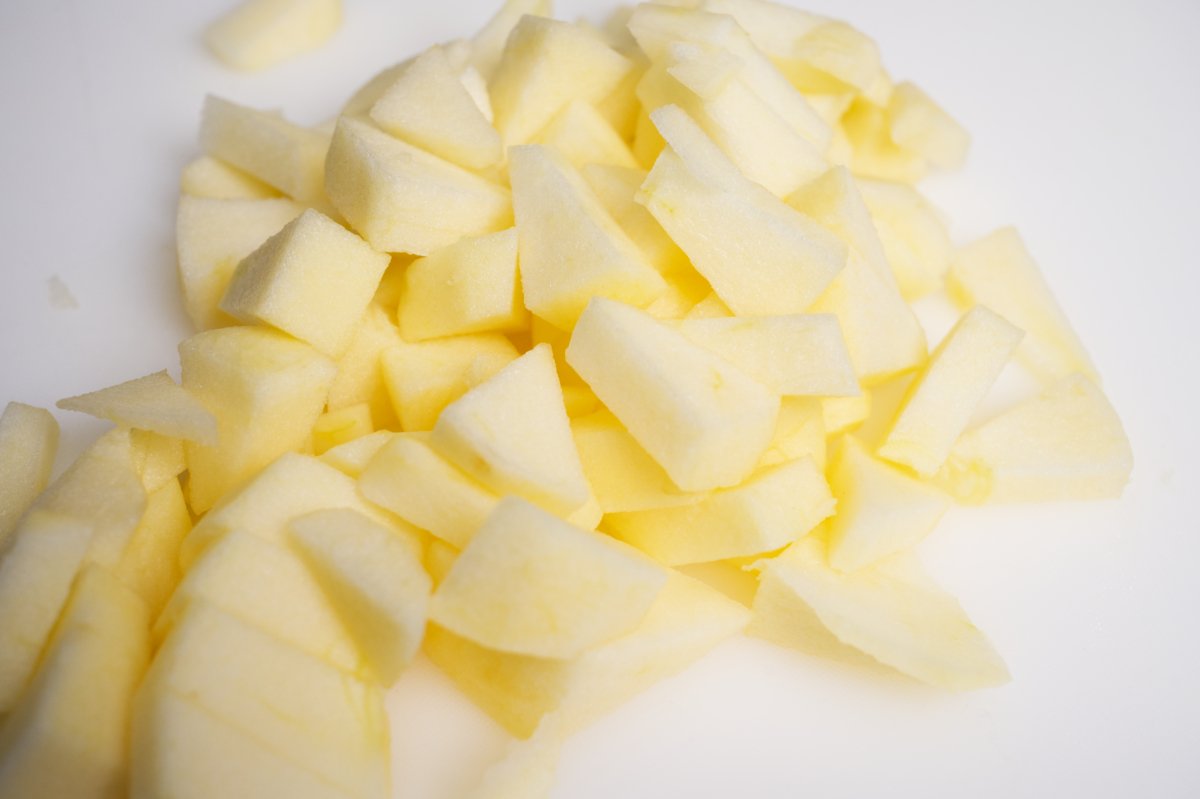
Then I add the fruit to the blender. You can choose whatever you have on hand or whatever looks good at the market. Berries, apples, more banana, stone fruit are all good choices. (Avoid citrus or pineapple — their acidity can keep the muffins from setting properly.) I used one honey crisp apple that I peeled and cut into chunks:

peeled apple healthy breakfast muffins

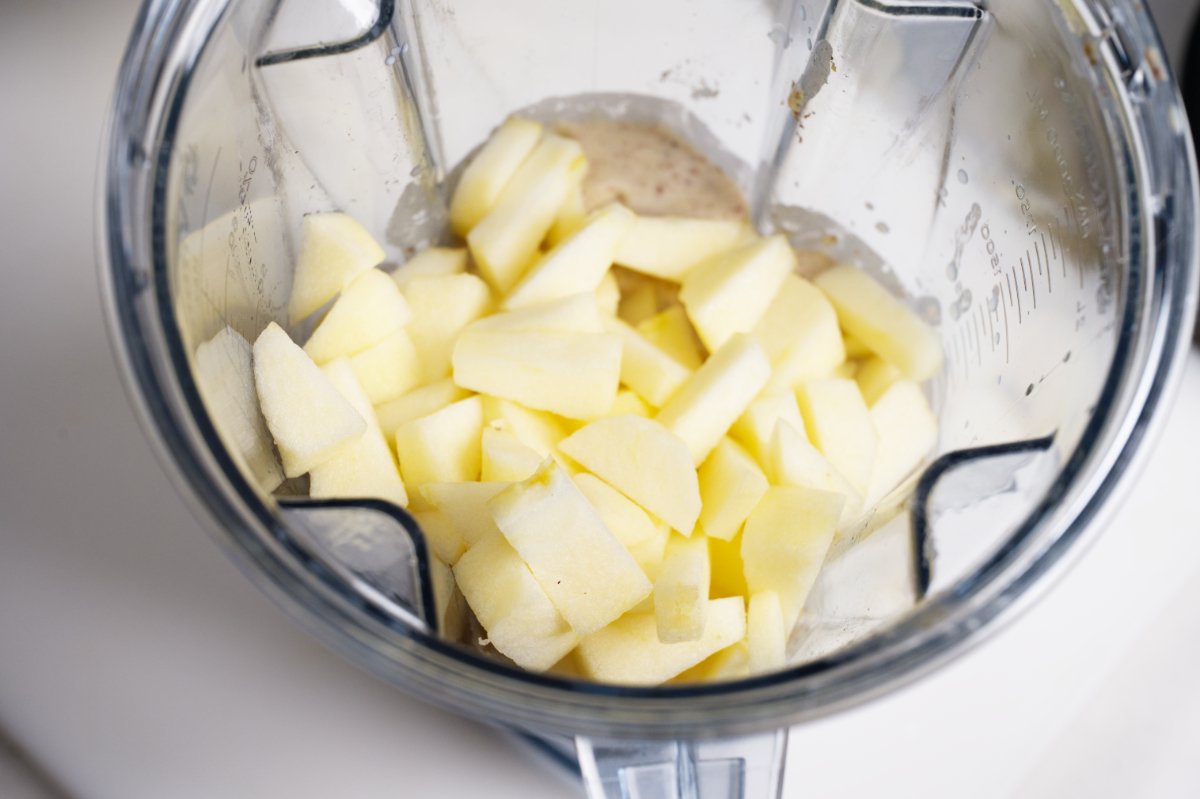
Pulse the fruit a few times to incorporate it into the batter while still leaving nice little chunks of fruit:

adding the apple to the blender

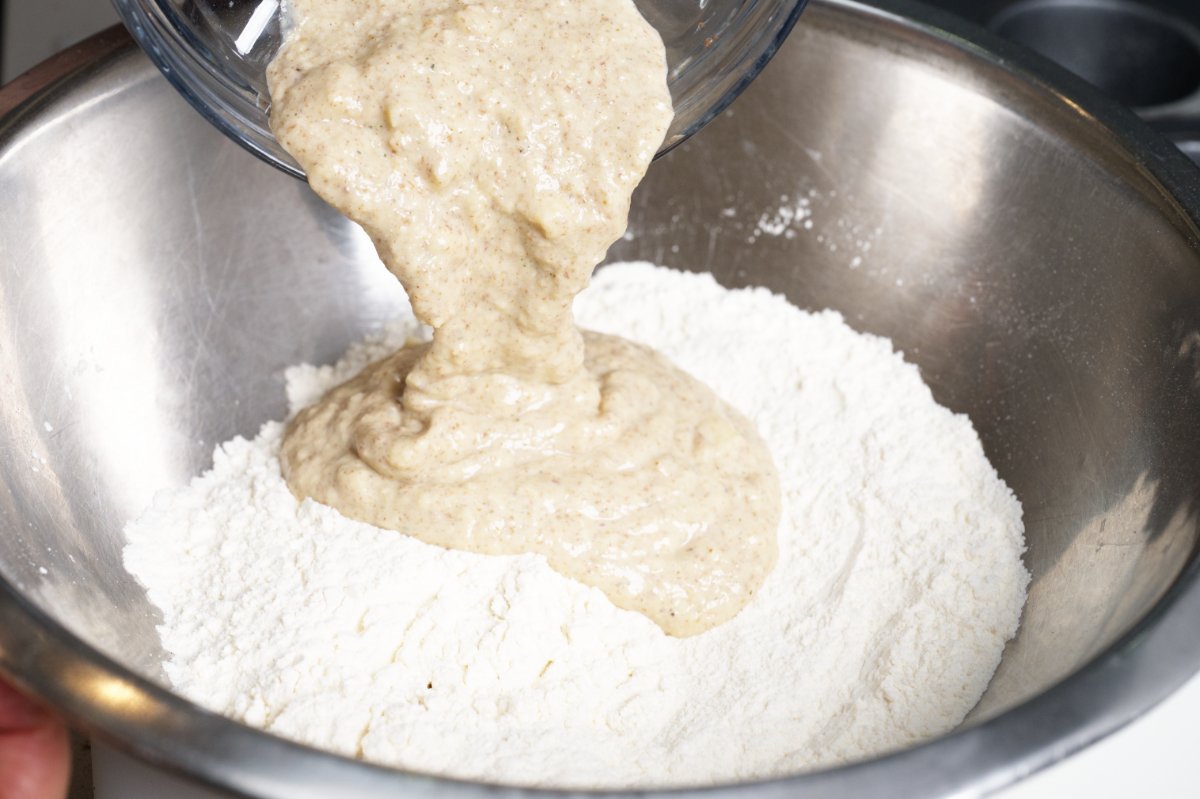
Then it’s time to add the blended ingredients into the dry:

adding wet ingredients to the dry healthy breakfast muffins

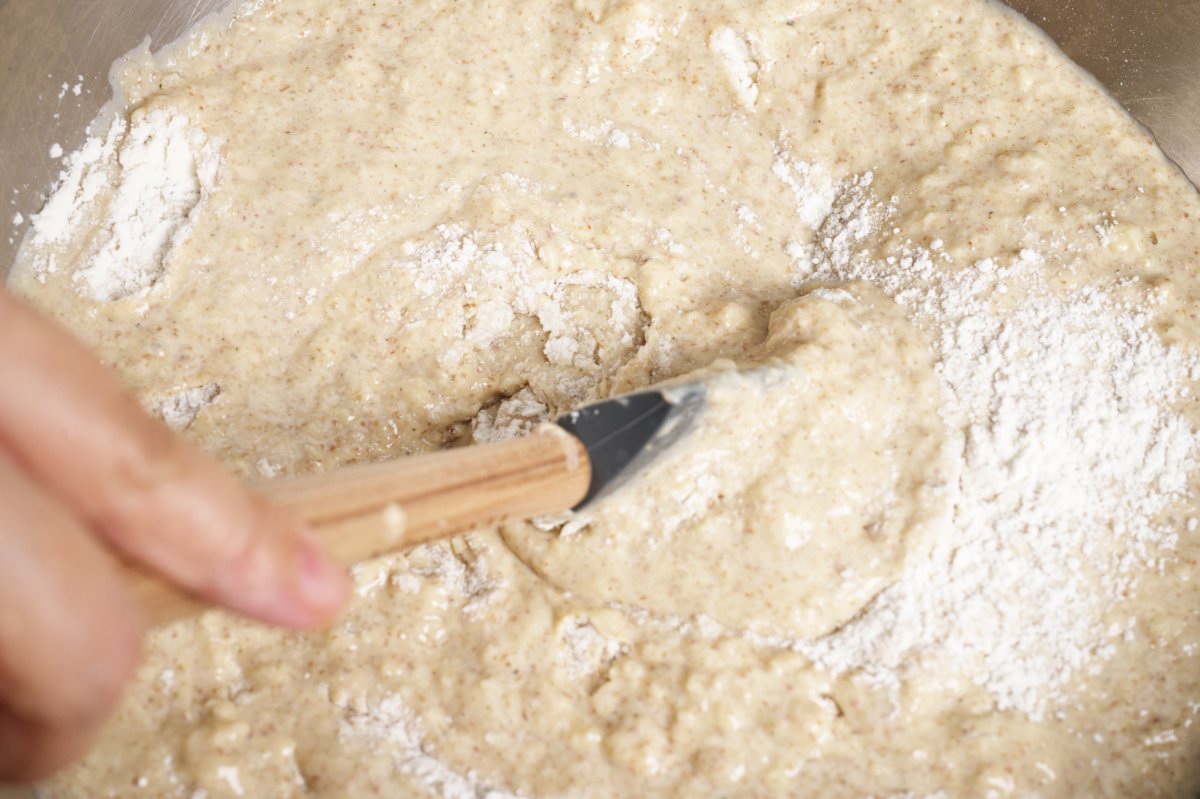
Whisk/mix until just combined (it’s ok if there’s a few lumps):

combining wet with dry for healthy breakfast muffins

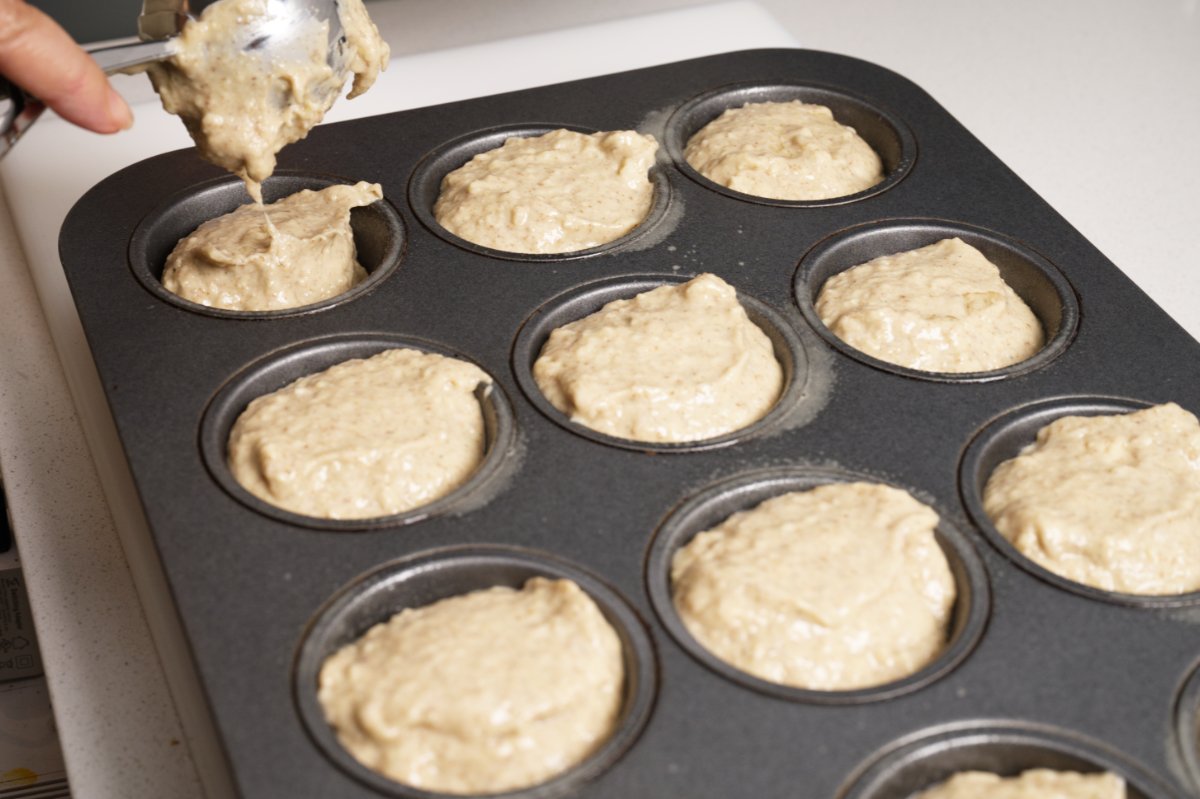
Now they are ready to bake! Spray a muffin tin with baking spray and evenly distribute the batter. You could also use papers to line the cups:

filling the muffin tin for healthy breakfast muffins

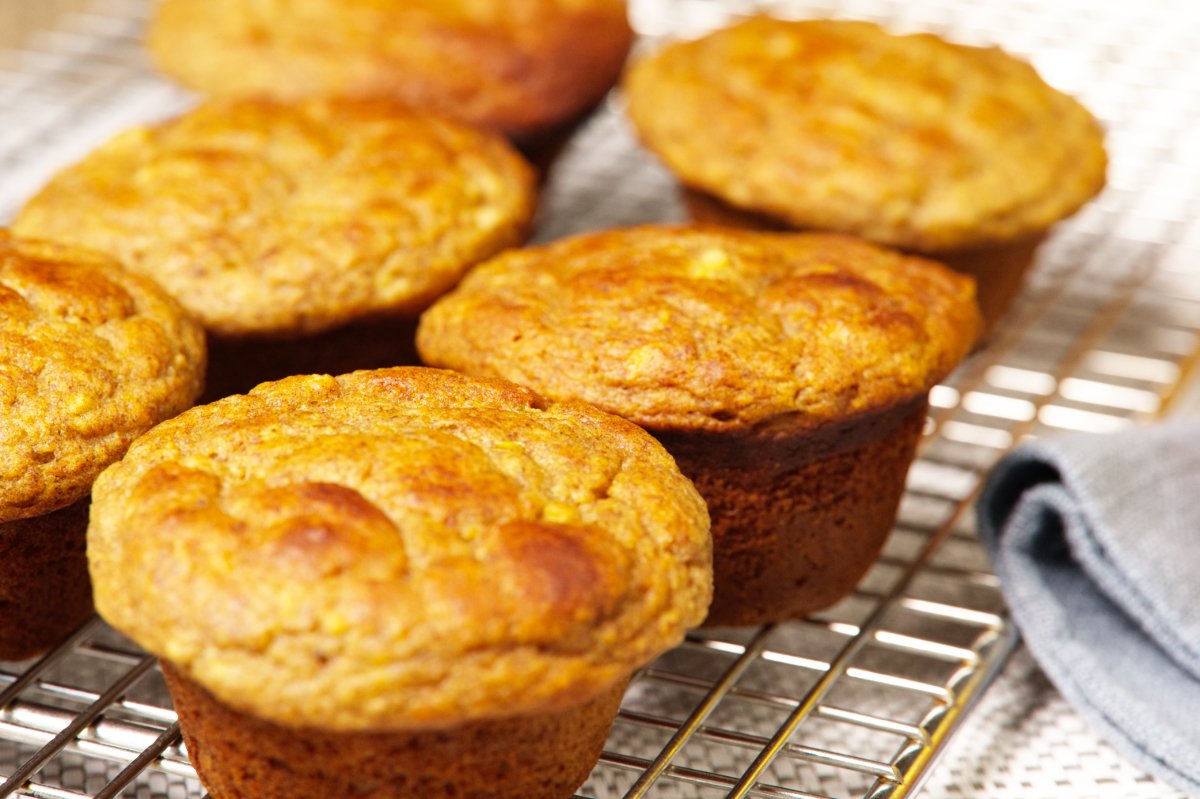
Bake for 16-18 minutes. A toothpick test should come out mostly dry with a few crumbs attached.  Transfer to a wire rack to let cool. I know, I know, you want a bite immediately but these muffins are super moist, giving them time to cool helps them set.

healthy breakfast muffins cooling on wire rack

These will keep at room temperate for a couple days. Any longer than that and you should refrigerate or freeze. They reheat beautifully but they are also great straight from the fridge. On the go breakfast, afternoon snack, late night a little something sweet, these healthy breakfast muffins can do it all! Bake these once this week and you’ve already knocked a couple of those January goals off your list. Let me know what you think down below, and let’s see those muffins! Tag us @funkyasiankitchen.

Looking for more quick and healthy breakfast options? Check out these Tropical Overnight Oats, my Avocado Smoothie, or this easy Korean Egg Souffle.


Print
clock clock iconcutlery cutlery iconflag flag iconfolder folder iconinstagram instagram iconpinterest pinterest iconfacebook facebook iconprint print iconsquares squares iconheart heart iconheart solid heart solid icon

Healthy Breakfast Muffins

  • Author: Funky Asian Kitchen
  • Prep Time: 10 minutes
  • Cook Time: 18 minutes
  • Total Time: 28 minutes
  • Yield: makes 12 muffins 1x

Ingredients

Scale
  • 1 ⅓ cups buttermilk
  • 1 very ripe banana
  • ½ cup neutral oil
  • 15 dried dates, pitted
  • 2 teaspoons vanilla extract
  • 1 large egg
  • ¼ cup ground flax seeds
  • ¼ cup hemp seeds
  • ½ cup rolled oats (any kind except instant is fine)
  • 1 ½ cups all-purpose flour (you can also use whole wheat flour)
  • 1 ½ teaspoons baking powder (preferably aluminum-free)
  • 1 ½ teaspoons baking soda
  • ¼ teaspoon table salt
  • 1 cup chopped fruit (I used 1 honey crisp apple, but you can use mixed berries, more bananas, or stone fruit. Do not use pineapple or citrus fruit)  

Instructions

Preheat the oven to 425 and move the oven shelf to the middle.

Prepare the wet ingredients

Add the buttermilk, banana, oil, dates, vanilla extract, egg, flax seeds, hemp seeds, and oats to the blend cup (You can also use an immersion blender). Blend until smooth. Add the fruit and pulse 1-2 times to break it up (Do not blend-just pulse).

Combine the dry ingredients

In a large mixing bowl, combine the flour, baking powder, baking soda, and salt. Whisk until well combined. 

Make the batter

Pour the wet ingredients into the dry and whisk until just combined.

Bake the muffins

Spray a 12-cup muffin tin with baking spray and divide the batter evenly into the cups. Bake the muffins for 16 to 18 minutes, rotating halfway through for even baking. Test the muffins with a toothpick. It should come out with a few crumbs attached but should not be wet.

Cool the muffins for 10 minutes in the pan first and then transfer to a wire rack to cool completely. 


Notes

*These muffins keep for 2 days at room temperature. Refrigerate or freeze afterwards as they are very moist. You can eat them cold from the fridge or reheat for a couple minutes in the microwave.

* If you don’t have any buttermilk, you can use sour cream or yogurt thinned with a little milk. You can also add 1 tablespoon of white vinegar to 1 ⅓ cups whole milk (do not use lower fat or plant milk) and let it sit for 10 minutes. The milk will curdle. Stir it up and then continue with the rest of the recipe.

Keywords: breakfast, back to school, grab and go, healthy, baking, muffins


Green Papaya Slaw

Green Papaya Slaw

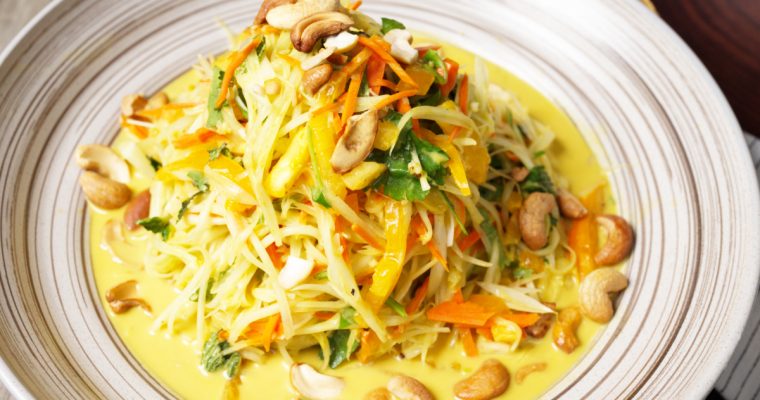
Green papaya slaw is one of those dishes that somehow manages to be light, creamy, crunchy, and deeply satisfying all at once. Inspired by the bright, crunchy papaya salads you’ll find across Southeast Asia, this version leans creamy thanks to a coconut milk–based dressing. If read more

Shrimp and Celery Salad

Shrimp and Celery Salad

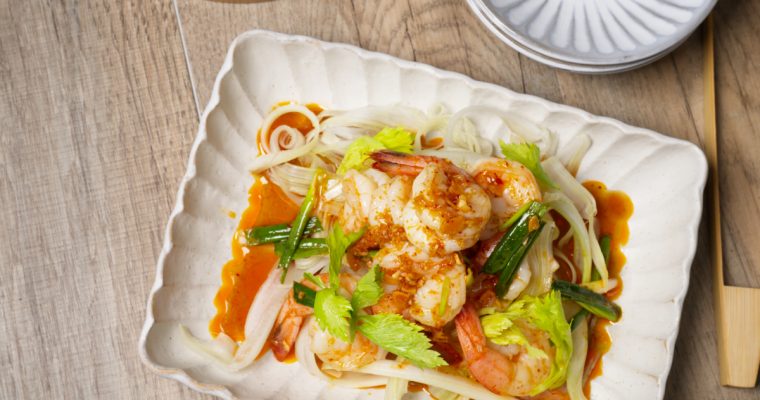
This time of year, holiday tables tend to be loaded with rich, cozy dishes — slow cooked braises, roasts, creamy casseroles, buttery desserts — and while that’s absolutely part of the joy, it’s also when something light and crisp becomes especially welcome. This Shrimp and read more

Salt and Pepper Wings

Salt and Pepper Wings

This time of year always feels like a sprint—shopping, hosting, remembering to feed the people who live with you…. Between holiday errands, late-night gift wrapping, and prepping for houseguests, December cooking needs to be simple but still feel special. These Salt and Pepper Wings hit that sweet spot. They’re quick to throw together, deeply savory, and perfect for nibbling with a cocktail in hand.

And because everything feels a little extra this time of year—extra plans, extra people, extra chaos—there’s something nice about having a recipe that’s pared down to the essentials. No glaze, no complicated marinade, no deep-frying. Just simple, clean flavors and the kind of crispy skin that keeps everyone circling the kitchen island. Just a quick soak in sake, a sprinkle of seasoning, and either a blast in the air fryer or a few minutes under the broiler. Suddenly you’ve got a platter of crisp, juicy wings that disappear faster (seriously, make a double batch) than you can put them down, so let’s get into it.

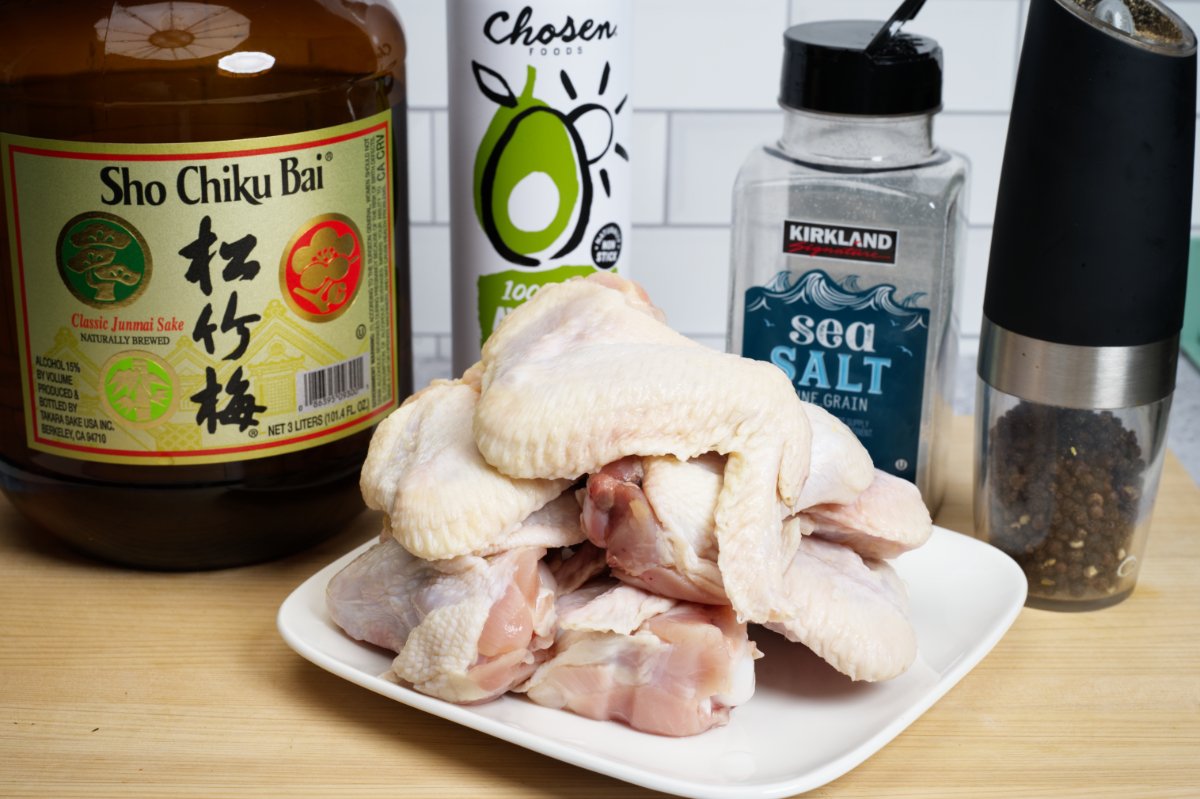
ingredients for salt and pepper wings

You can leave your chicken wings whole if you want, but I like to break mine down. I find that people tend to either  prefer the drumettes OR the flats and this way everyone can grab their favorite piece.

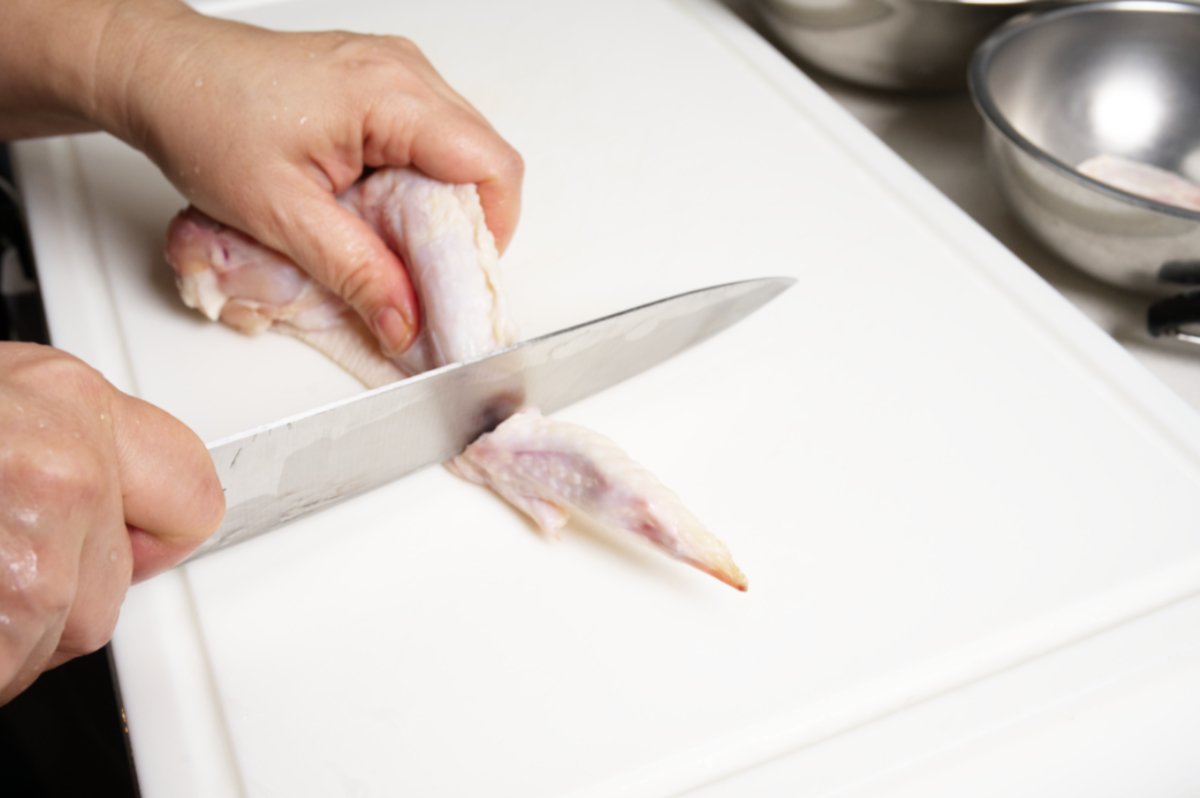
Start by cutting off the tip with a sharp knife:

cutting off tip for salt and pepper wings

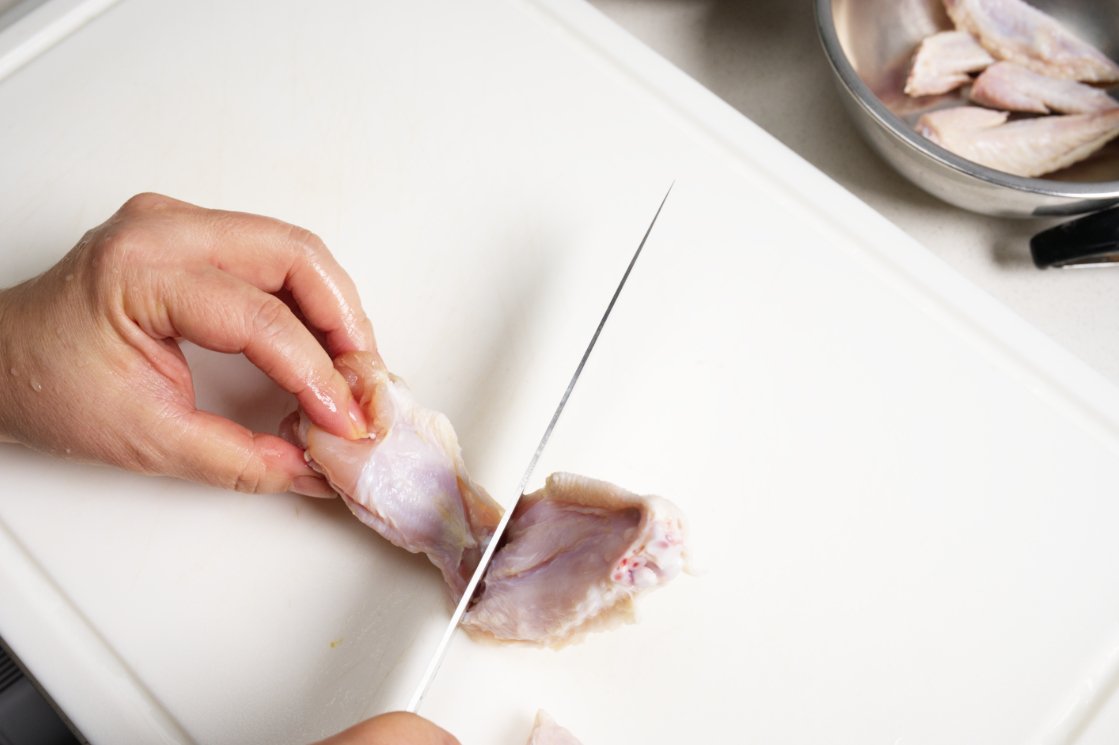
Locate the joint between the drumette and the wingette and press down with your knife to separate the two:

separating wings

My super simple Salt and Pepper Wings start with a super simple marinade. So simple that there’s just one ingredient: sake! In many Japanese kitchens, sake isn’t just for sipping or for splashing into sauces — it’s also used as a gentle, effective marinade that tenderizes proteins and keeps them juicy. But don’t worry, this isn’t an hours long bath, even a short 10–15 minutes works wonders. The sake lightly seasons the wings, helps remove any raw poultry aromas, and starts breaking down the fibers so you get incredible tenderness without any long wait.

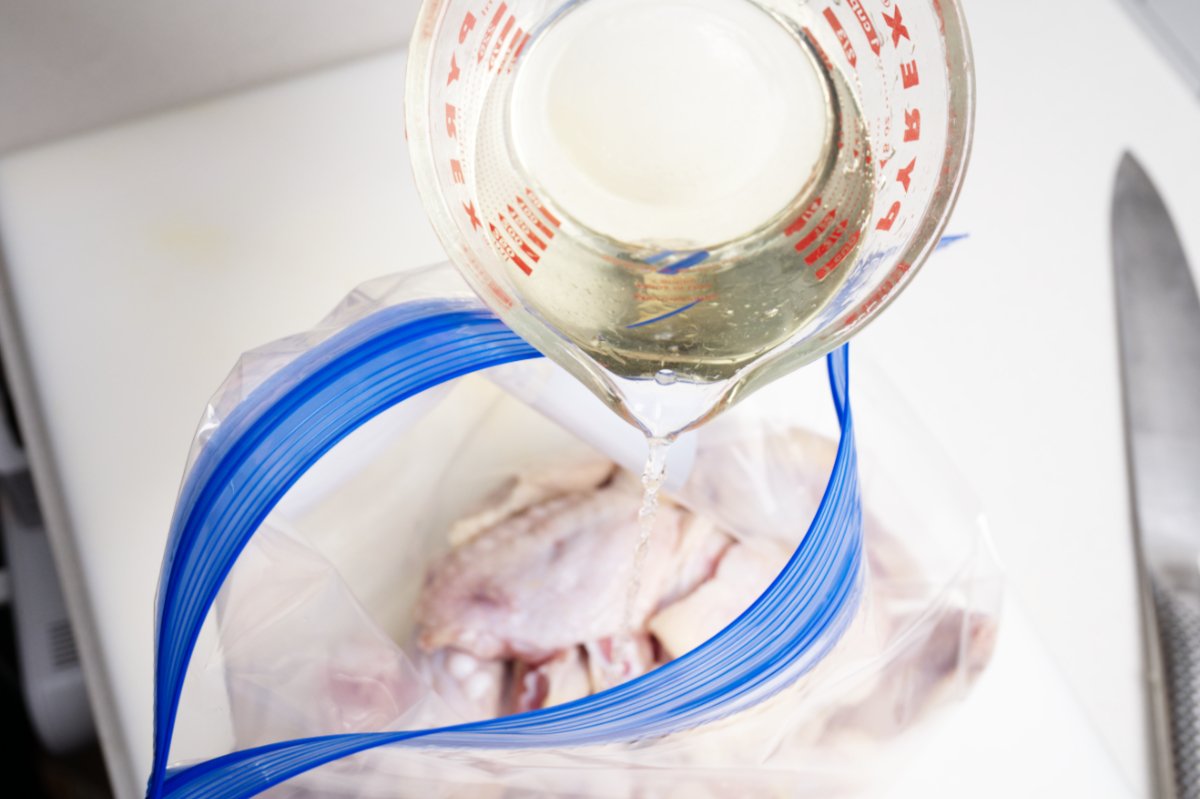
Add the wings and the sake to a large zip lock bag. Take this time to pour everyone a drink, my Ginger Saketini perhaps? By the time that is done, the wings will be done marinating.

pouring sake into ziplock bag with wings

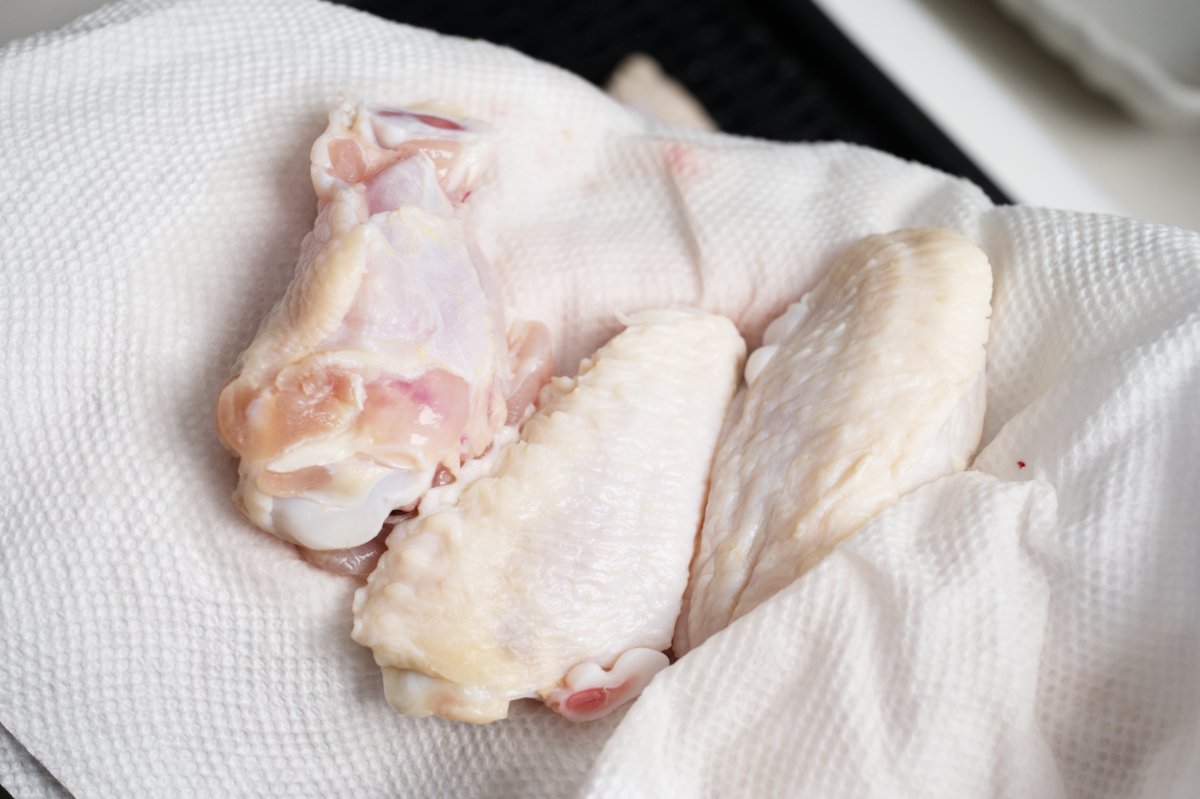
Once they’ve had their 15 minute sake bath, it’s time to dry the wings off. This is the secret to getting that beautiful crispiness from the air fryer or broiler without dredging or deep-frying. Moisture is the enemy of browning; the drier the surface, the crispier the salt and pepper wings.

drying the wings with paper towel

Now you get to choose your culinary adventure; do you want to air fry these beauties or use your oven’s broiler? Both methods will produce gorgeous, bronzed crispy Salt and Pepper Wings. The broiler requires a bit more oversight to ensure they don’t burn. I give you directions for both methods on the recipe card.

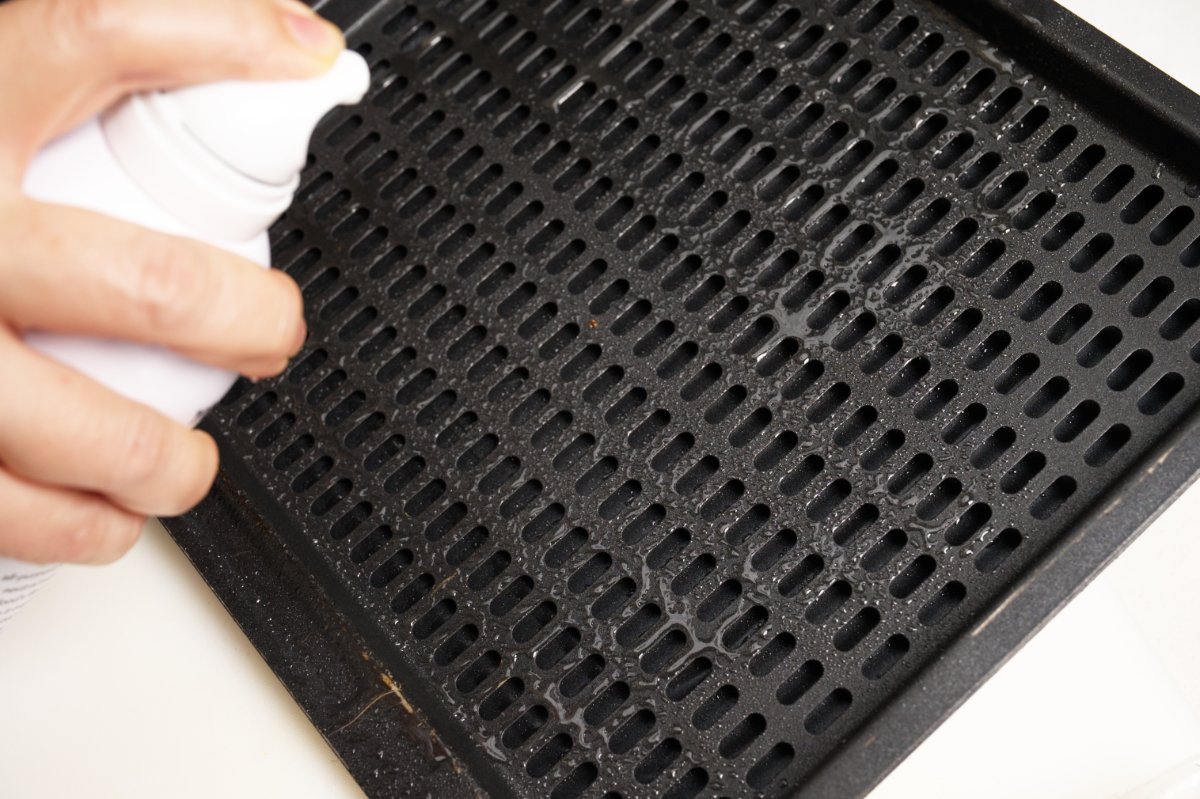
Spray the baking pan with oil:

spraying pan for salt and pepper wings

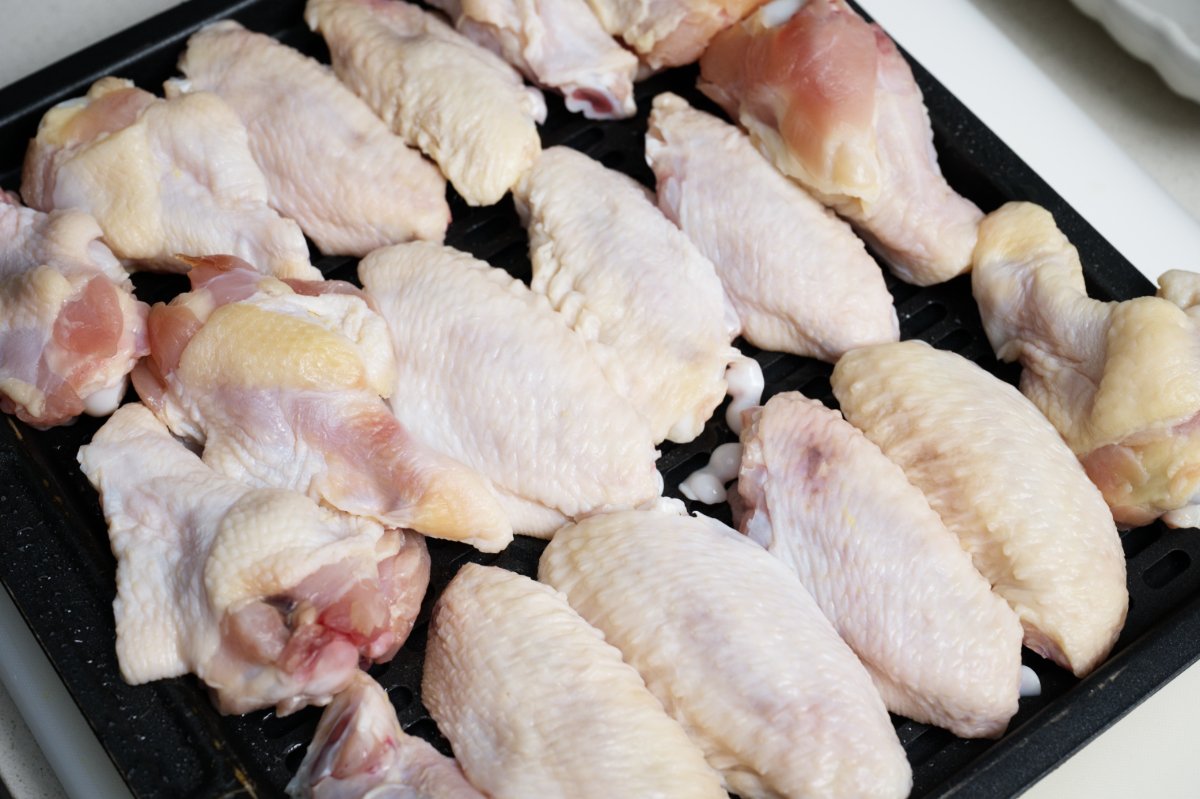
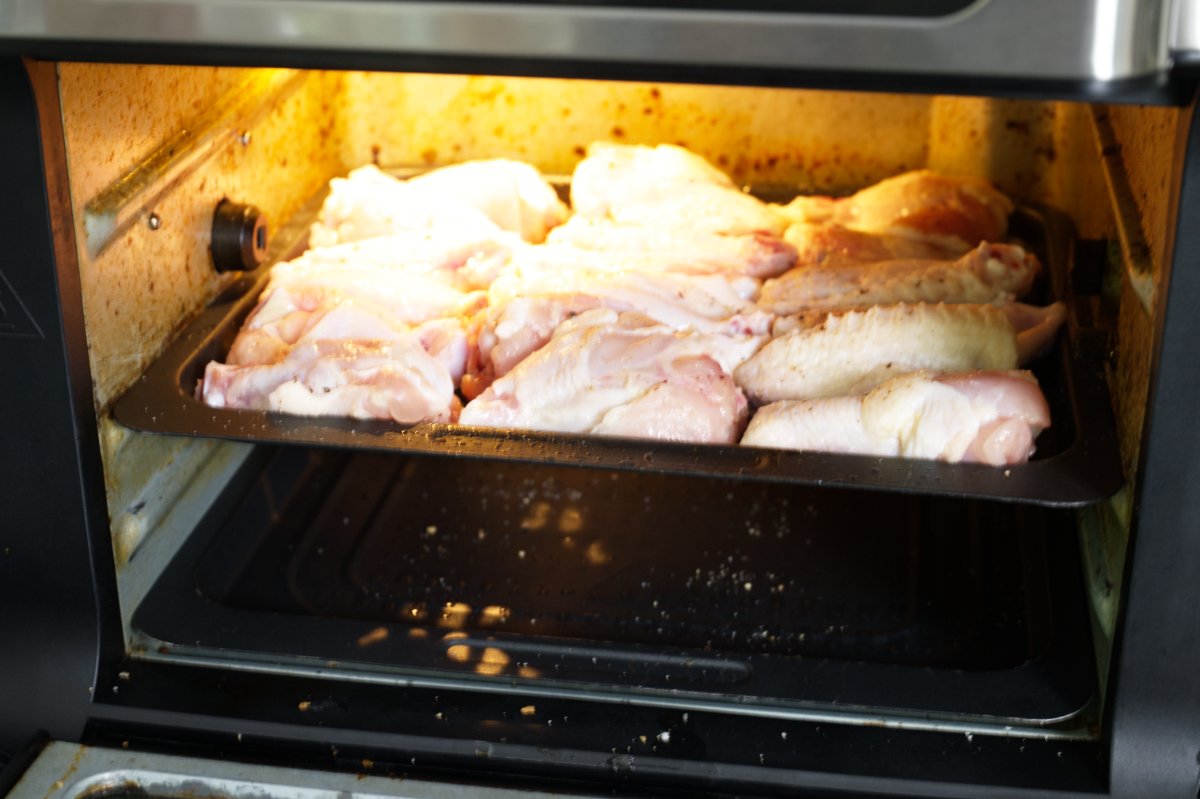
Lay the wings in a single layer. If you have a small air fryer you may have to cook them in multiple batches.

lay wings flat on baking sheet

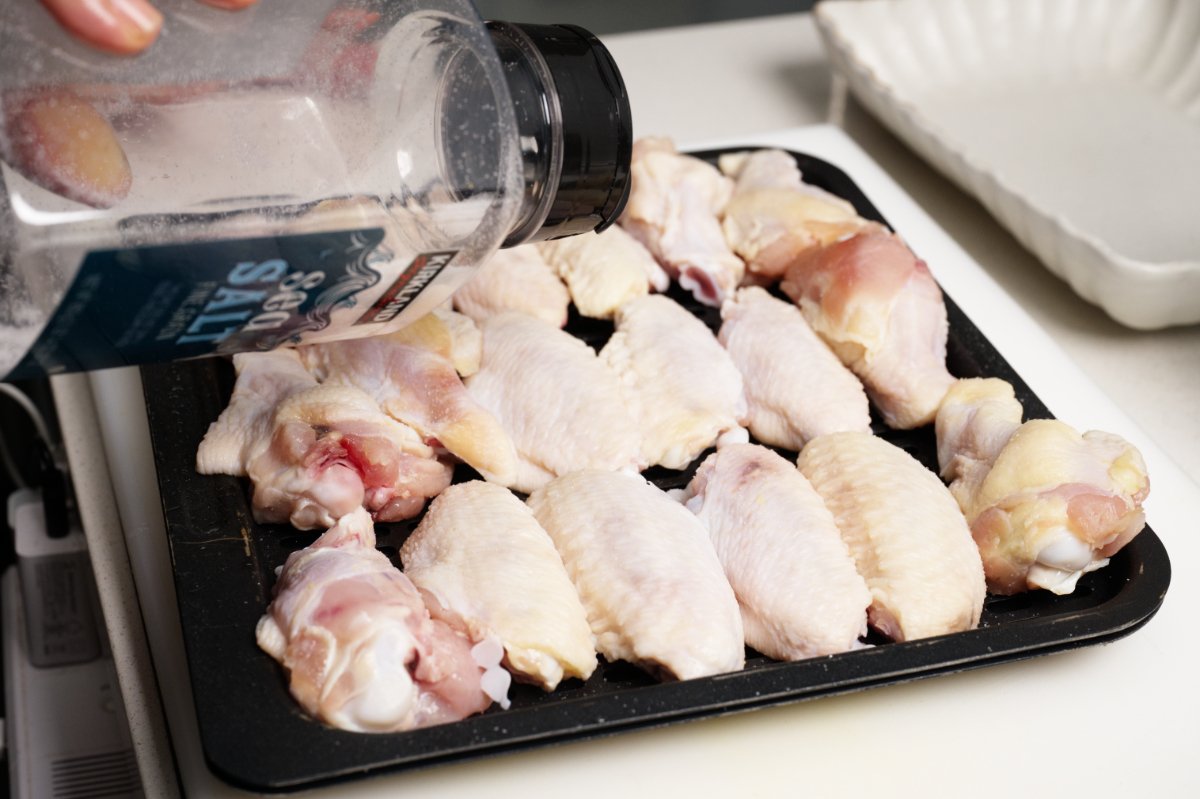
Season with salt:

seasoning wings with salt

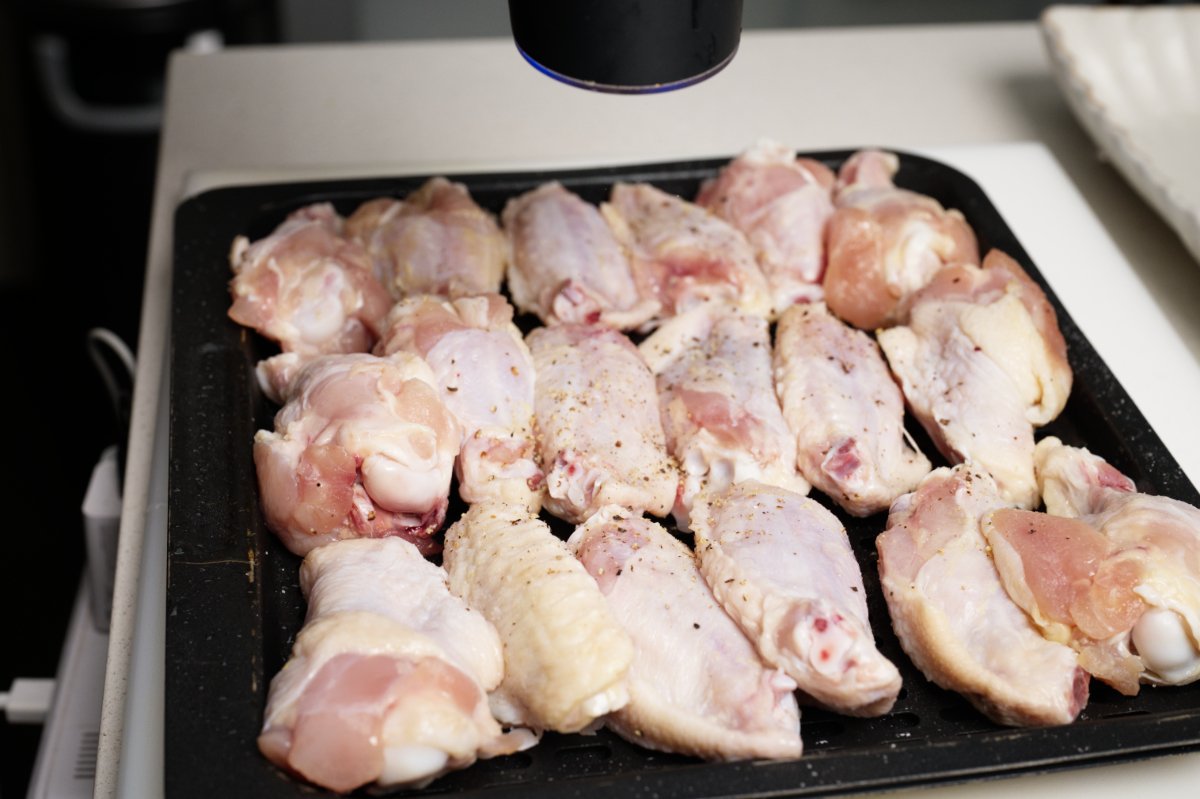
And pepper:

Air fry (or broil) according to the instructions on the recipe card:

cooking the wings

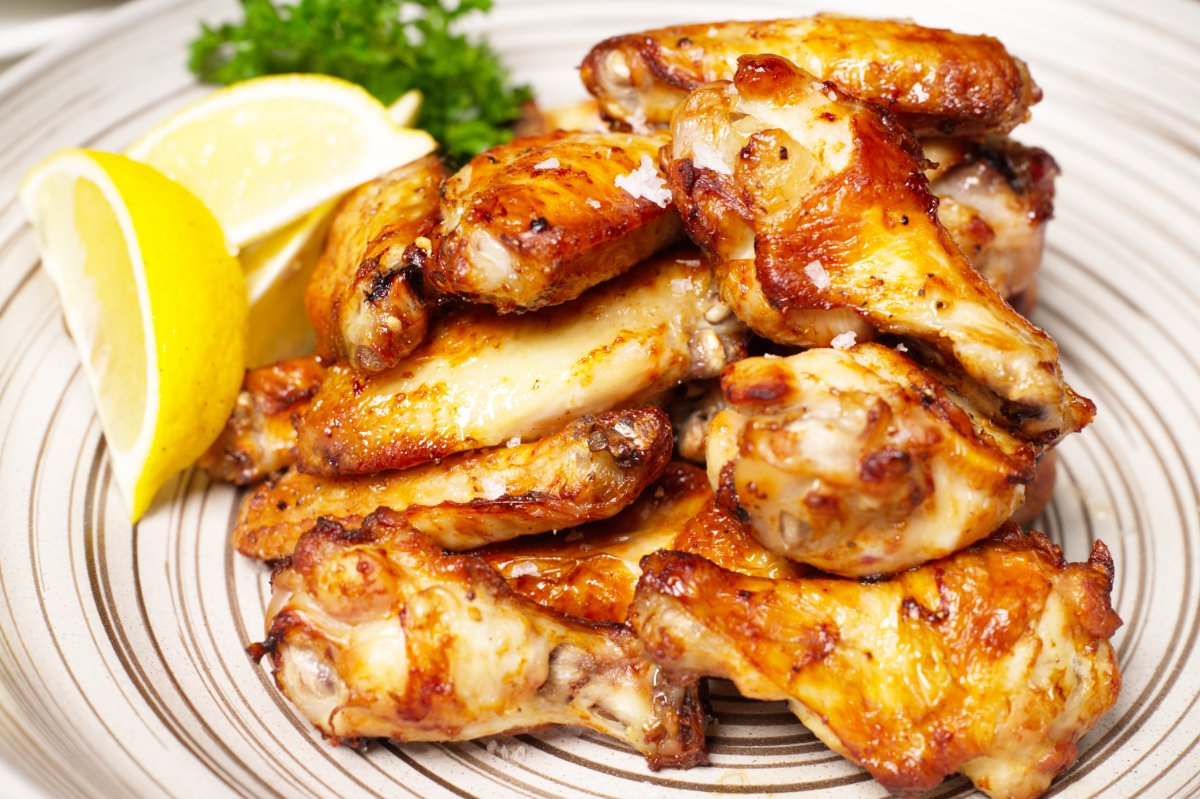
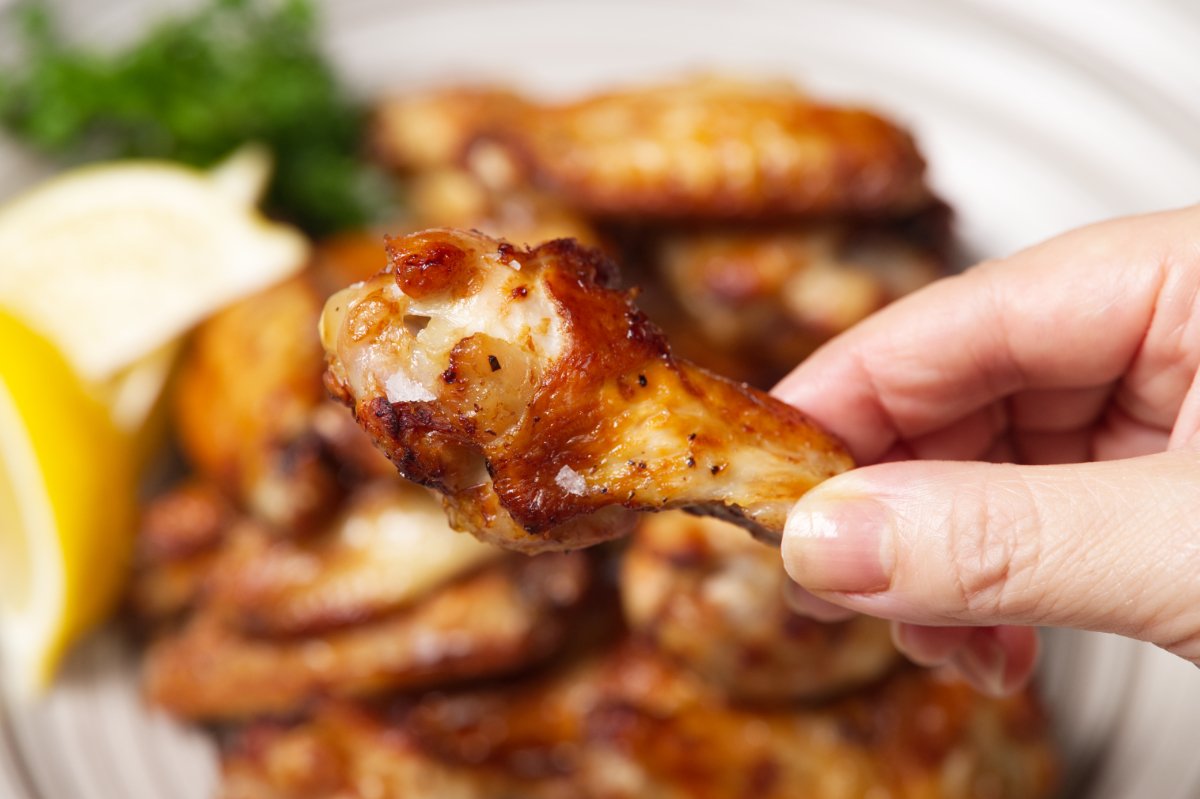
When they are finished you will gave gloriously browned wings:

close up shot of salt and pepper wing

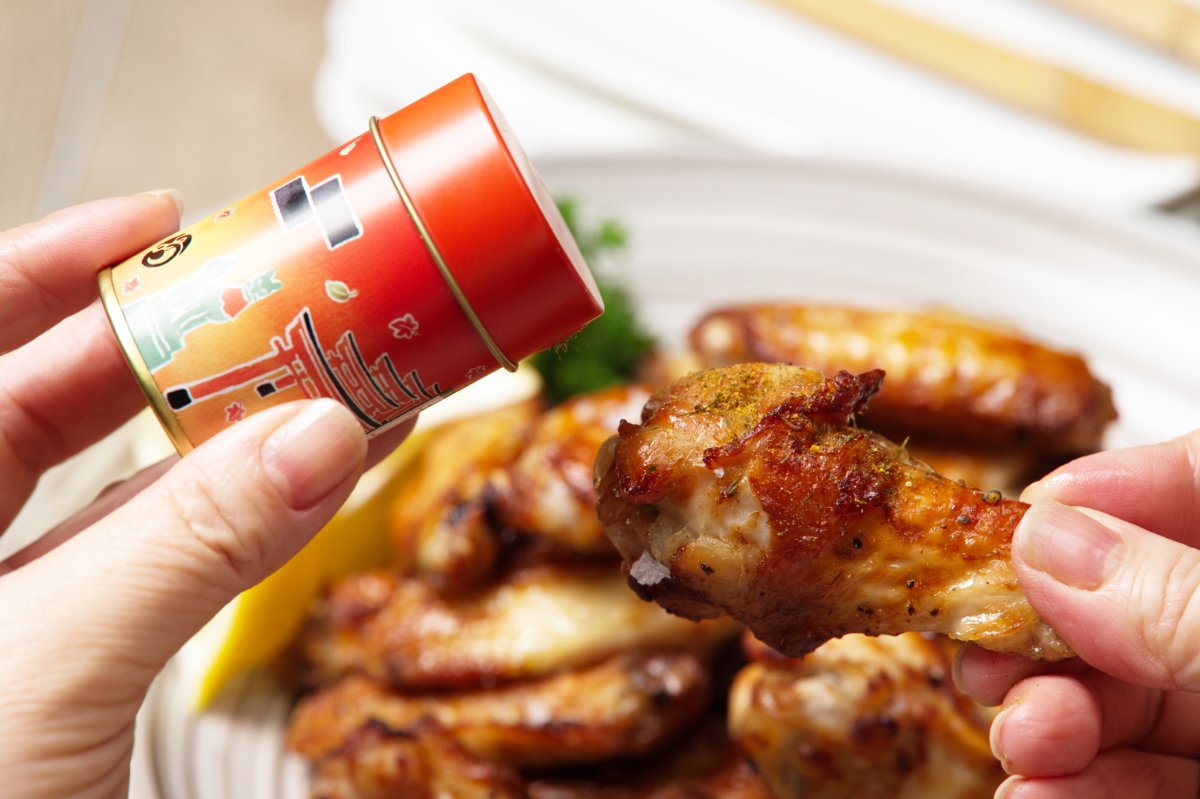
These Salt and Pepper Wings will already absolutely phenomenal as is, but I like to serve them with lemon wedges and shichimi togarashi to take them to another level:

I hope these wings help you find some easy bliss in the middle of the holiday chaos, I know they’ve been a lifesaver in my home! Let me know what you think, leave a comment below, and tag us in  your pics @funkyasiankitchen, we love hearing from you.


Can’t get enough chicken wings? Try my Sriracha Honey Wings or these Smoked Wings!


Print
clock clock iconcutlery cutlery iconflag flag iconfolder folder iconinstagram instagram iconpinterest pinterest iconfacebook facebook iconprint print iconsquares squares iconheart heart iconheart solid heart solid icon
recipe card salt and pepper

Salt and Pepper Chicken

  • Author: Funky Asian Kitchen
  • Prep Time: 10 minutes
  • Cook Time: 25 minutes
  • Total Time: 35 minutes
  • Yield: serves 3-4 as starter 1x

Ingredients

Scale
  • 2 lb. chicken wings (flats/drumettes) (about 16 pieces)
  • ¾ cup sake 
  • sea salt
  • freshly ground black pepper

For Serving:

  • lemon wedges
  • shichimi togarashi (Japanese seven spice), sansho pepper, or any other flavored ground pepper
  • A sprinkling of coarse salt 

Instructions

Marinate the wings

Add the wings and sake to a gallon zip top bag, squeezing out all of the air. Marinate for 10-15 minutes.

Dry the wings

Remove and pat dry each wing with paper towels. Place the wings on a plate and lightly sprinkle with salt and ground pepper on both sides.

Airfry or Broil the wings

To Airfry:

If you do 2 trays, you should rotate the tray positions and flip the wings over to the other side half way through, for even cooking/browning. Airfry for 20-25 minutes at 400 degrees. 

To Broil:

Spray a rimmed baking sheet with oil and place the wings skin side up.

Preheat the oven broiler on high for 3 minutes before cooking. Place the baking sheet in the middle rack of the oven, about 8 inches away from the heating element. Cook for 9–10 minutes, until nicely browned and crispy. Then, flip the wings to cook the other side (skin side) for another 9–10 minutes. Watch the chicken carefully so it does not burn; if your oven is small or strong, lower the heat to medium (if available) or on a lower rack.


Keywords: wings, cantonese, appetizers, starters, chicken, small plates, air fryer, quick, holiday, lunar new year,