Category: Pan-Asian

Green Curry Wings

Green Curry Wings

So apparently there’s going to be a football game during the Bad Bunny concert this weekend . While I’m sure you can deduce that the Super Bowl is not be my thing, tailgating certainly is. And what is more iconic at a tailgate than wings…but read more
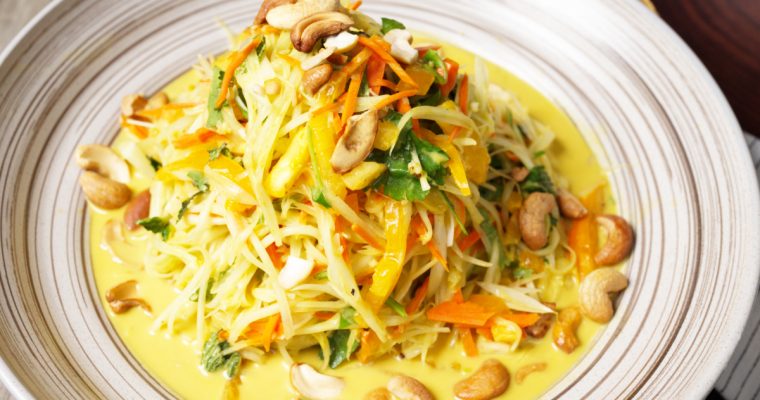
Green Papaya Slaw

Green Papaya Slaw

Green papaya slaw is one of those dishes that somehow manages to be light, creamy, crunchy, and deeply satisfying all at once. Inspired by the bright, crunchy papaya salads you’ll find across Southeast Asia, this version leans creamy thanks to a coconut milk–based dressing. If read more
Chilled Watermelon Cucumber Soup

Chilled Watermelon Cucumber Soup

When it’s a million degrees out and even the thought of turning on the stove makes you sweat, this Chilled Watermelon Cucumber Soup comes to the rescue. It’s light, hydrating, and bursting with flavor—basically the edible version of jumping into a cold pool. Crisp cucumbers get tossed with punchy and vibrant aromatics like ginger, garlic, and chili, then mellowed out with cool water and sweet, juicy watermelon. A handful of ice cubes chills it all the way down, while toasted sesame seeds give it a nutty little finish.

This recipe is loosely inspired by oi naengguk, a chilled Korean cucumber soup that’s traditionally served icy cold in the summer. But I gave it a little Funky Asian Kitchen twist—with sweet watermelon, a touch of soy, and a hit of heat—to turn it into something totally refreshing and a little unexpected. It’s part salad, part soup, and 100% what your summer needs so let’s get into it.

ingredient pic for chilled watermelon cucumber soup

The cucumbers are the base of this soup. I prefer to use the English ones over the waxy standard ones. For one, they don’t need to be peeled, and their thin skin and nearly seedless interior make prep a breeze. Plus, they’re nice and crisp without being watery, which helps keep the soup light but still full of crunch. Once the cucumbers are cut into matchsticks, they get tossed with a mix of garlic, salt, soy sauce, ginger, scallions, chili, and rice vinegar. Letting them sit for a few minutes draws out their liquid, which turns into the light, flavorful broth for Chilled Watermelon Cucumber Soup—no stock or simmering required.

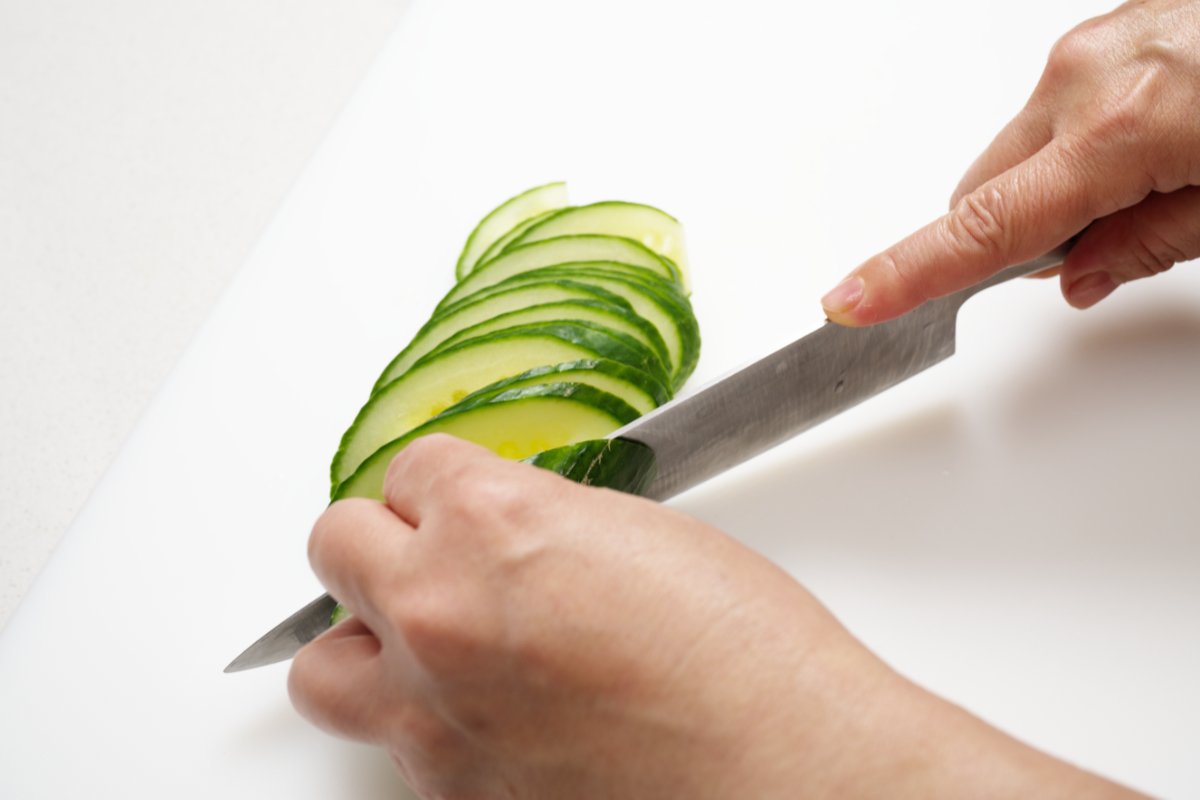
First I cut the cucumber into thin slices:

slicing cukes for chilled watermelon cucumber soup

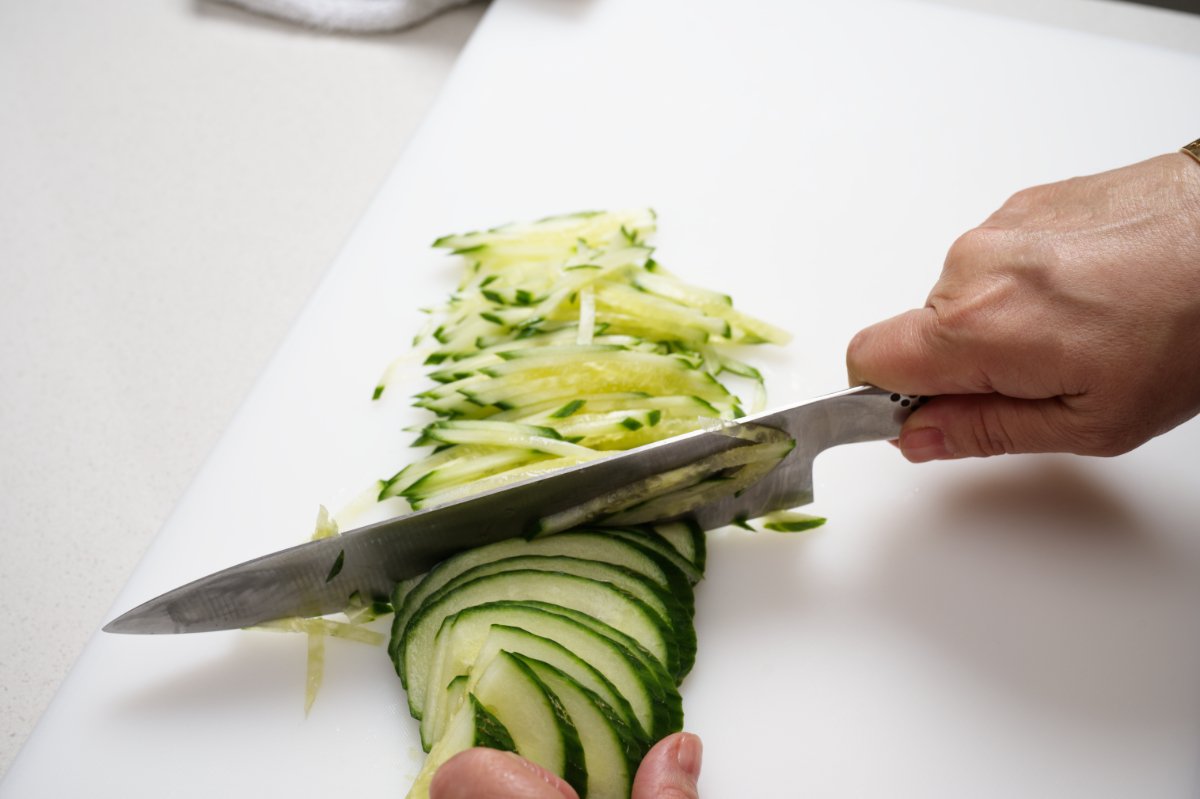
Then I stack the slices and make matchsticks:

cutting matchsticks chilled watermelon cucumber soup

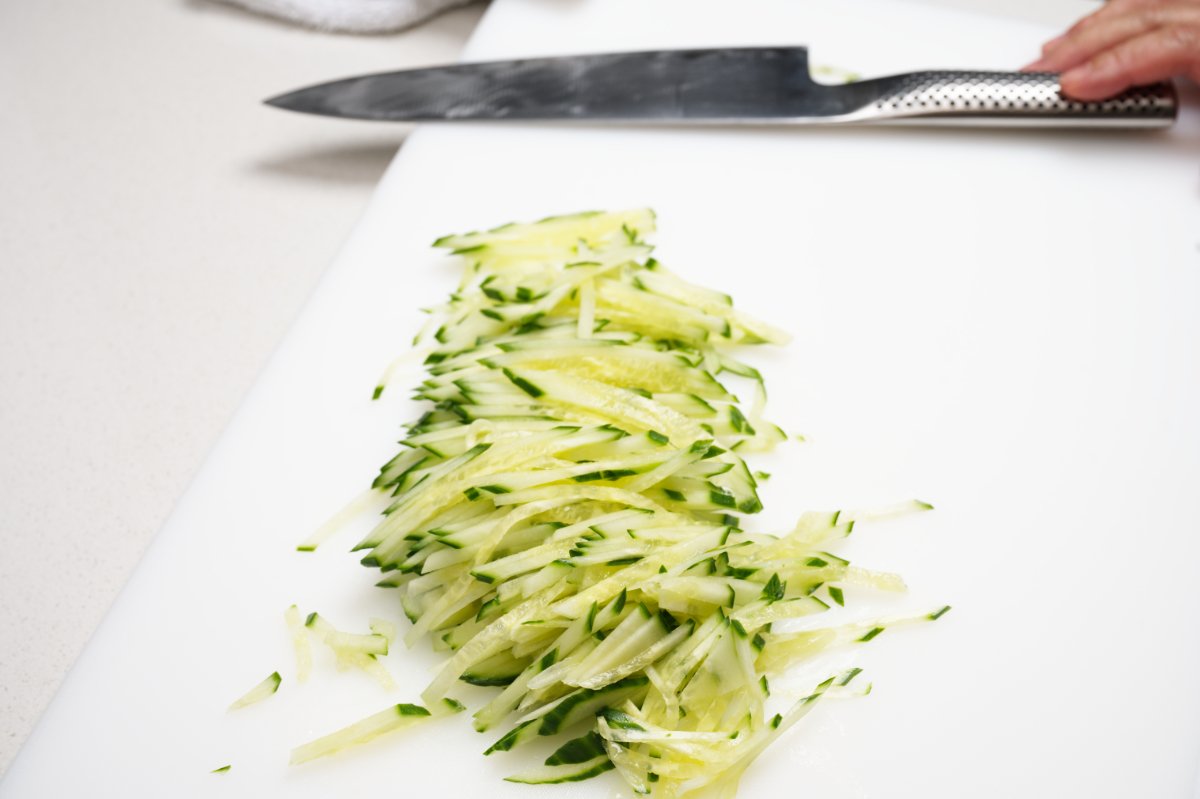
pile of julienned cucumber for chilled watermelon cucumber soup

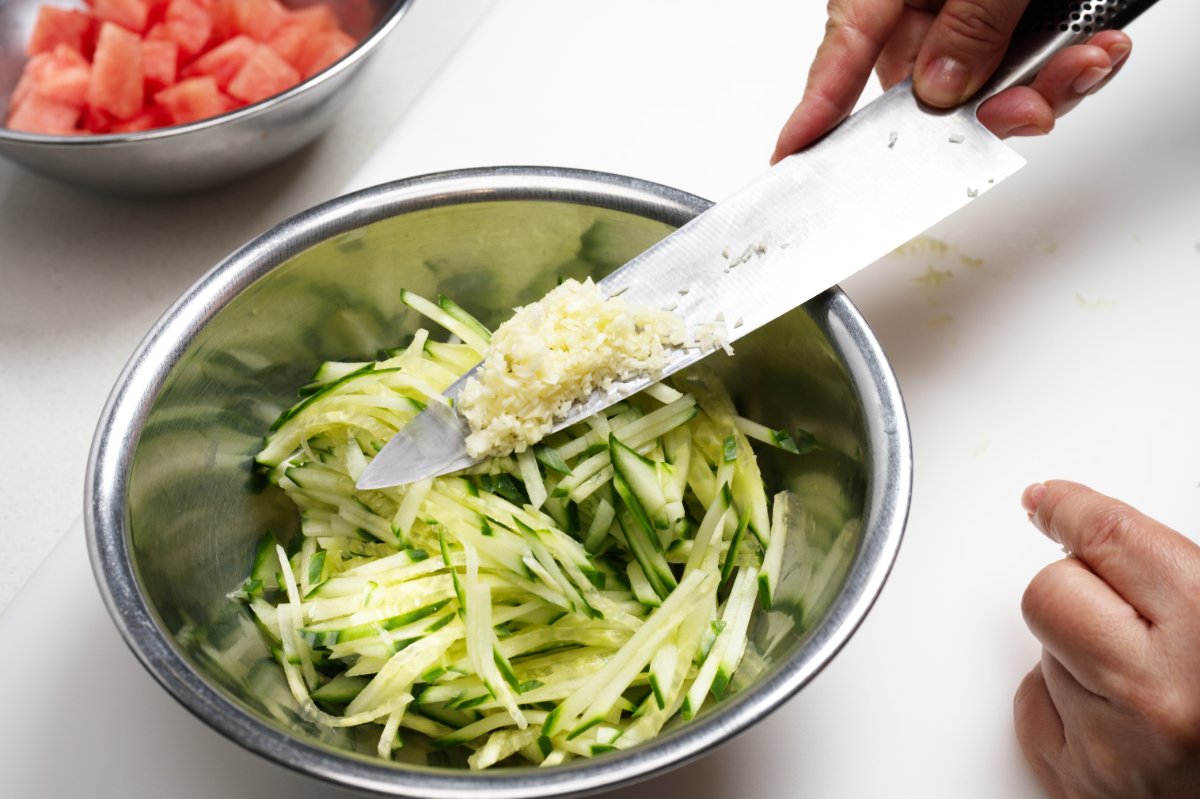
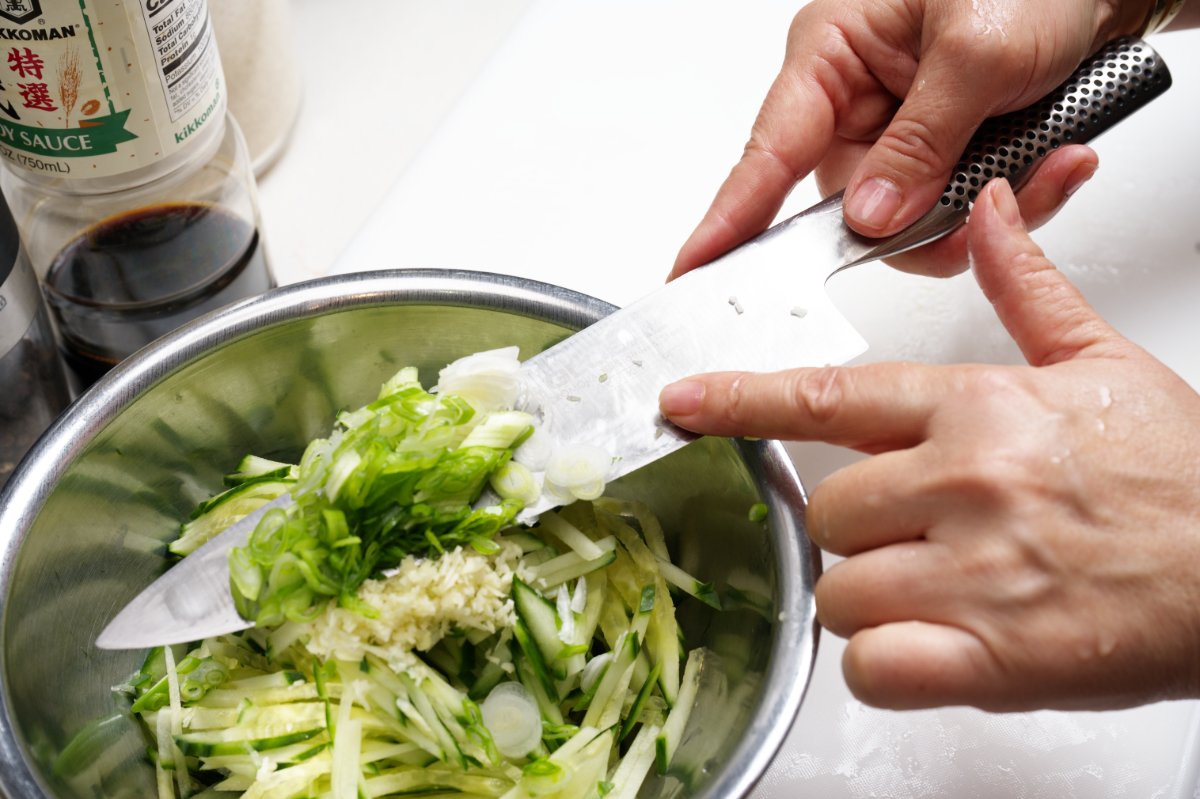
Now it’s time to add all the flavor boosting seasonings, starting with the minced garlic and ginger:

adding garlic and ginger to cucumbers

And green onions:

adding scallions chilled cucumber watermelon soup

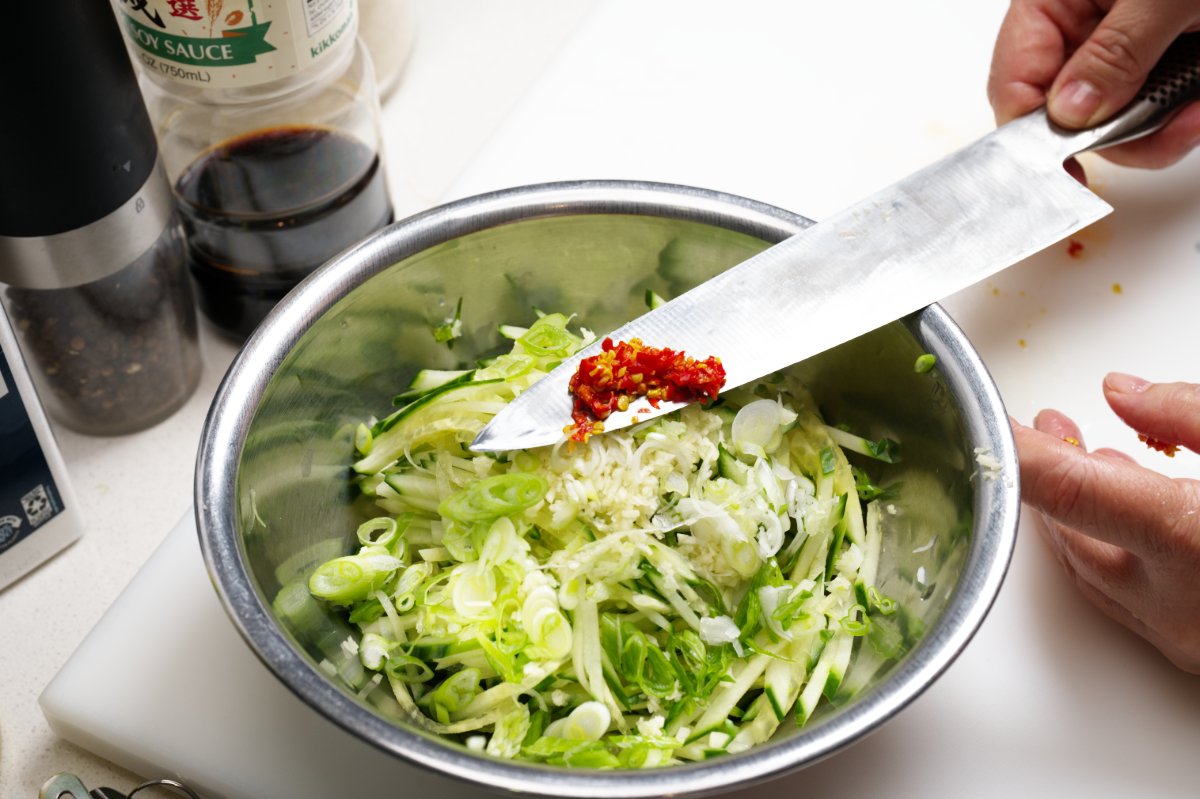
Since the chilis don’t get cooked, their heat stays nice and bold in this soup. If your heat tolerance is low—or you’re just not in the mood to break a sweat—start with less and add more to taste. You can always toss in extra later, but there’s no going back once it’s in the bowl!

adding chilis to cucumbers

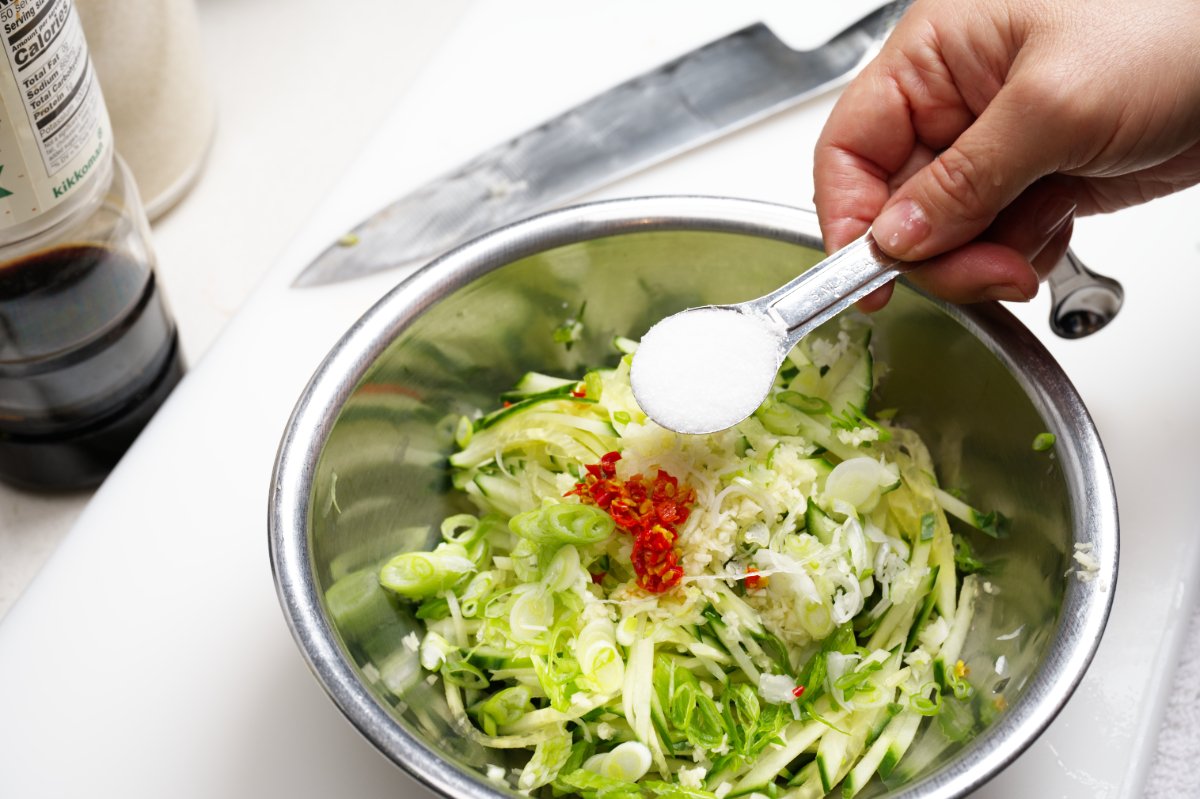
Next comes the salt:

adding salt to chilled watermelon cucumber soup

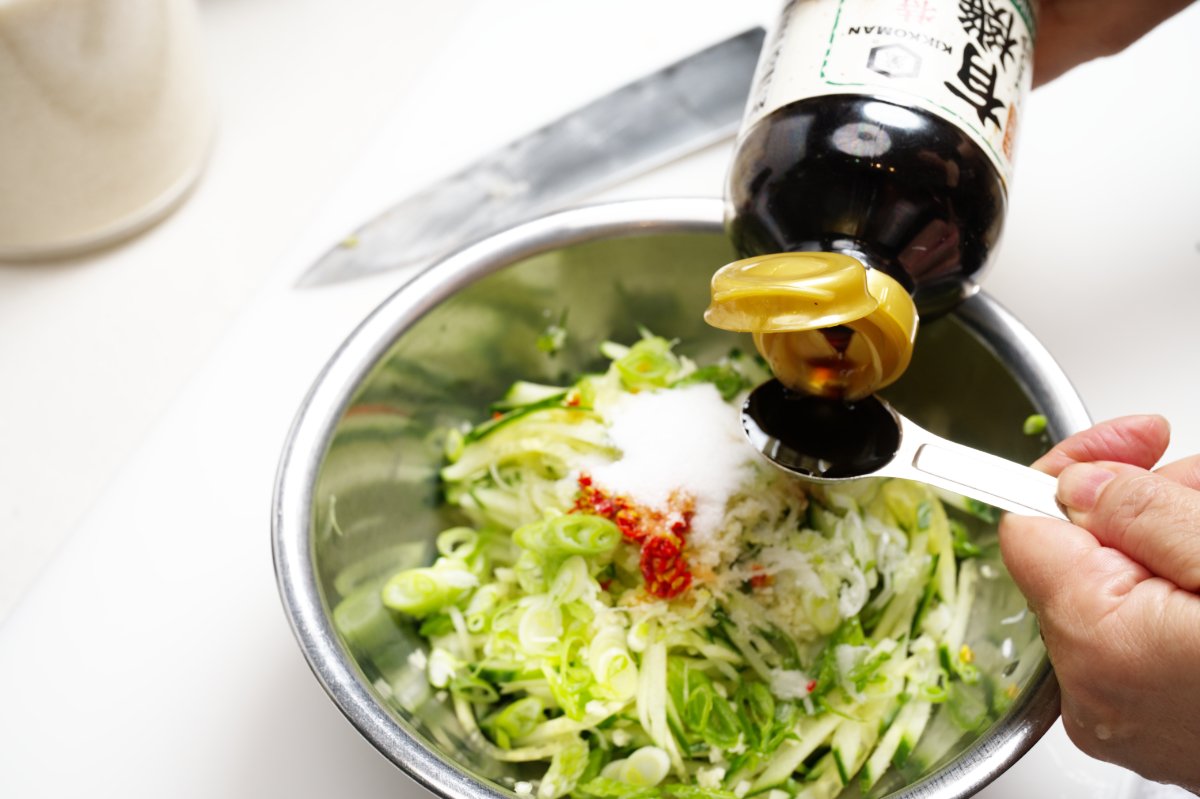
Then I add soy sauce. If you want to keep this gluten free just make sure you’re using a soy sauce that doesn’t contain any wheat.

adding soy sauce to chilled watermelon cucumber soup

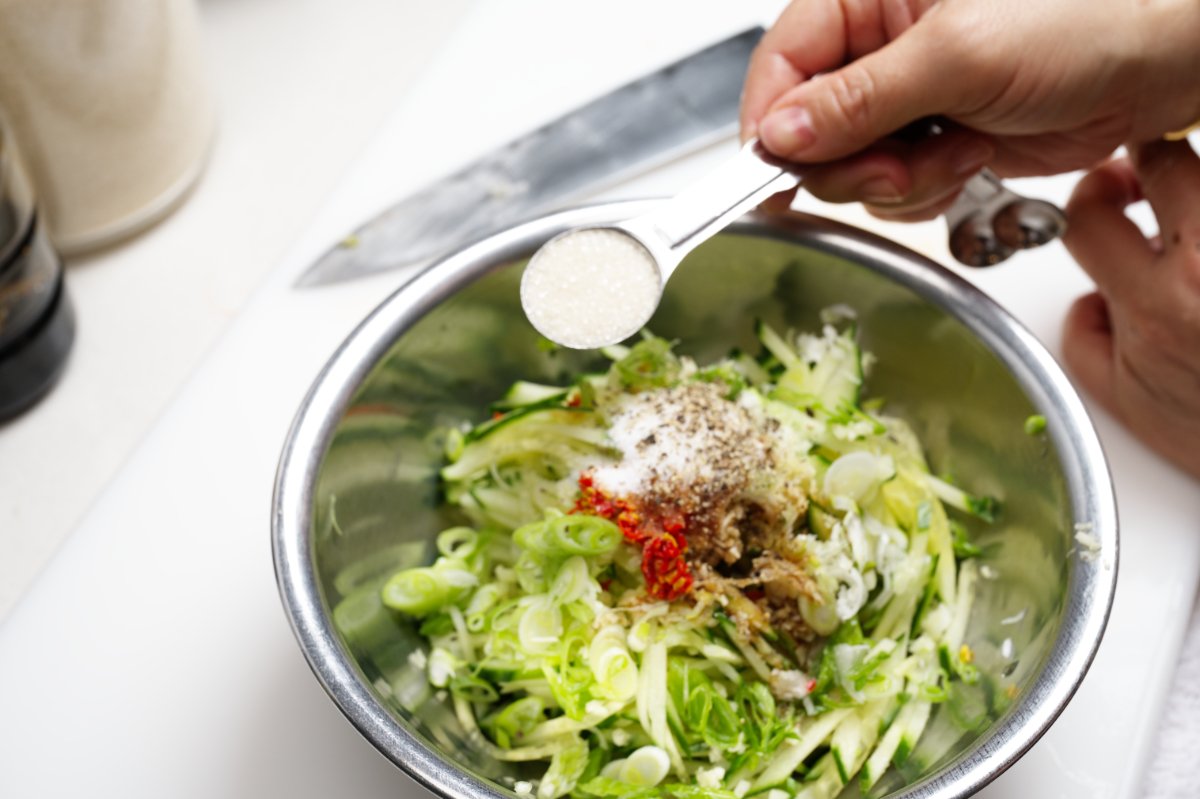
A little bit of sugar helps balance all the flavors:

adding sugar to chilled watermelon cucumber soup

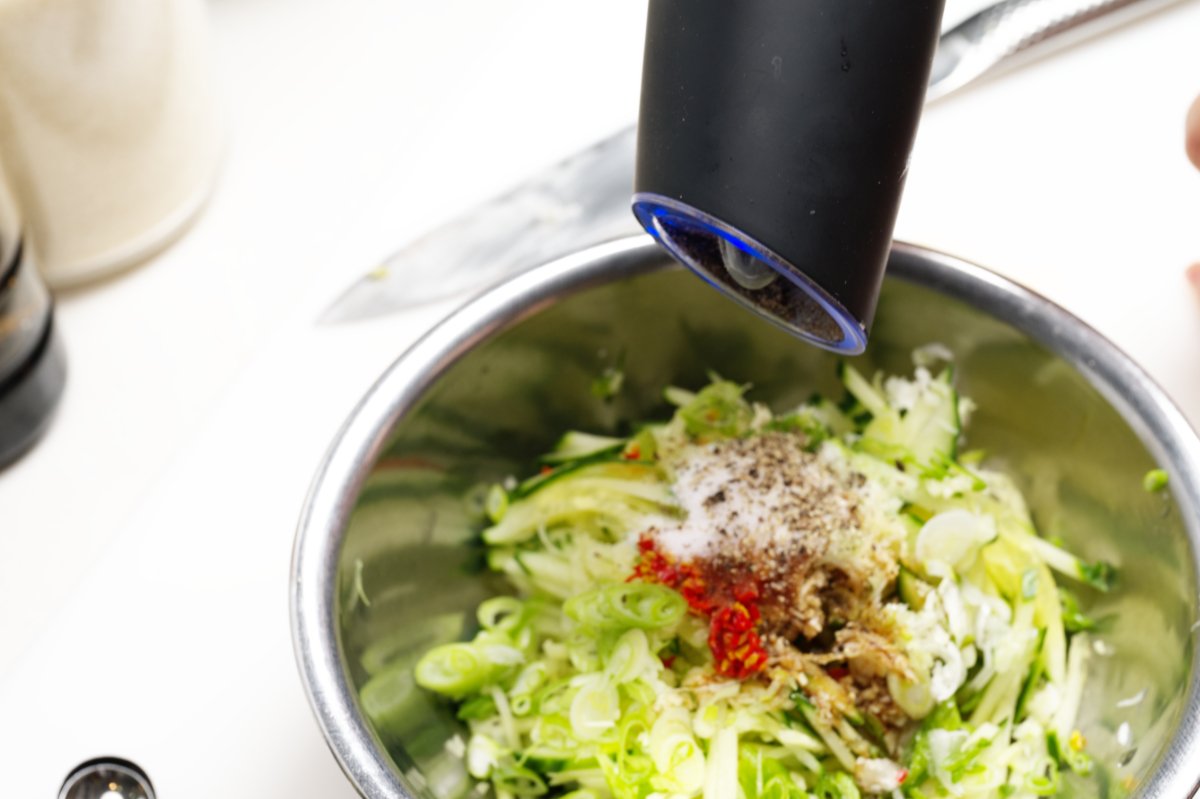
Some nice freshly ground black pepper gets added to the mix:

grinding fresh pepper into chilled watermelon cucumber soup

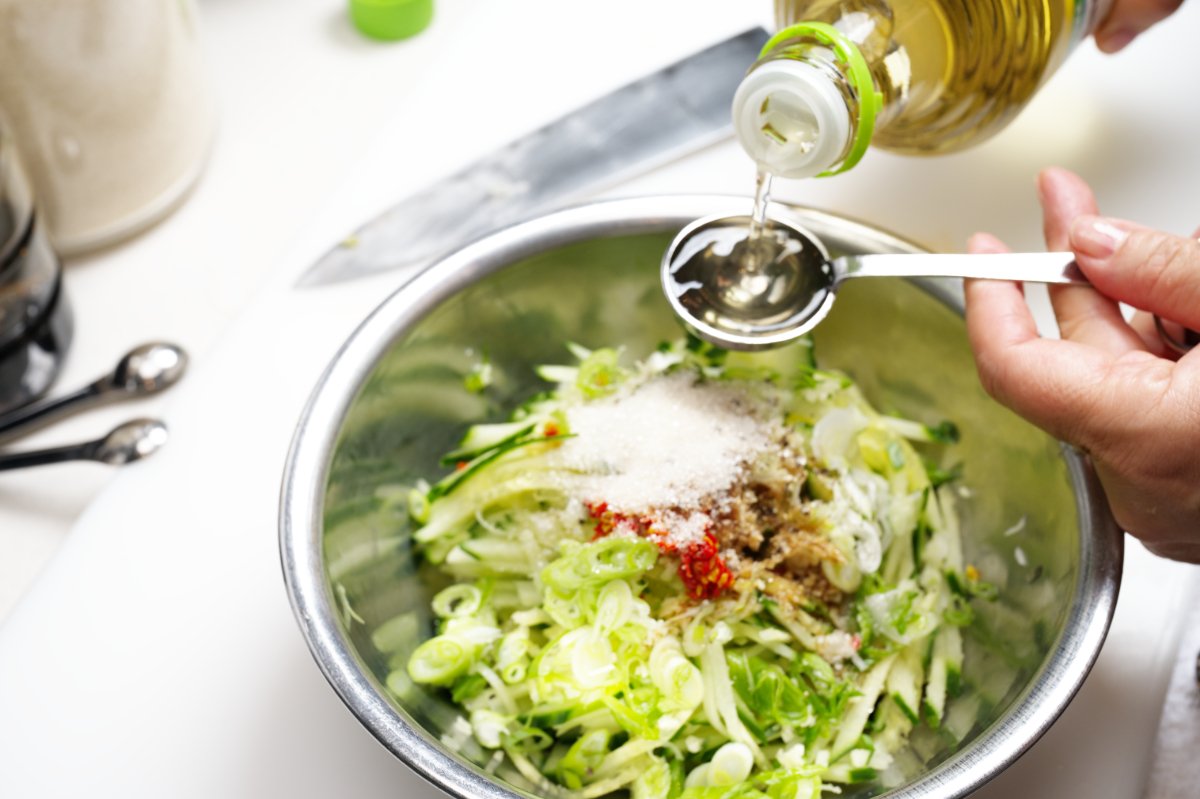
And finally a dollop of rice vinegar:

adding rice vinegar to the cucumber

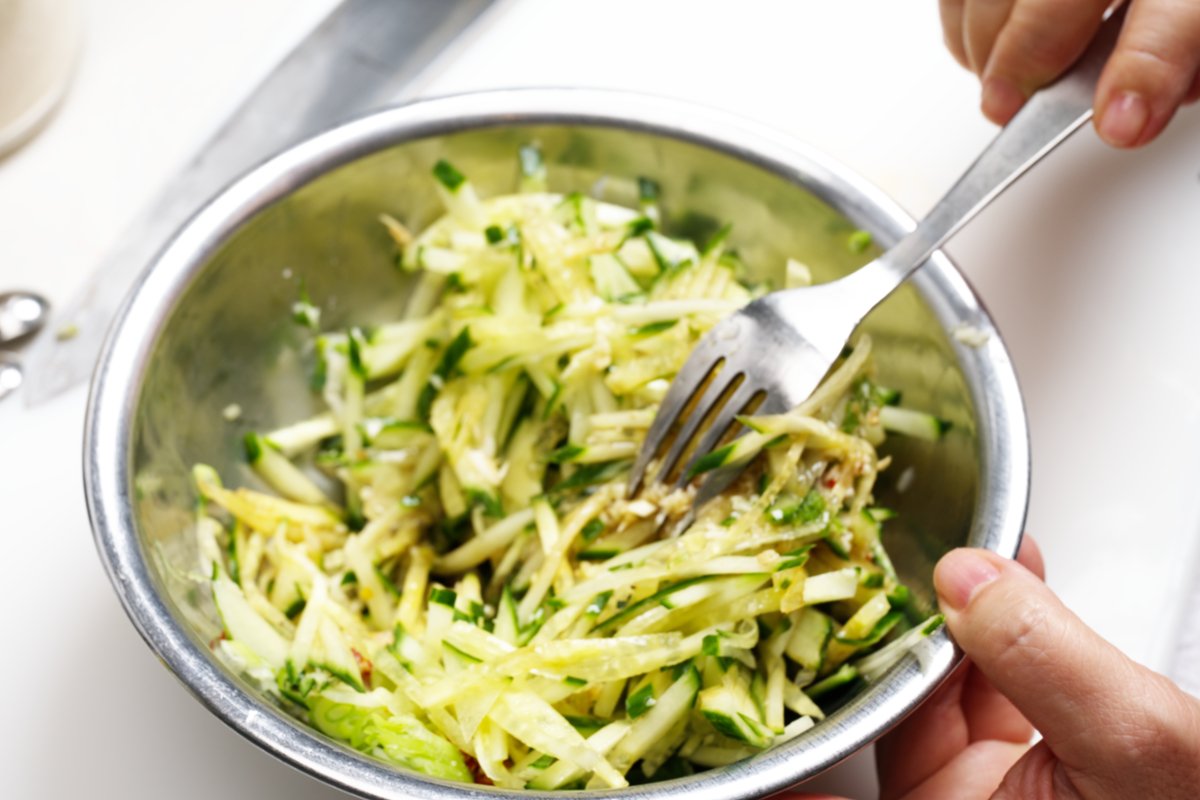
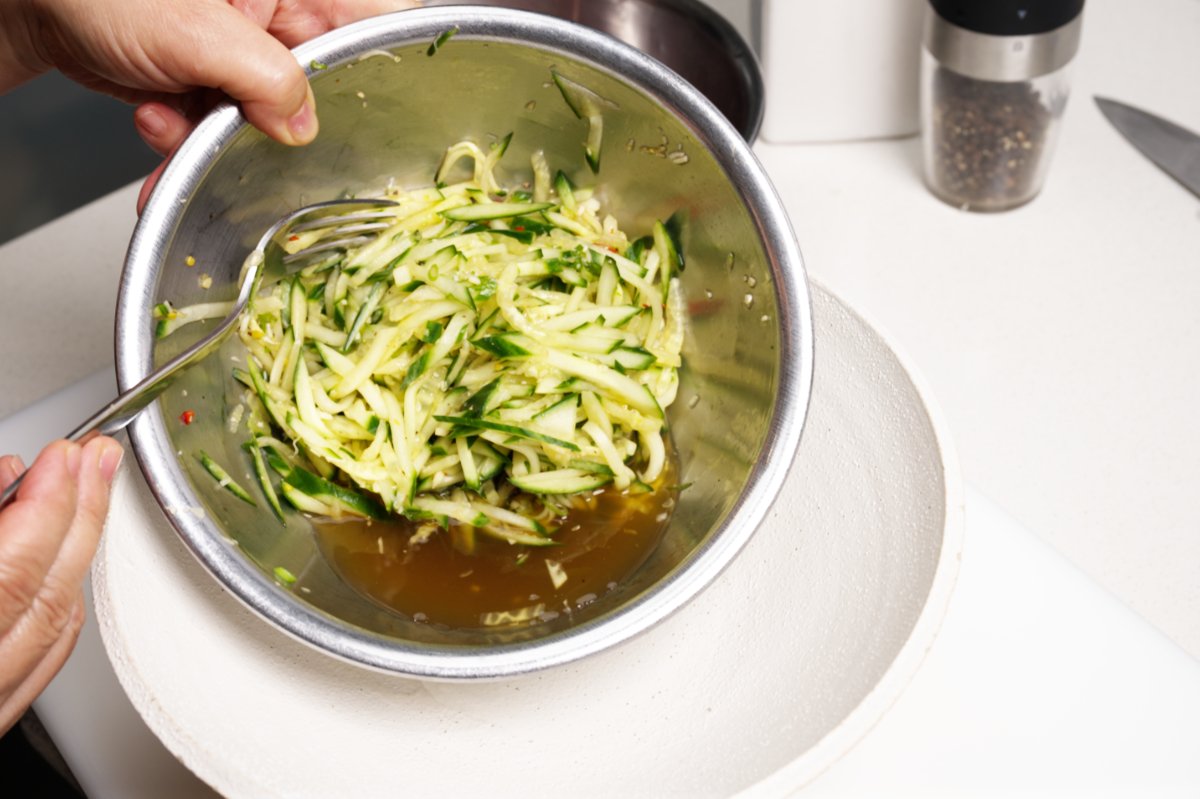
Give it all a good stir:

stirring the chilled watermelon cucumber soup

Let it sit for about 5 minutes so the seasonings can draw out the moisture from the cucumbers, resulting in this flavorful liquid. I add the cucumbers and their juice to a large serving bowl:

pic of the liquid from the cucumbers

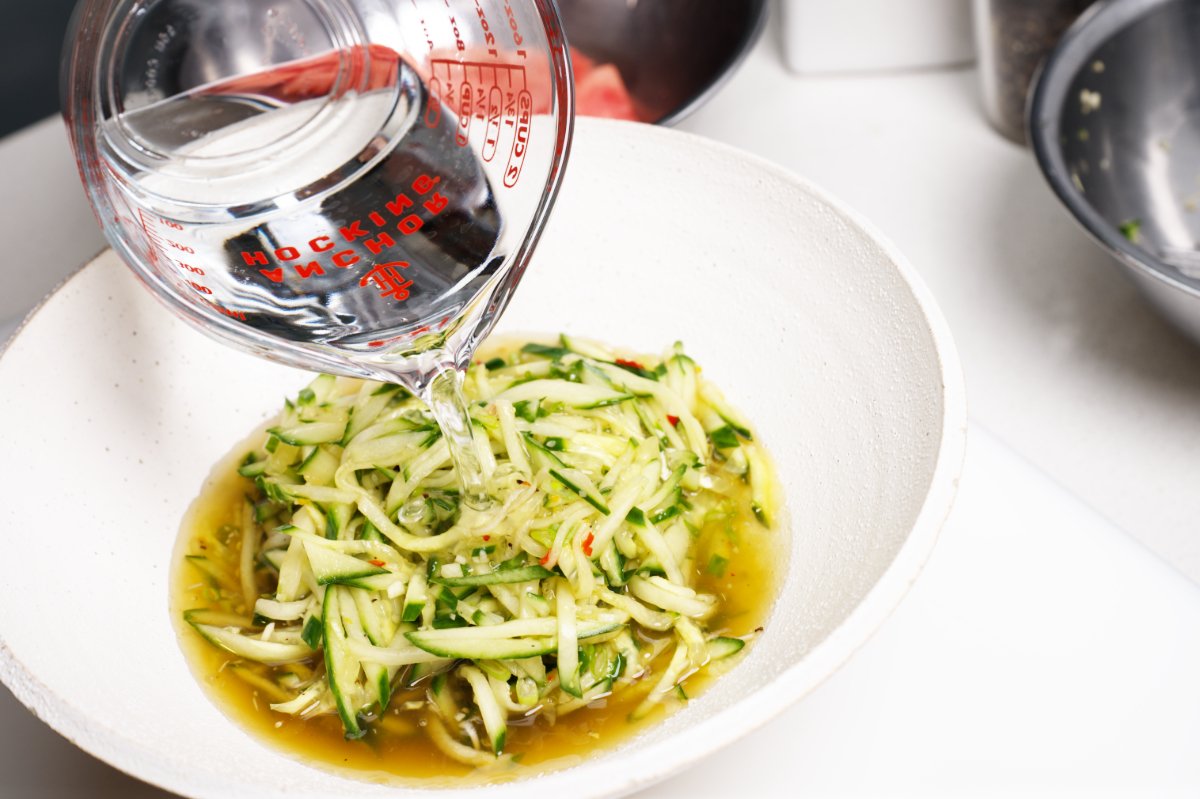
Then I pour in the cup of cold water:

pouring water over the cukes

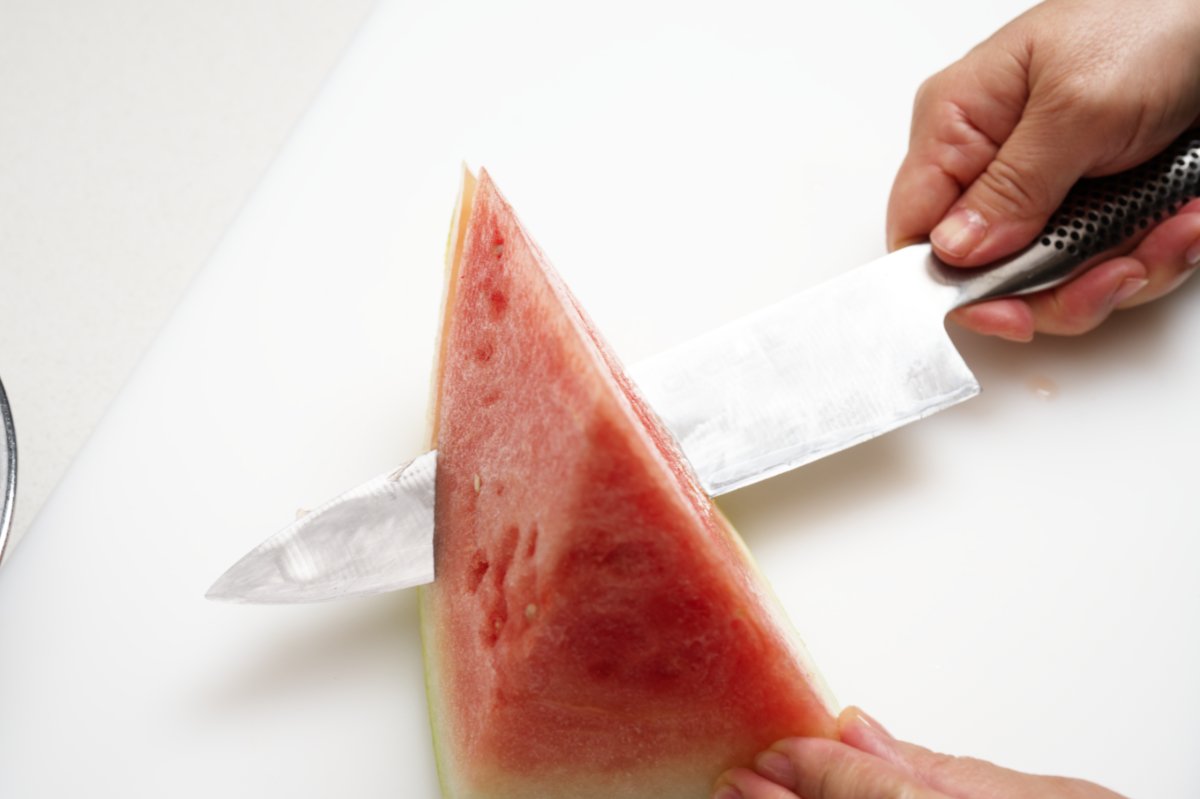
Then I quickly cube the watermelon. (Hang on to the rind and make Watermelon Rind Kimchi!)

cutting watermelon

slicing and dicing watermelon

The watermelon gets added to the cucumbers:

adding watermelon to the chilled watermelon cucumber soup

And garnished with some sesame seeds:

adding sesame seeds to chilled watermelon cucumber soup

Then to really cool things down, add the ice cubes. I know this seems weird, but trust the process!

ice ice baby

Then it’s time to serve your refreshing, hydrating, and icy soup.

I hope this Chilled Watermelon Cucumber Soup helps you keep your cool this summer. Try it out and let me know what you think, and tag us in your pics at funkyasiankitchen, we love seeing your creations!

Looking for some more low cook/no cook dishes? Check out my Tofu Terrine, Tropical Overnight Oats, or this Chicken Salad.


Print
clock clock iconcutlery cutlery iconflag flag iconfolder folder iconinstagram instagram iconpinterest pinterest iconfacebook facebook iconprint print iconsquares squares iconheart heart iconheart solid heart solid icon

Chilled Watermelon Cucumber Soup

  • Author: Funky Asian Kitchen
  • Prep Time: 20 minutes
  • Total Time: 20 minutes
  • Yield: serves 4
  • Category: soup
  • Cuisine: pan-Asian

Ingredients

Scale

Ingredients:

  • 1 English cucumber (about 12 ounces) or 4 persian/kirby cucumbers
  • 1 ½ cups cubed watermelon, about ½ inch in size
  • 1 cup cold water
  • 8 ice cubes 
  • 1 tablespoon toasted sesame seeds

Seasoning:

  • 1 teaspoon minced ginger
  • 1 large clove garlic, minced
  • 1 green onion, trimmed and minced
  • 1–2 fresh red chili pepper, trimmed and minced (optional)
  • 1 teaspoon sea salt
  • 1 teaspoon soy sauce
  • 1 teaspoon sugar
  • 1 ½ Tablespoons rice vinegar
  • Ground black pepper to taste 

Instructions

Prepare the cucumber: Cut the cucumber into thin slices. Then stack the cucumbers and slice through them to yield thin matchsticks. Place the cucumbers in a bowl.

Season the cucumbers: Add the seasoning ingredients to the cucumbers and stir to combine. Let the cucumbers sit for 5 minutes. This will draw out some liquid and create the base of your soup.

Pour the cucumbers into a large bowl with all of the juice. Pour the water over the cucumbers and gently stir to combine. 

Add the watermelon to the center of the bowl. 

Sprinkle some of the sesame seeds on top. 

Drop the ice cubes into the soup and serve Chilled Watermelon Cucumber Soup immediately.


Notes

*You can also make individual servings of the soup. It is easier to make the cucumber soup first and then portion the soup into the soup bowls before finishing the final steps.


Keywords: chilled, no cook, summer, watermelon, cucumber, soup

Coconut Tapioca

Coconut Tapioca

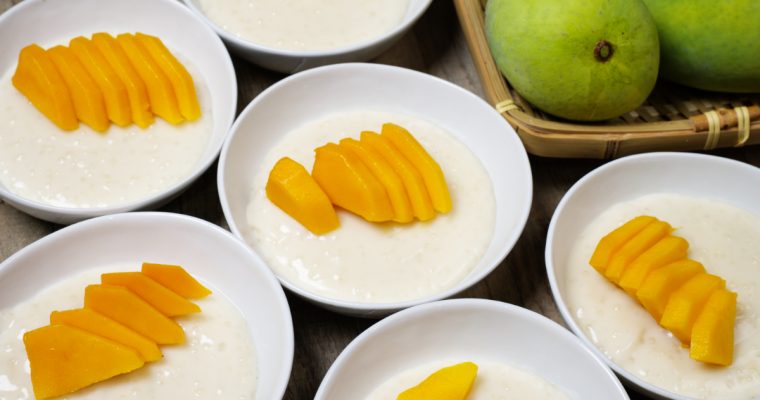
If the only tapioca pudding you’ve had is from a plastic cup, my version is about to blow your mind. Creamy, lightly sweet, and made with coconut milk, this Coconut Tapioca is a simple, chilled dessert that feels both comforting and tropical—especially when you top read more
Crispy Shrimp Dumplings

Crispy Shrimp Dumplings

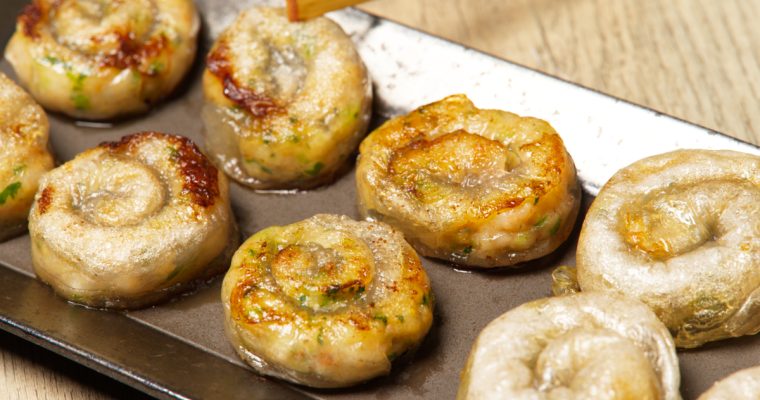
I love a good dumpling as much as the next girl, but let’s be honest—wrapping them can be a bit of a chore. If you’ve ever found dumplings intimidating—fancy pleats, sticky dough, a million steps—these Crispy Shrimp Dumplings are here to change your mind. They’re read more
Caramelized Beef Fried Rice

Caramelized Beef Fried Rice

There’s something undeniably satisfying about a great plate of fried rice. It’s quick, flavorful, and the perfect way to use up leftover rice. But this Caramelized Beef Fried Rice takes things to the next level with tender, velveted beef and a deep, savory flavor from fish sauce, oyster sauce, and caramelized bits of garlic and rice. It’s a little crispy, a little saucy, and packed with umami.

The key to this dish is the beef. Instead of just stir-frying it, we use a simple velveting technique—marinating it with a touch of baking soda—to keep it ultra-tender. Then, it gets seared until caramelized, adding that irresistible depth of flavor. Toss in some veggies, fluffy scrambled eggs, and perfectly seasoned rice, and you’ve got a restaurant-quality meal in minutes, so let’s get into it!

ingredients for caramelized steak fried rice

My Caramelized Beef Fried Rice is super quick to make, but it does require a little planning ahead.  A few hours—or the night before—I start by velveting the beef. Velveting is a Chinese cooking technique that keeps meat incredibly tender and juicy, even after high-heat stir-frying. It involves marinating thinly sliced meat with a mixture of  baking soda, oil, and seasonings to break down tough fibers and lock in moisture. The result? Silky, melt-in-your-mouth beef that stays tender and flavorful in every bite. With beef prices as high as they’ve been, velveting is an excellent way to tenderize some of the less expensive cuts, like chuck or flank. We all want to save some money at the grocery store, right?

This recipe actually started off as a way to use off cuts at the restaurants. Food waste is a serious issue in our industry and we’re always trying ways of reducing it. Inevitably this leads to lots of bits that need to be used up. Beef is one of those high cost items that we are loathe to discard. So what does one do when you have a bunch of miscellaneous scraps? Velveting is the great equalizer because you can do it with all cuts of beef and they will all be improved.

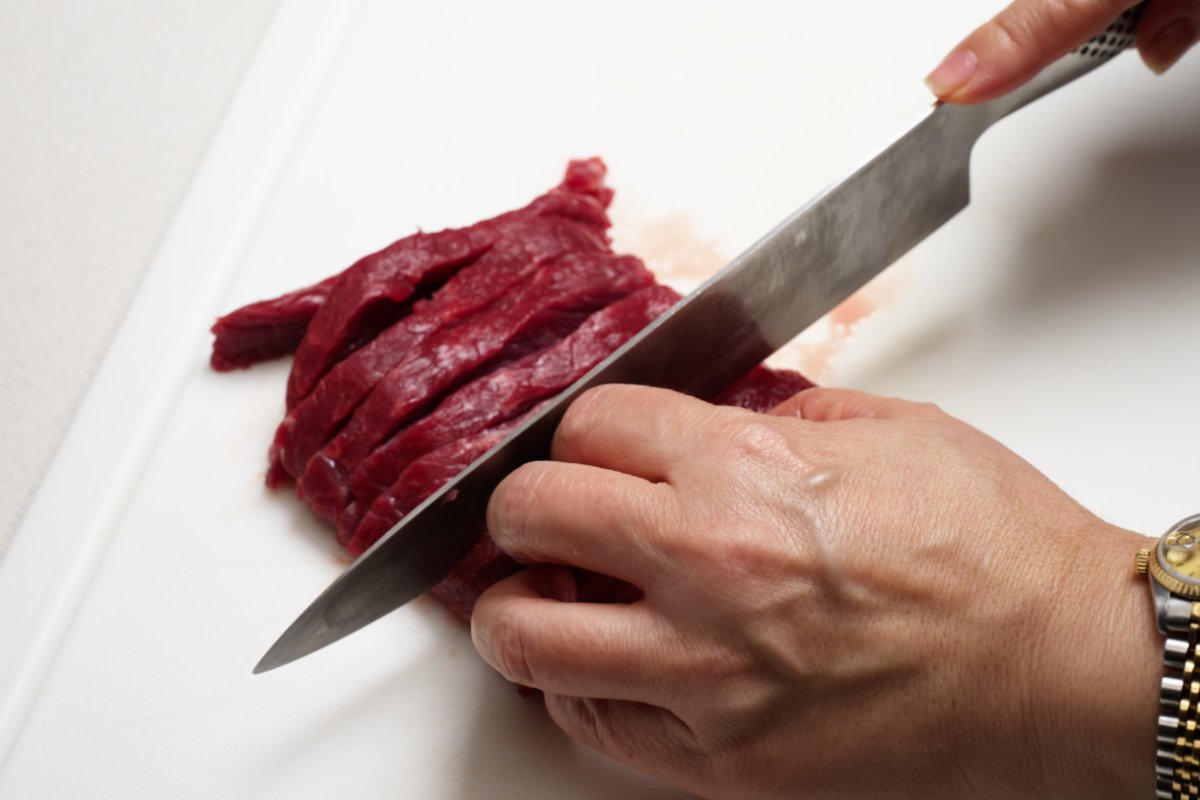
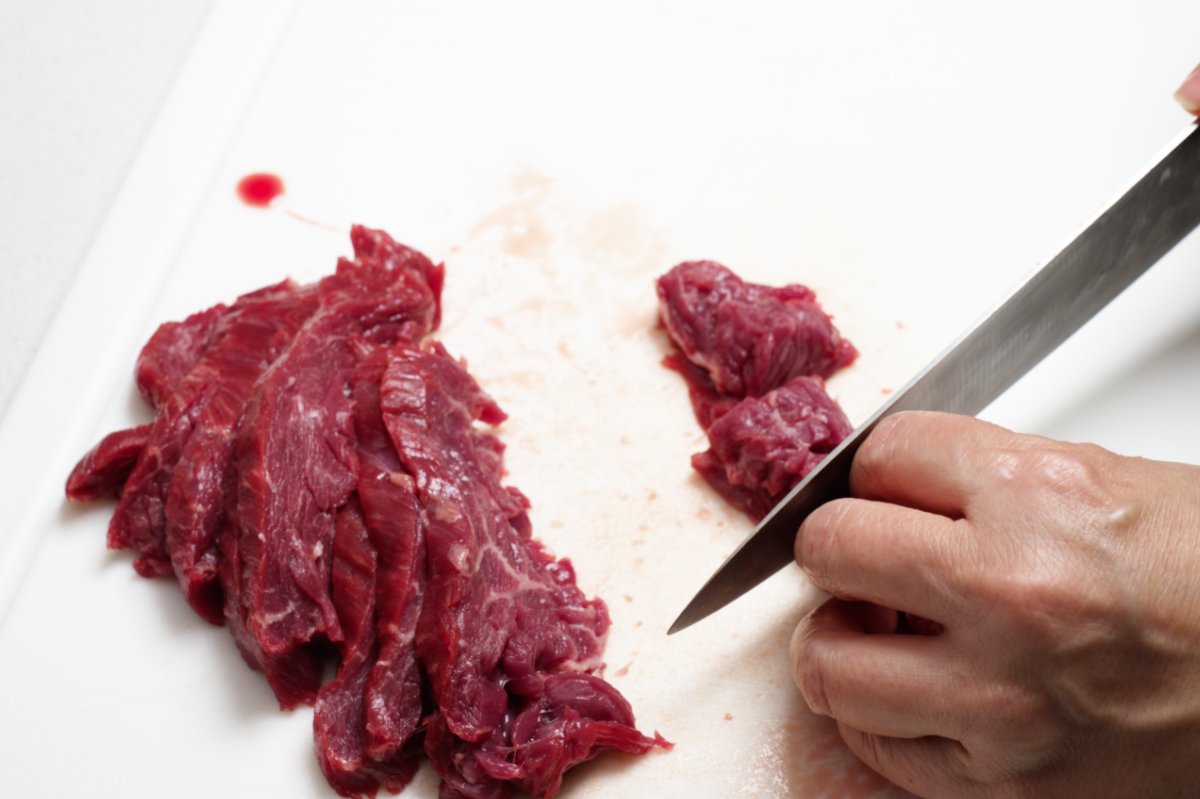
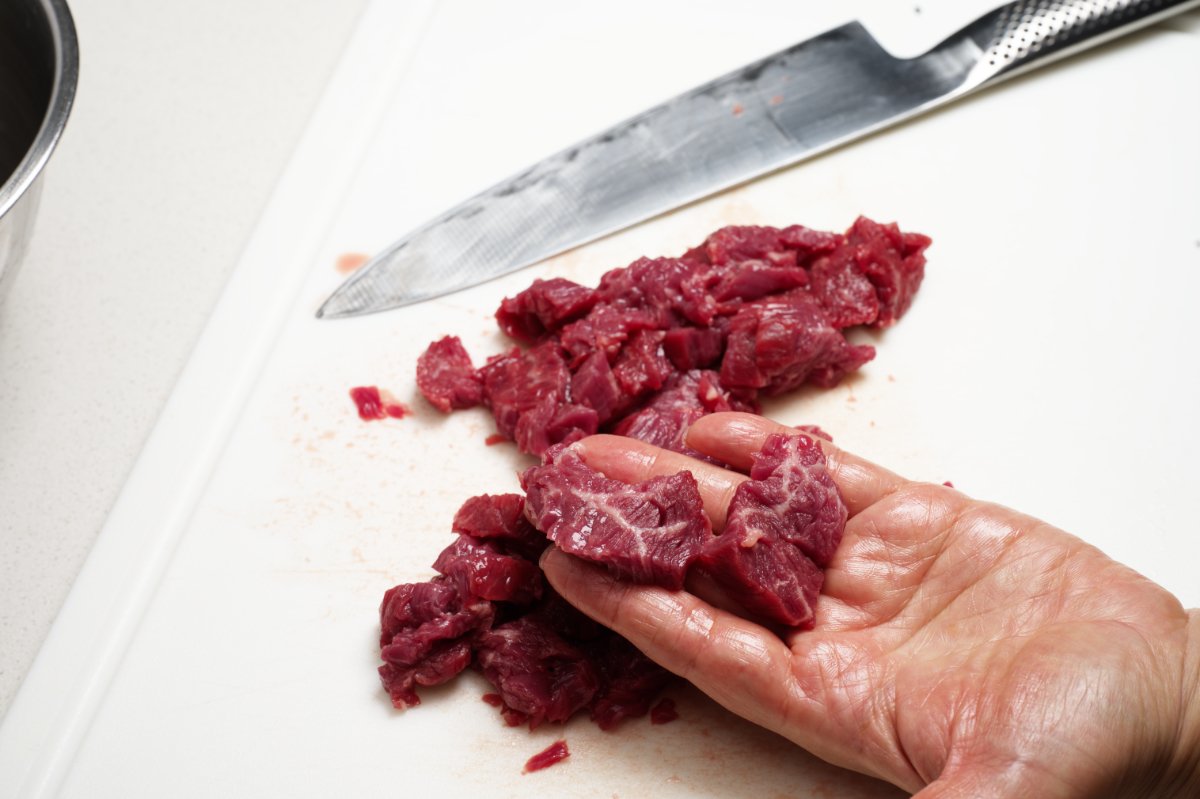
I begin by cutting the meat into thin bite size squares. Don’t cut them too small because you want them to stand out in the rice and have nice toothsome bites.

cutting the beef into strips caramelized beef fried rice

chunks of beef

perfect bite size beef for fried rice

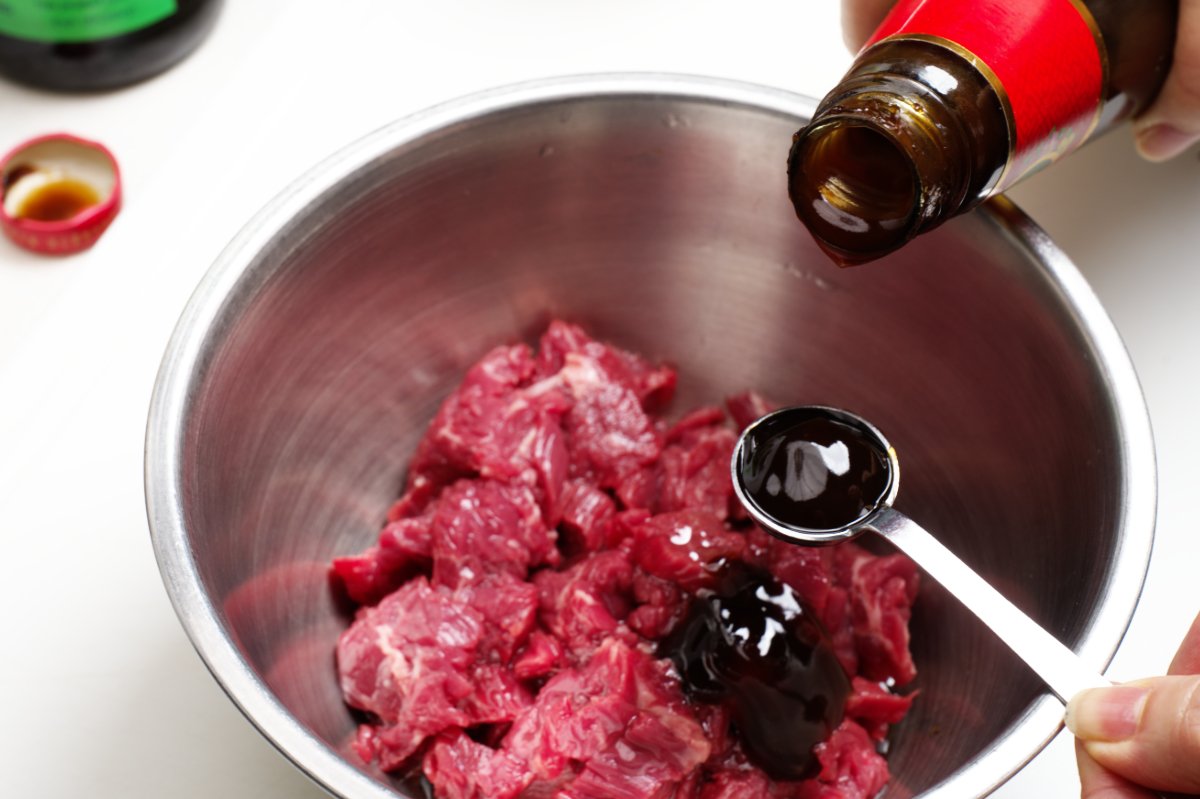
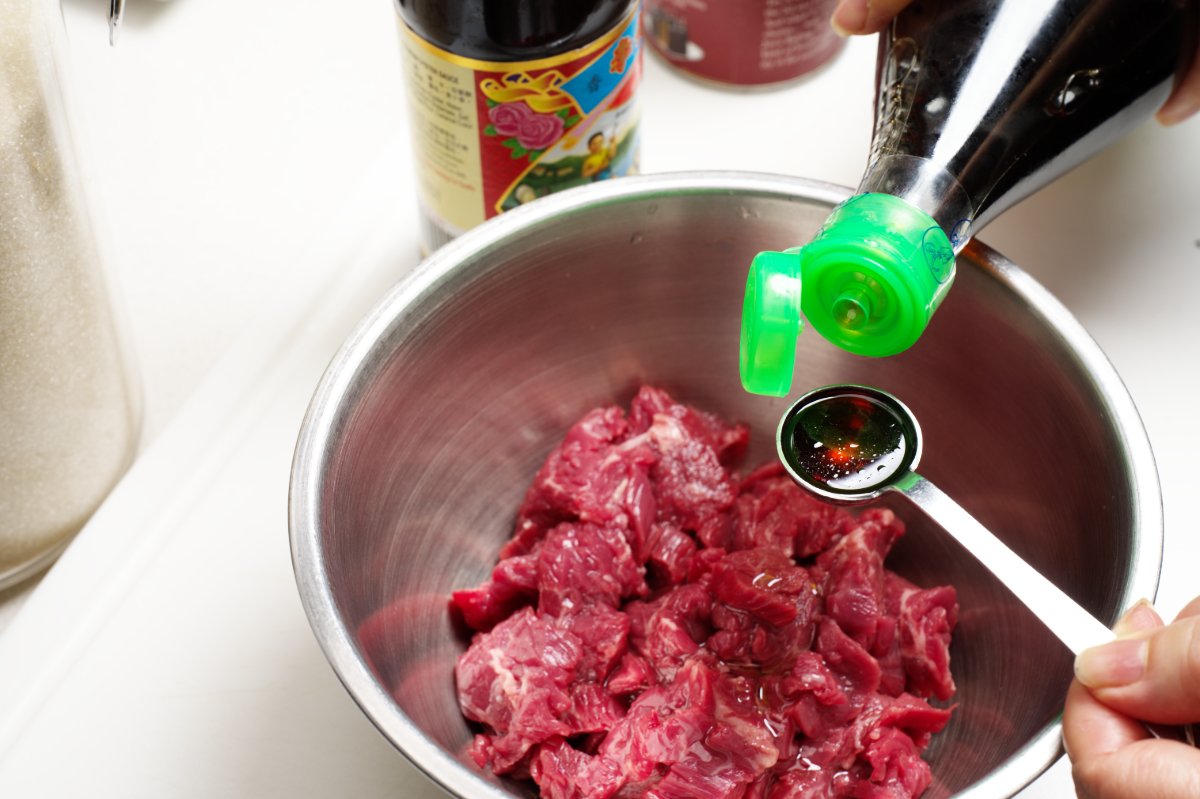
Once the beef is cut, I put it in a bowl and add my marinade ingredients. Fish sauce will give it an umami blast:

soy caramelized beef fried rice

Oyster sauce for richness:

adding oyster sauce caramelized beef fried rice

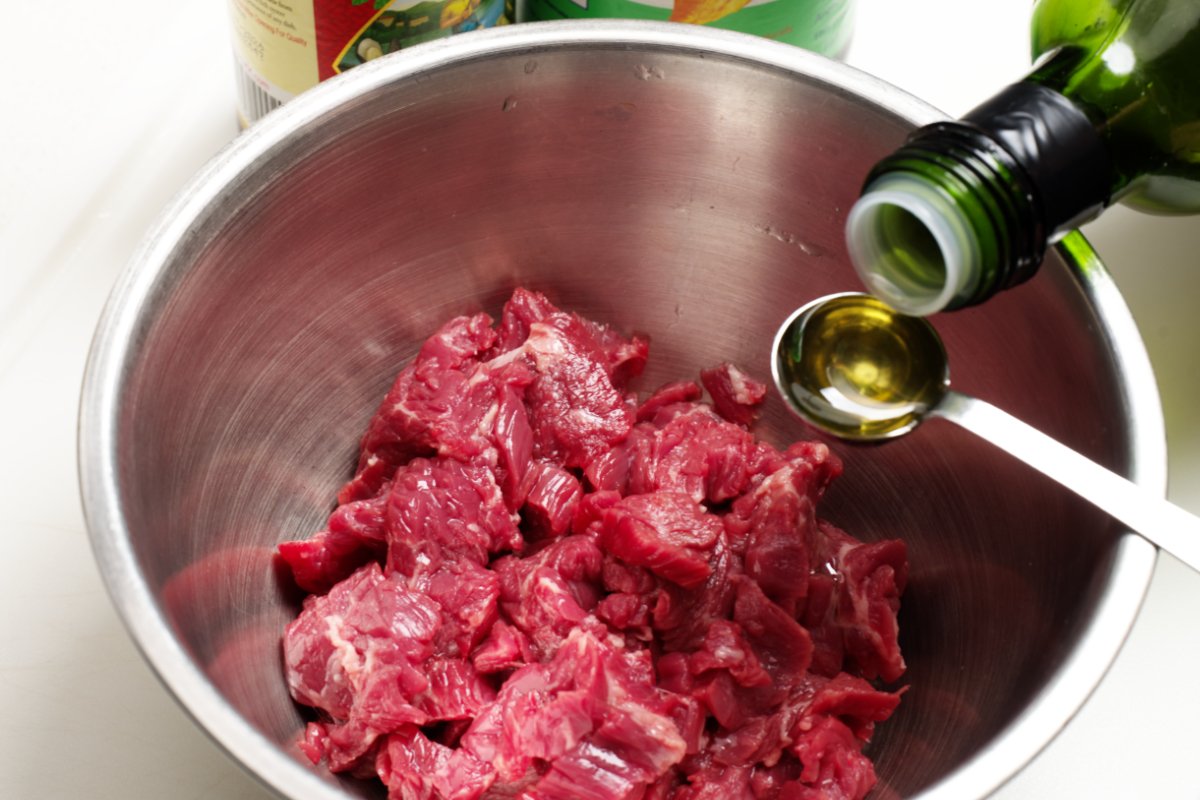
A little oil will help the marinade ingredients better penetrate and cling to the beef:

oil in marinade

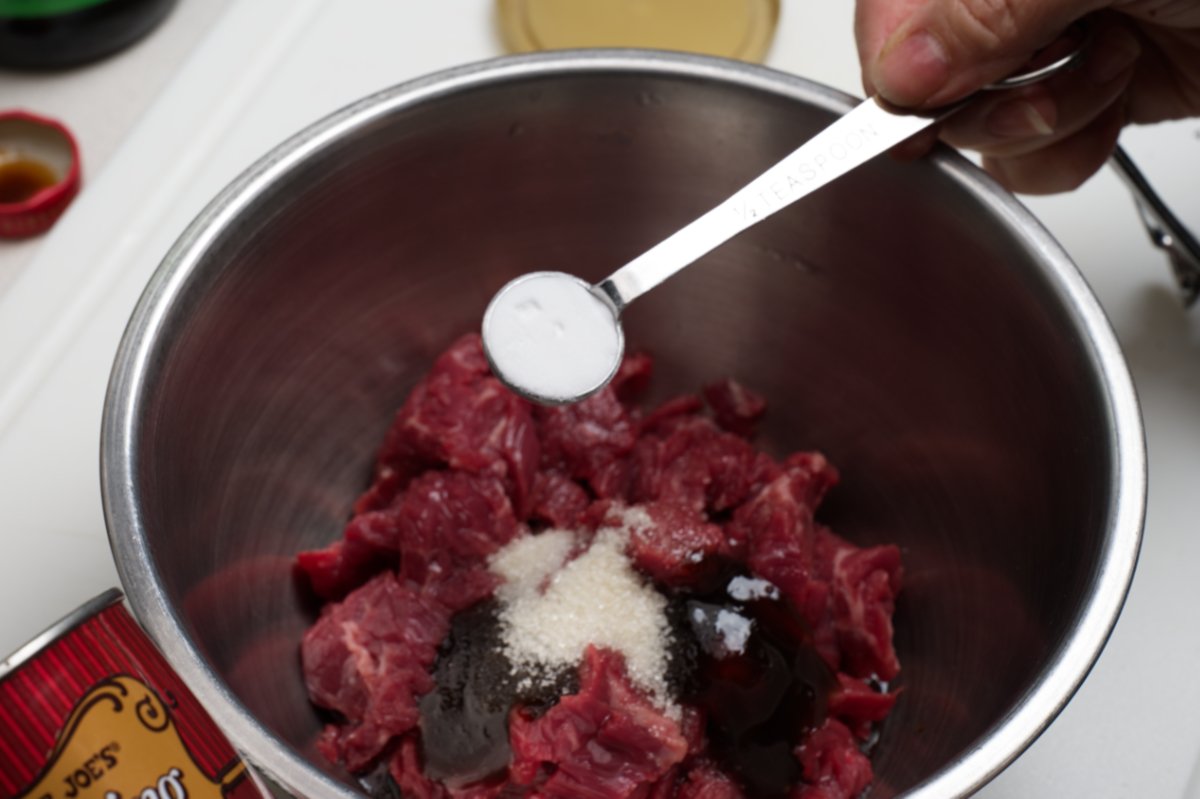
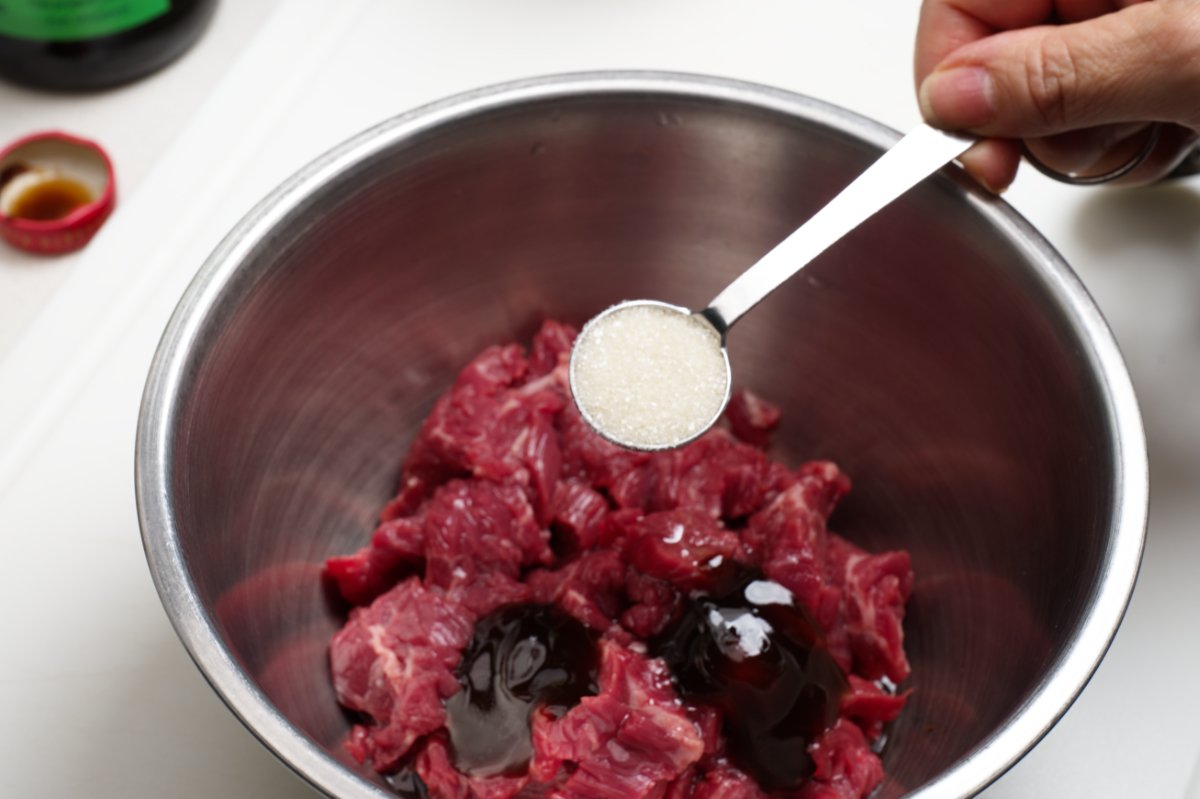
A little sugar to round out the other flavors and help the steak caramelize:

And the ingredient that does the velveting magic, baking soda:

adding baking soda

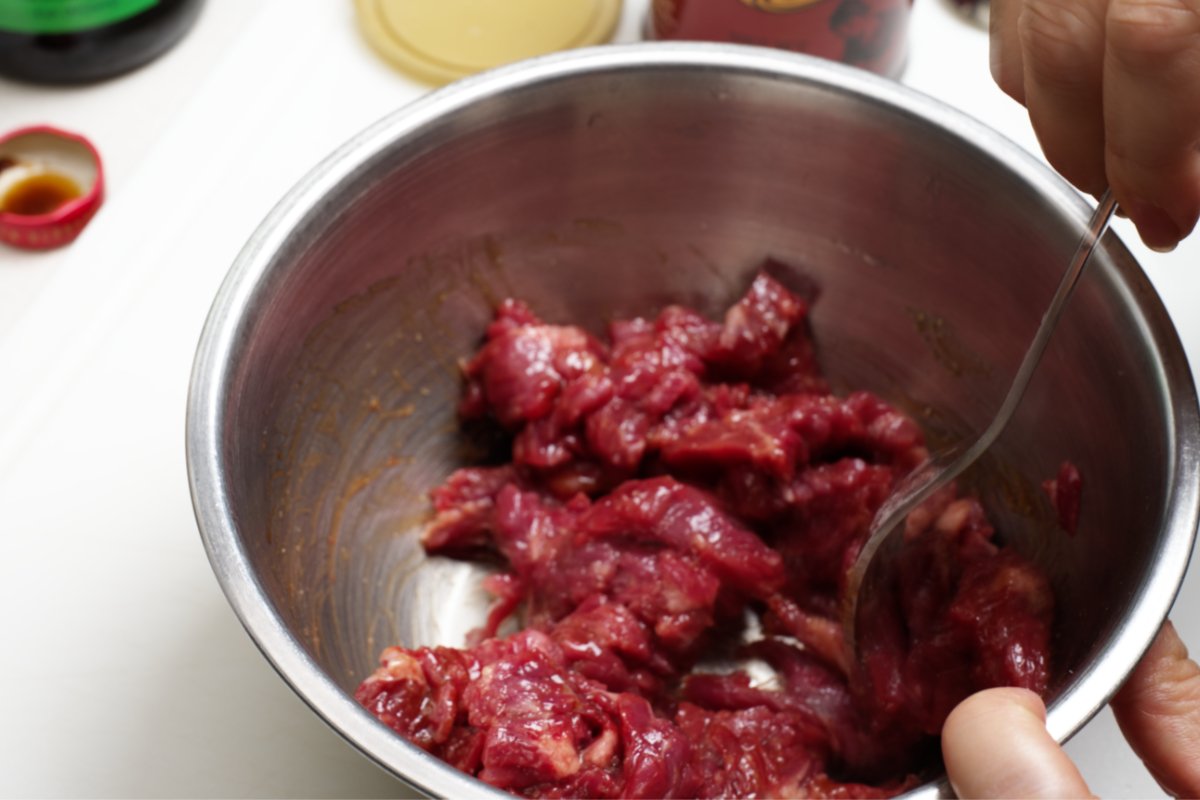
Then I mix everything, making sure all the beef is coated and I let it marinate at least 4 hours or overnight.

mixing beef in marinade

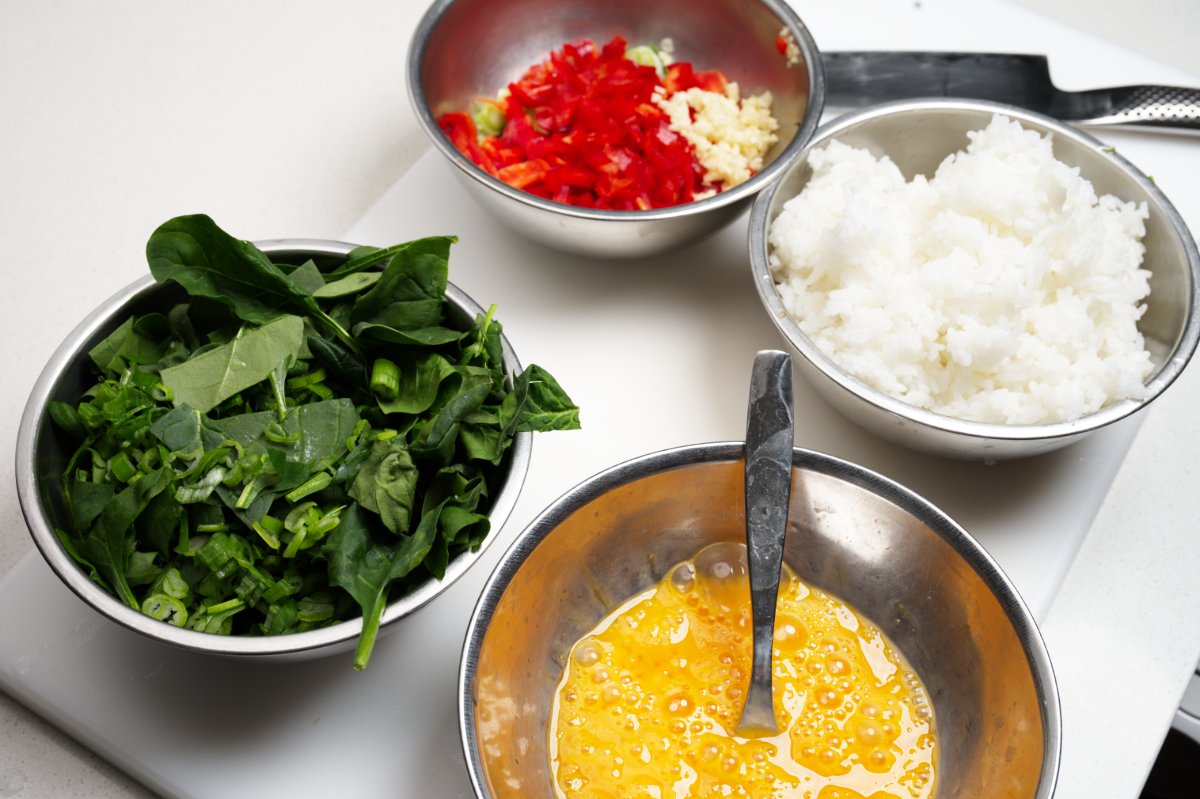
Caramelized Beef Fried Rice is essentially a stir-fry recipe and as such the cooking is going to be fast and furious. So you want to have all your ingredients prepped and close at hand before you start. Make like restaurant chefs do and have a mis en place tray; that’s French for everything in its place and it’s how chefs stay organized and turn dishes out quickly. If you get in the habit of doing that before you begin I promise you that cooking will be a lot more pleasurable. Plus you can pretend you’re the star of your own cooking show, having everything in little bowls just like Ina Garten.

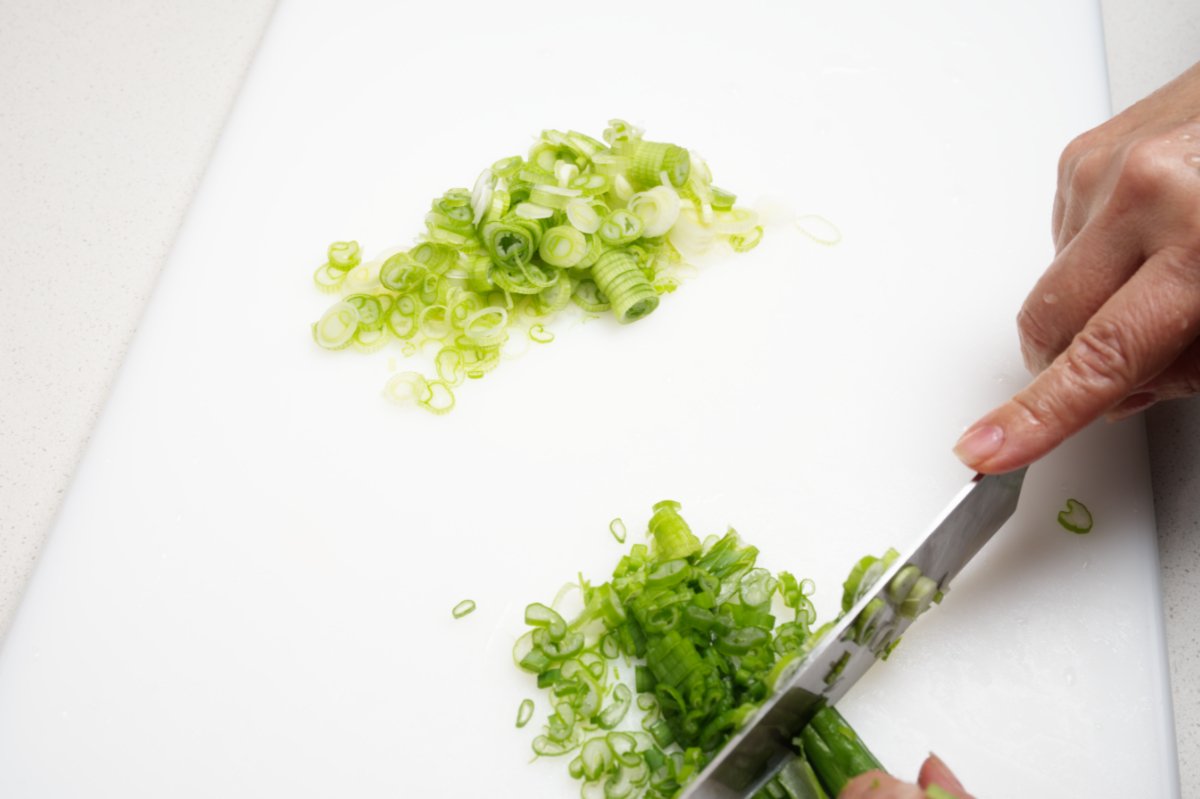
Start by trimming the scallions, keeping the white and green parts separate.

trimming scallions for caramelized beef fried rice

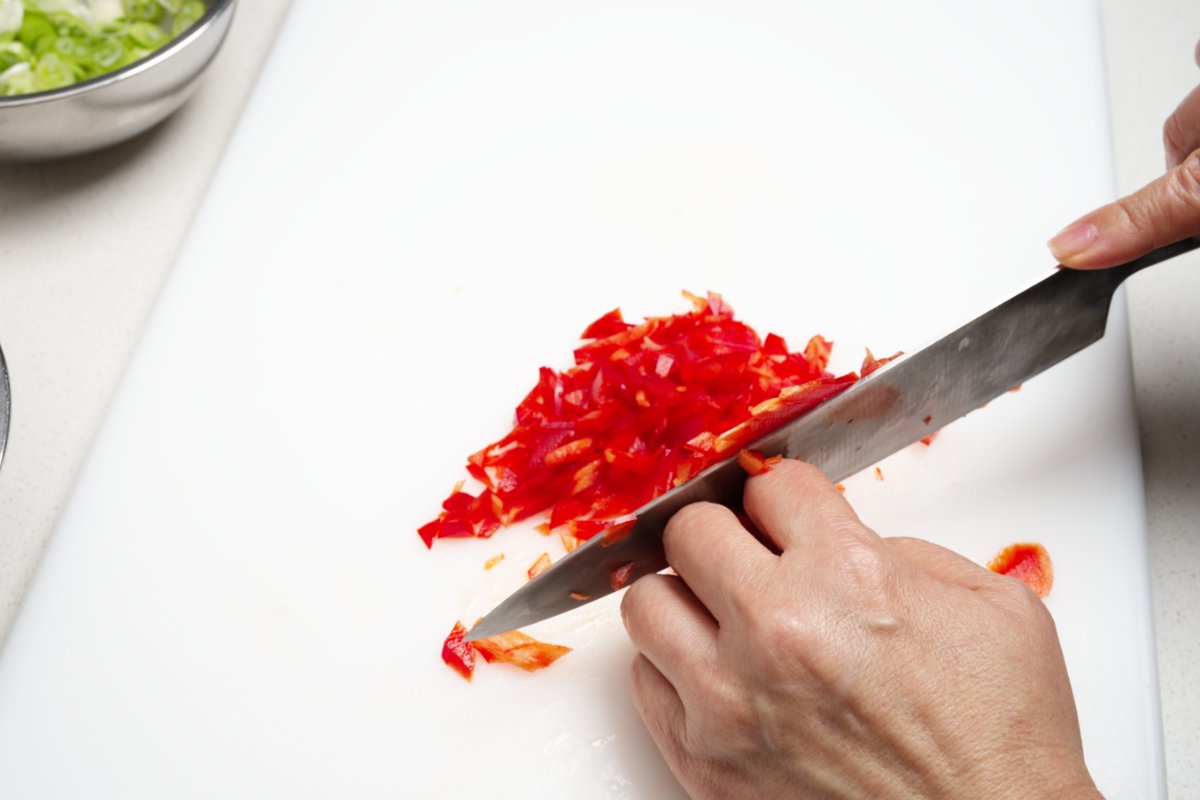
Then dice the red pepper.

cutting red pepper for caramelized beef fried rice

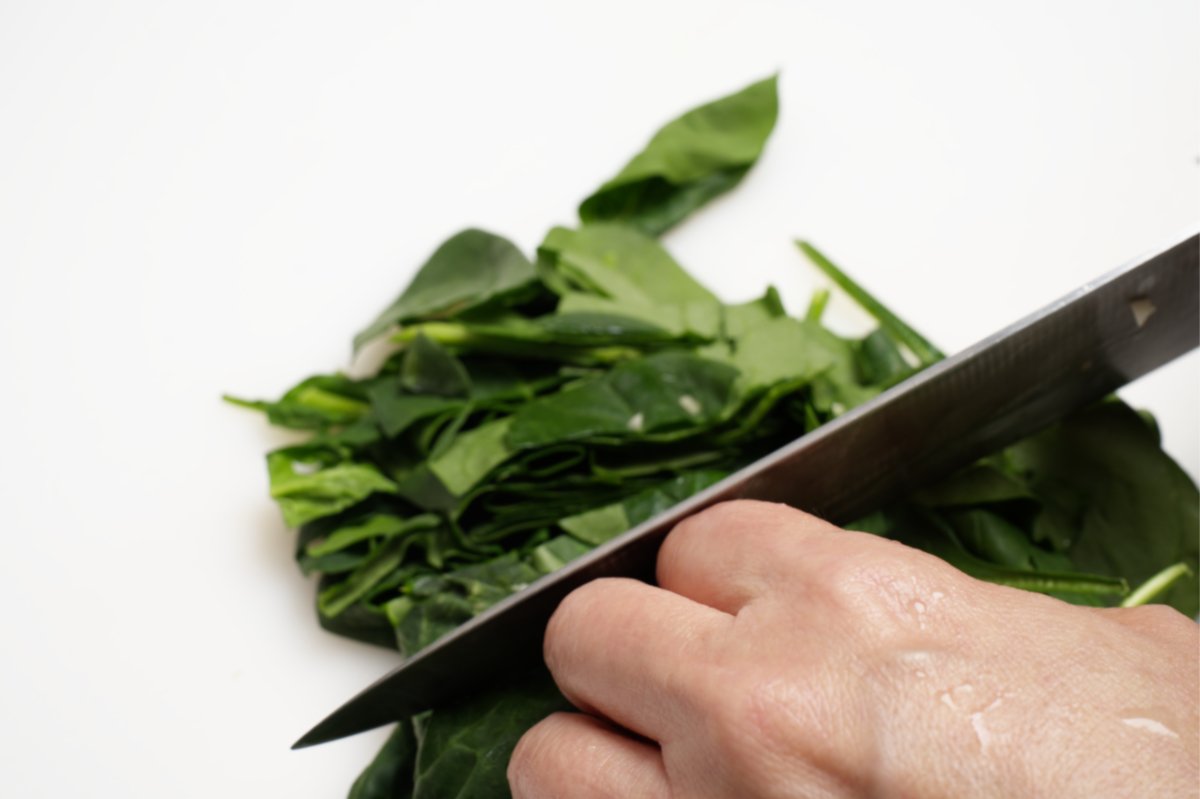
And rough chop some spinach. (you can use other soft greens and veggies too…this is a great clean out the fridge recipe!)

chopping spinach

I also whisk the eggs and then gather everything by the stove top because it’s time to cook!

mis en place

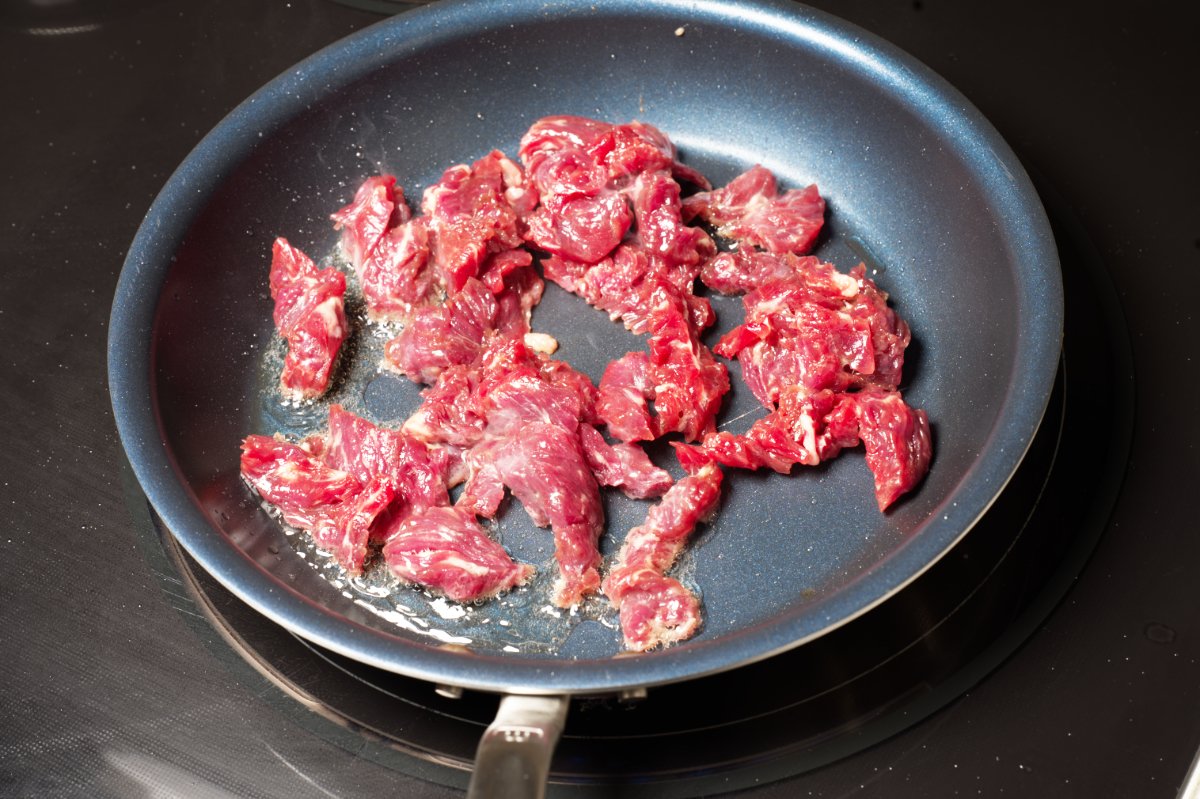
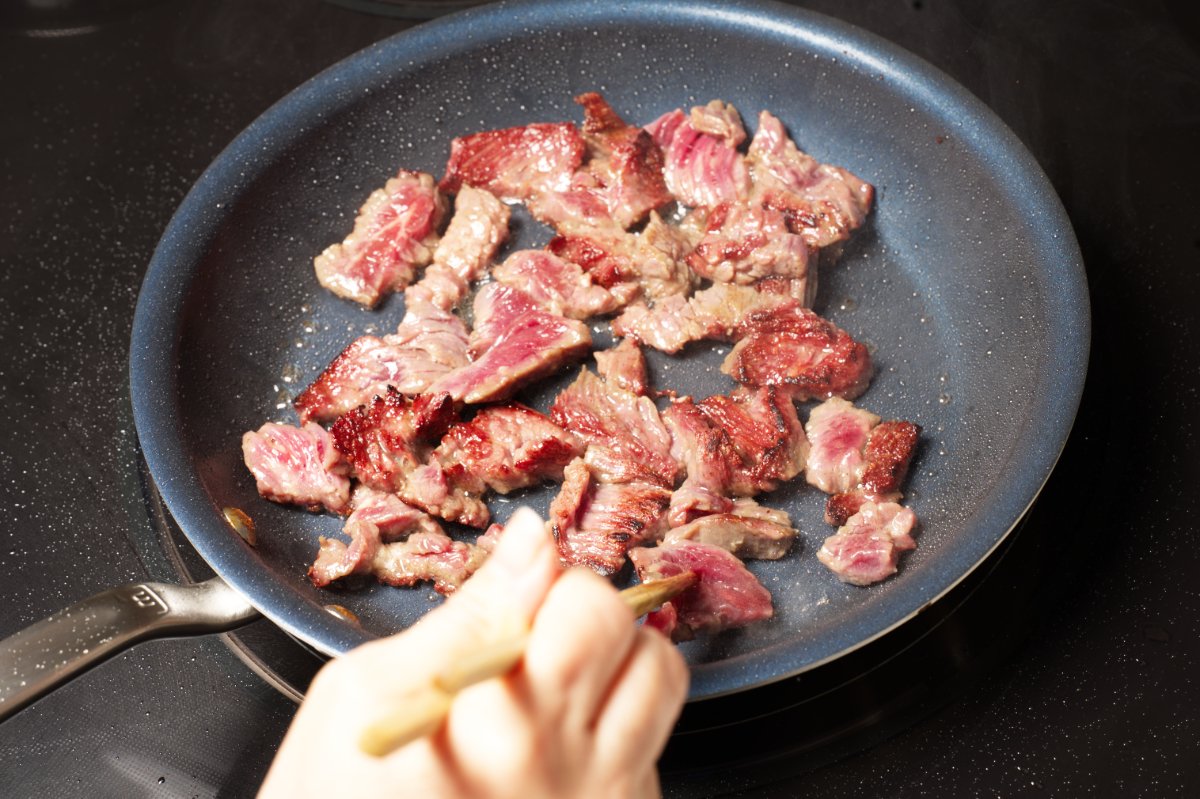
Heat a large non-stick skillet and add oil and the beef. Cook undisturbed for 30 seconds.

Then stir fry it for another minute.

stir frying beef for fried rice

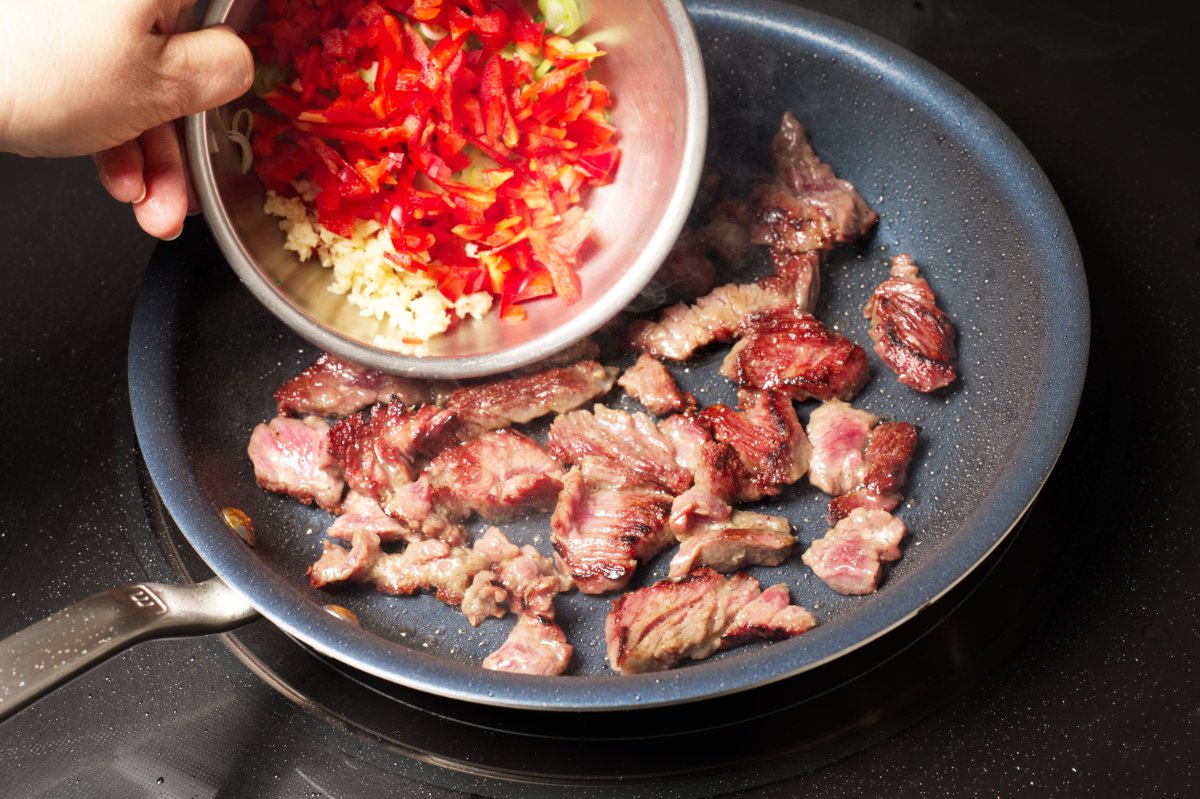
Stir in the veggies:

add veggies

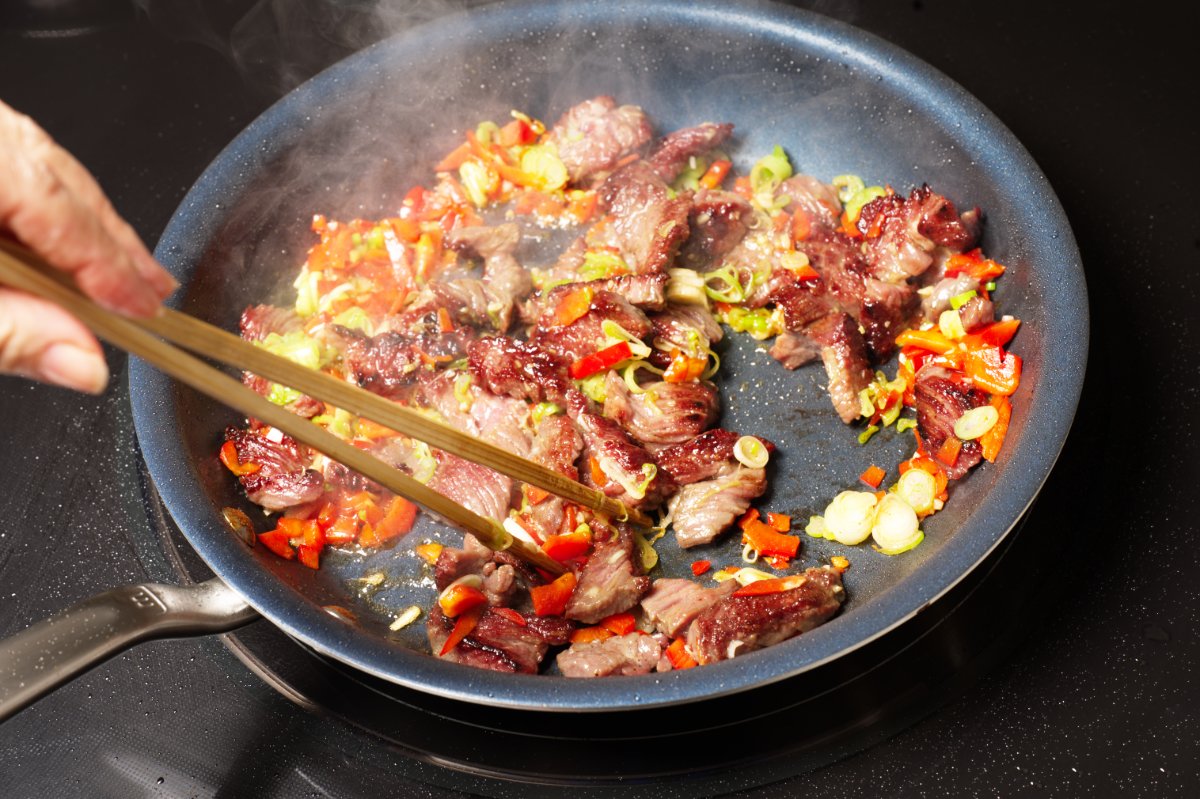
Cook for another minute, stirring constantly so the meat browns and caramelizes but doesn’t burn.

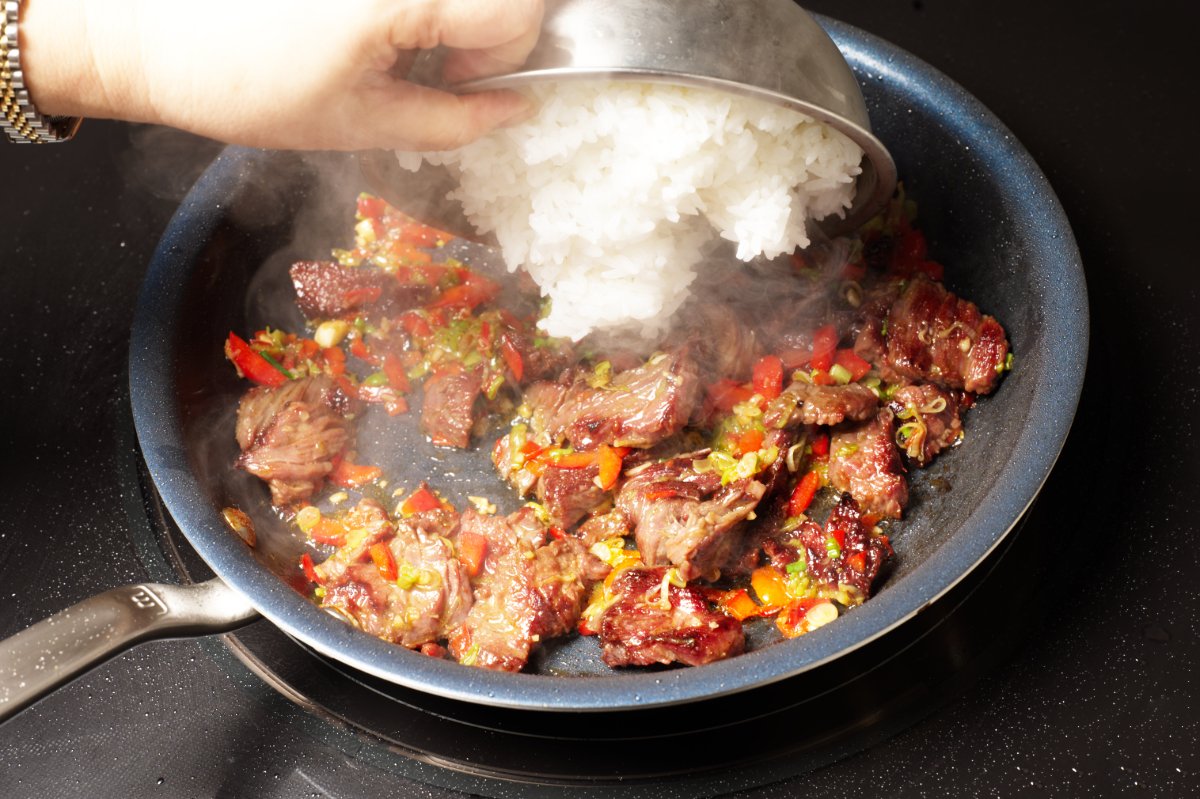
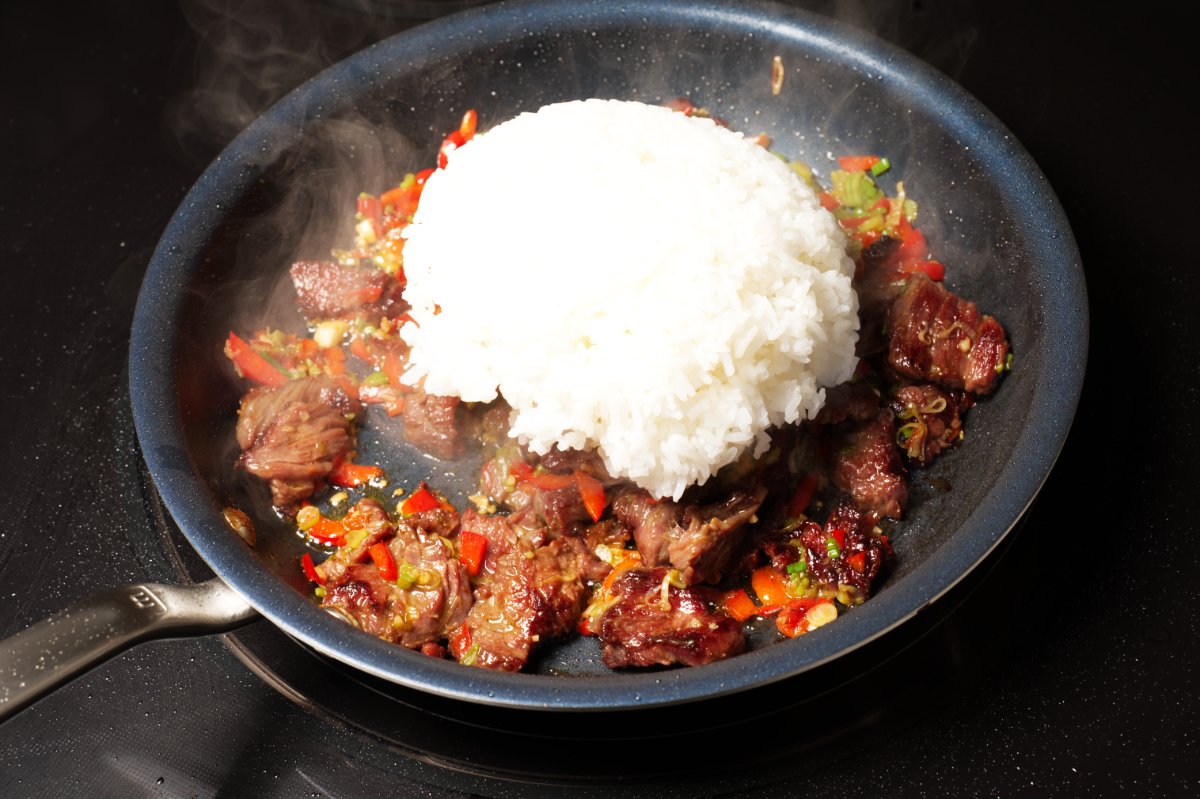
Now it’s time to add the rice. If you’ve made fried rice before you know it’s always best to used leftover rice. Cold, leftover rice is key for the perfect fried rice because it’s drier and firmer than freshly cooked rice, preventing it from turning mushy. The grains stay separate, giving you that signature chewy, slightly crispy texture when stir-fried. Fresh rice, on the other hand, tends to be too soft and sticky, making it harder to achieve that classic fried rice consistency.

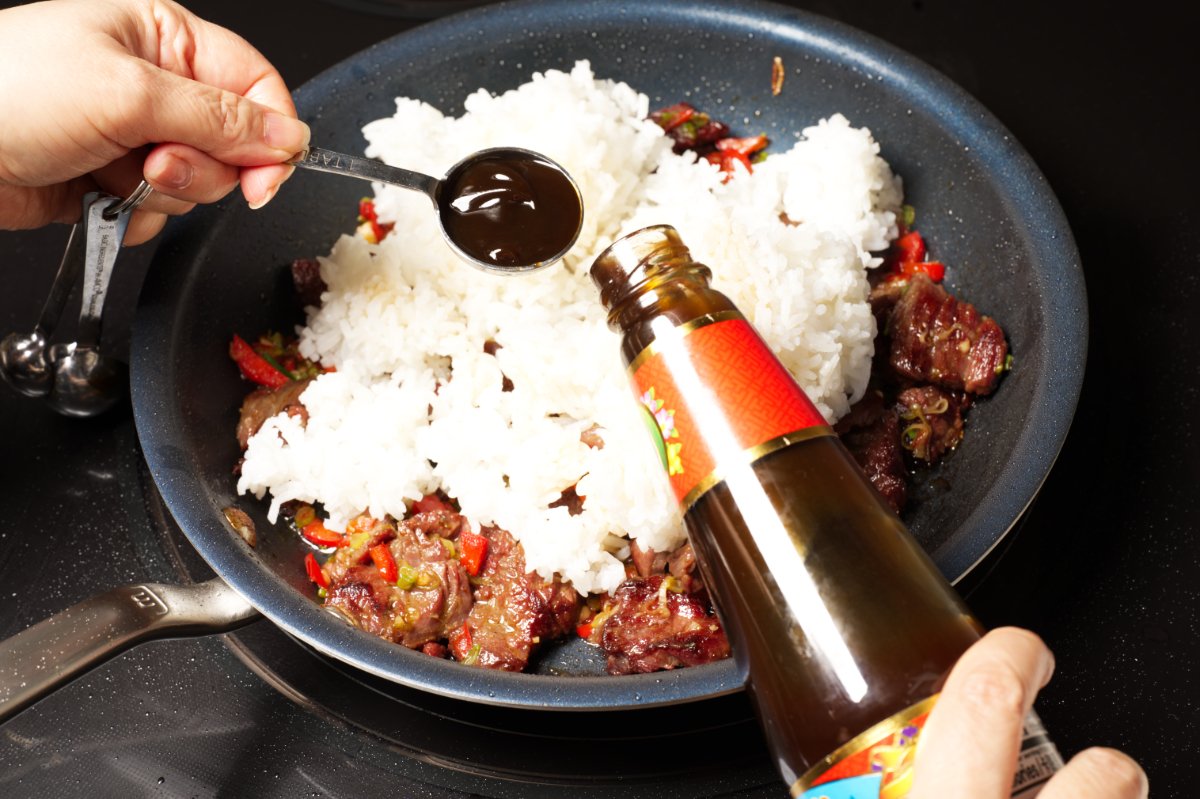
Add the fish sauce and oyster sauce:

adding sauces to beef fried rice

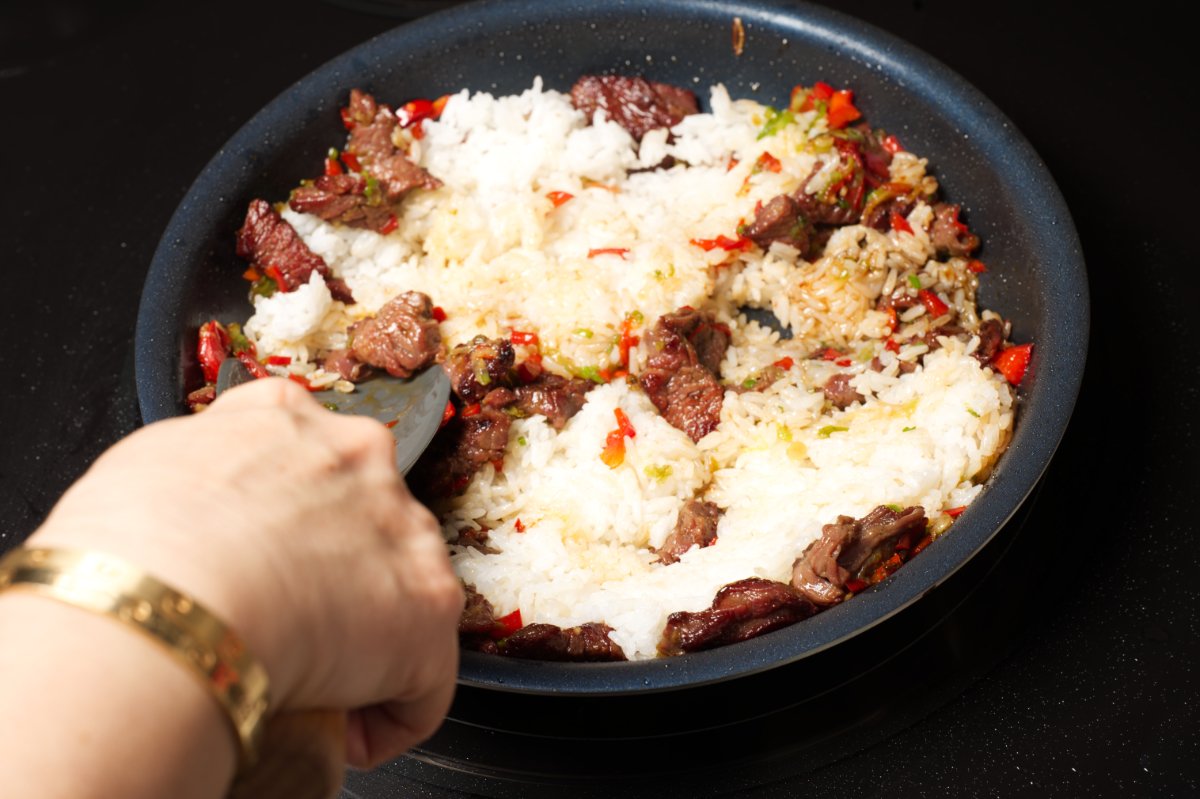
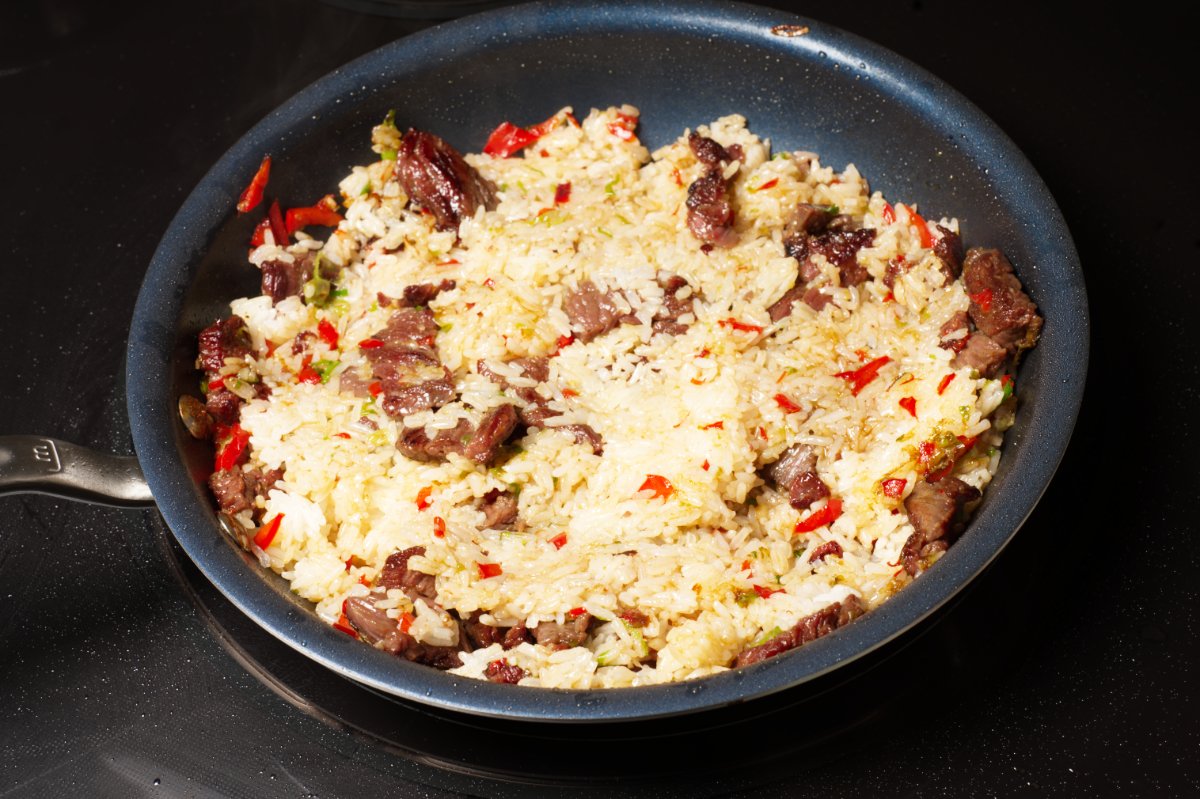
Press down on the rice to let it sear:

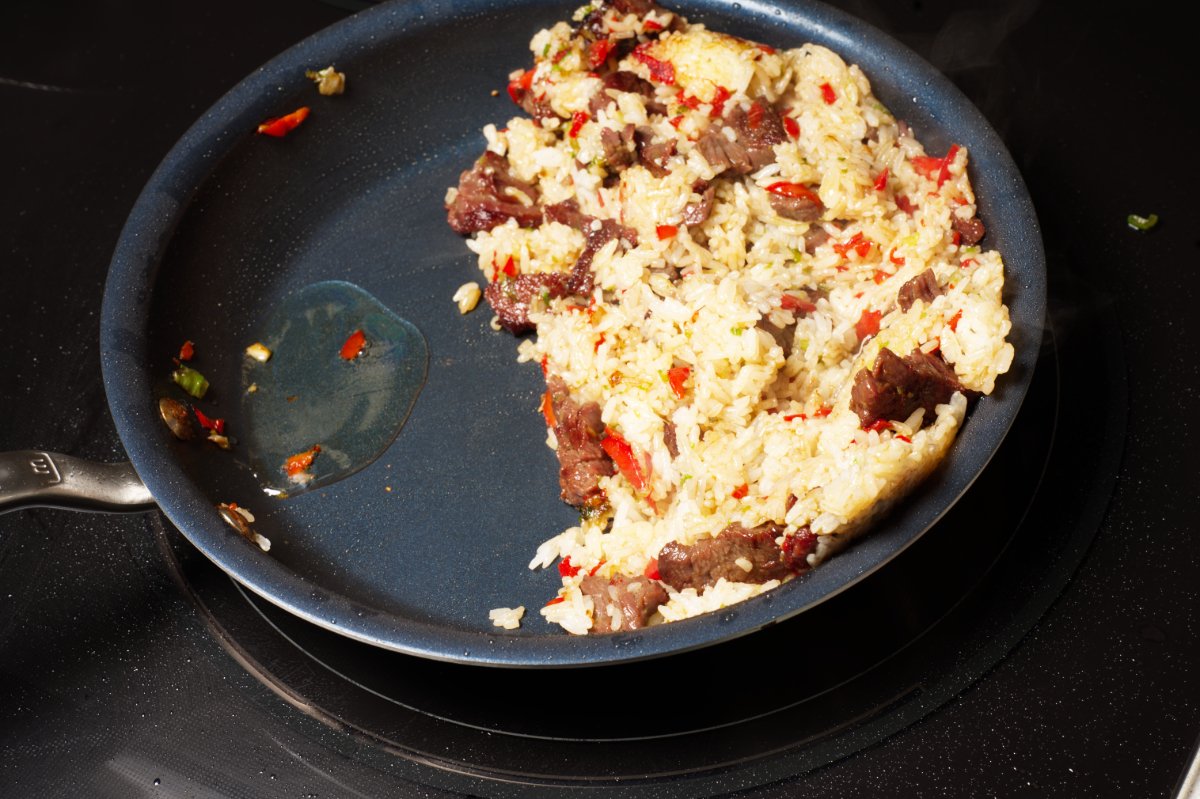
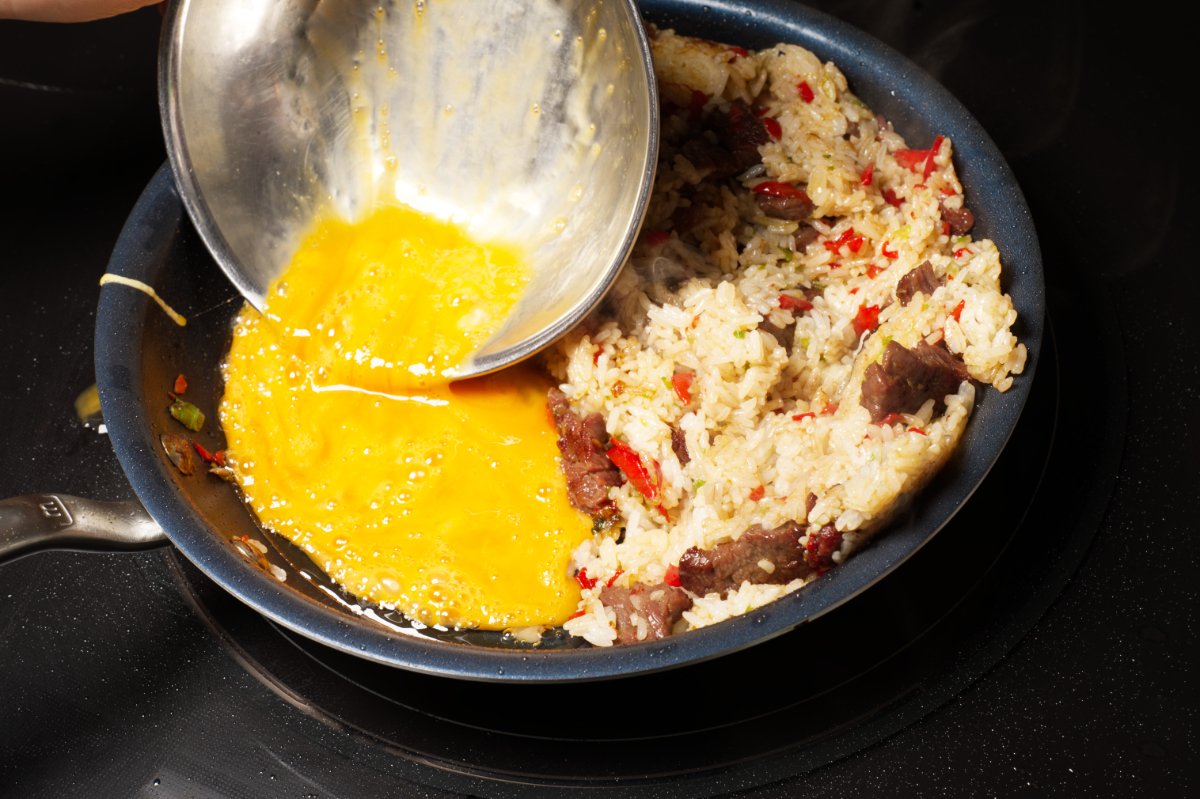
When the rice is heated through and crisped, it’s time to scramble the eggs. Push the fried rice to one side of the pan, add more oil and the whisked eggs.
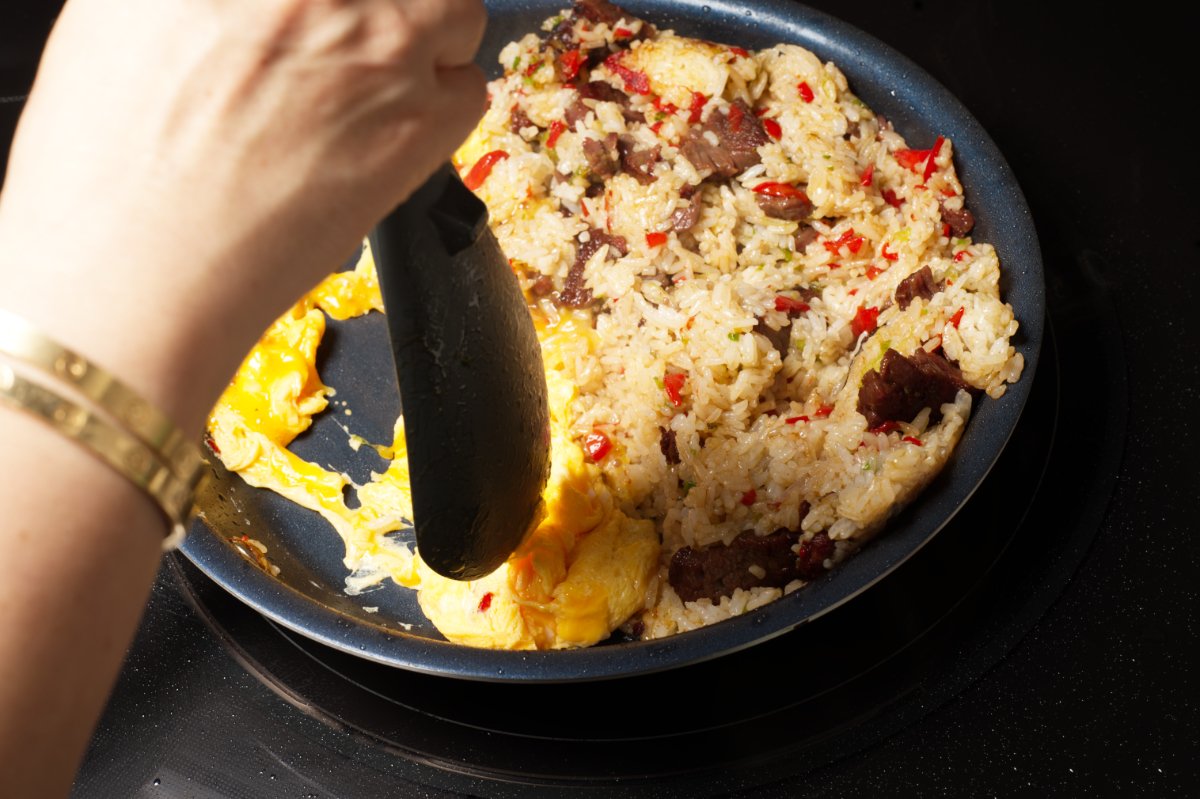
Use a spatula to gently scramble the eggs and then stir them into the rice to finish cooking.

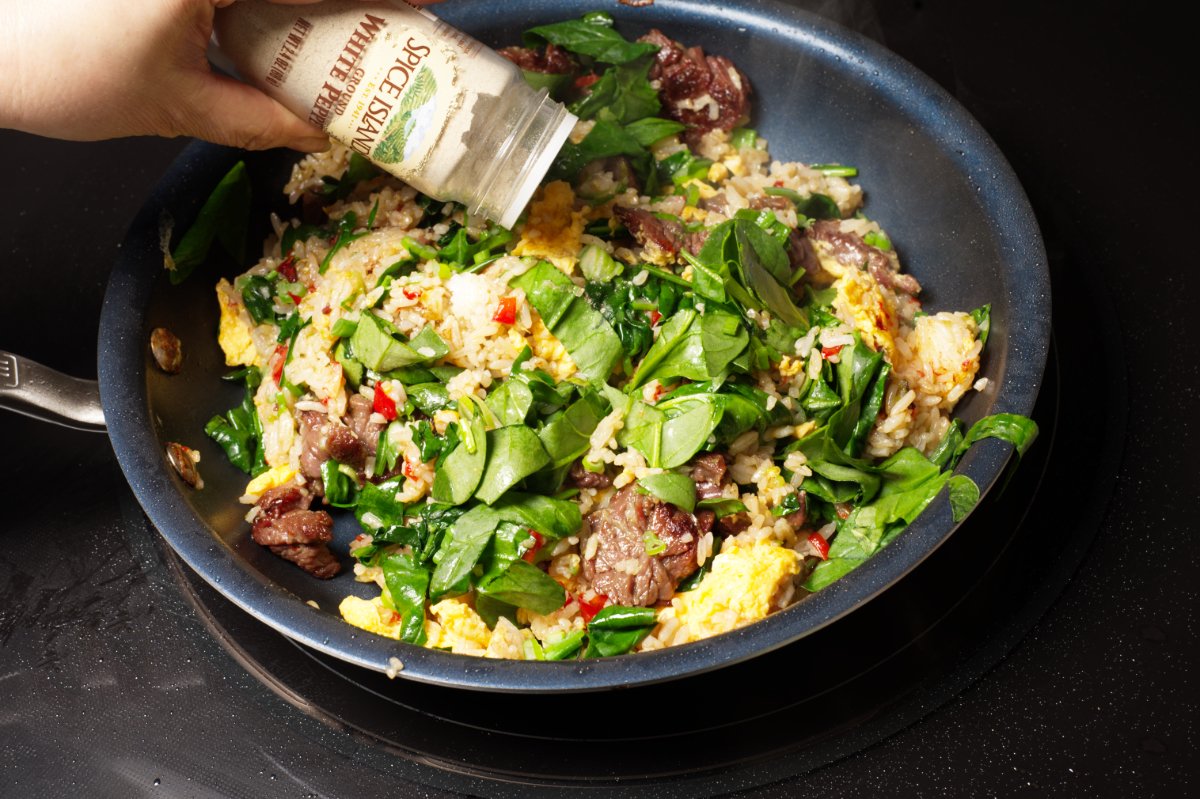
To finish add the green part of the scallions, the spinach, and the white pepper. You can sub black pepper but the white adds an earthy funkiness that I love.

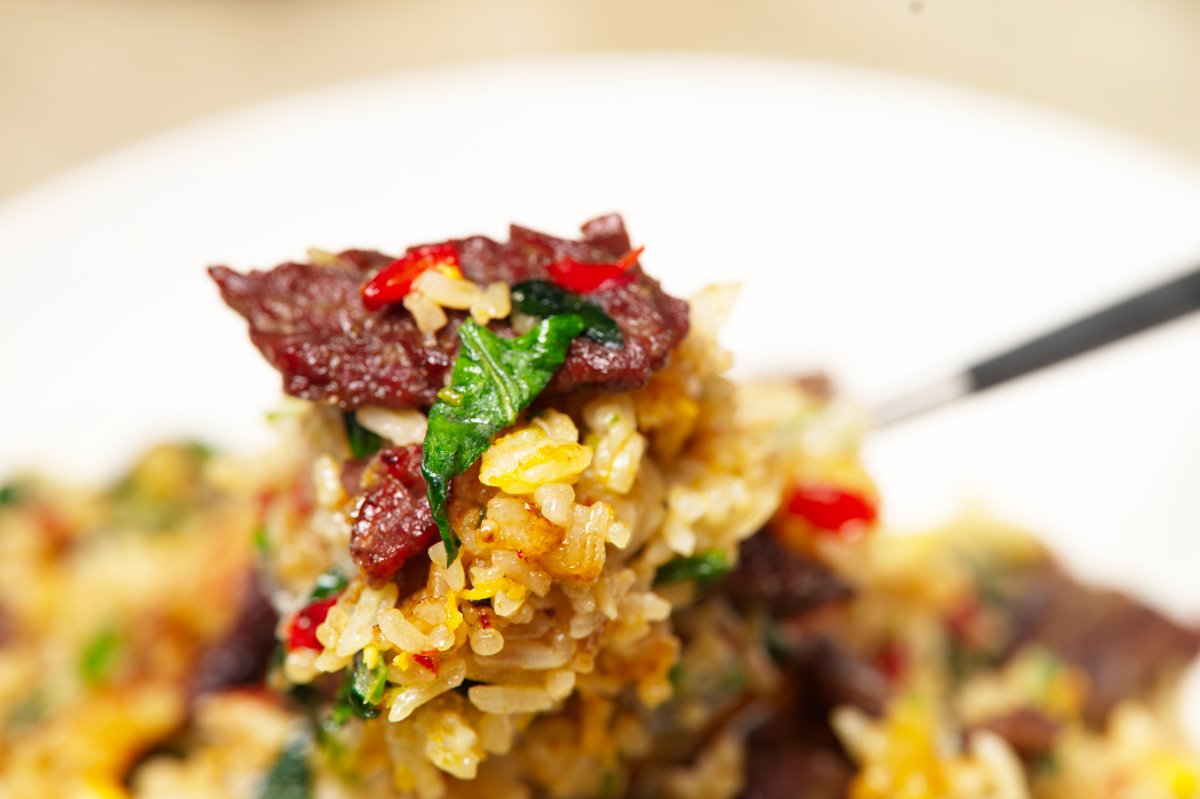
And just like that, your Caramelized Beef Fried Rice is ready to serve! Every bite is packed with tender beef, crisp veggies, fluffy eggs, and perfectly seasoned rice. It’s a full meal in under 20 minutes—what more could you ask for?
recipe card caramelized steak fried rice

 Give it a try and let me know what you think, and tag us in your pics @funkyasiankitchen, we love hearing from you! Love fried rice dishes? Give our Kimchi Rice and Thai Chicken Fried Rice a try too!

Print
clock clock iconcutlery cutlery iconflag flag iconfolder folder iconinstagram instagram iconpinterest pinterest iconfacebook facebook iconprint print iconsquares squares iconheart heart iconheart solid heart solid icon
recipe card caramelized steak fried rice

Caramelized Beef Fried Rice

  • Author: Funky Asian Kitchen
  • Prep Time: 15 minutes (plus marinating time)
  • Cook Time: 10 minutes
  • Total Time: 25 minutes
  • Yield: serves 2

Ingredients

Scale

Velvet Beef:

  • 8 ounces beef steak (Use inexpensive cuts like chuck, flap meat, flank, or beef stir fry strips) 
  • 1 teaspoon fish sauce
  • 2 teaspoons oyster sauce
  • 1 garlic clove
  • 1 teaspoon sugar
  • ¼ tsp baking soda (bi-carbonate soda)
  • 1 Tablespoon oil

Fried Rice:

  • 3 Tablespoons neutral oil, divided
  • 2 cloves garlic, minced
  • 3 cups cooked rice (preferably Jasmine or a medium grain)
  • 3 scallions, trimmed, minced, and separated into white and green parts
  • ¼ red bell pepper, minced  
  • 1 large handful spinach, about 2 ounces (roughly chopped)
  • 1 Tablespoon fish sauce
  • 1 Tablespoon oyster sauce
  • Ground white pepper

Scrambled Eggs:

  • 2 large eggs
  • 1 pinch salt

Instructions

  1. Velveting Beef – Cut the beef into small thin squares about 1” big and transfer to a bowl. Add the marinade ingredients to the beef and toss well. Set aside covered in the fridge for at least 4 or up to 24 hours.
  2. Whisk the eggs with salt and set aside.
  3. Get your ingredients ready– Place the white part of the green onions with the bell peppers, and garlic in one bowl. In another bowl combine the green part of the scallions with the spinach. Bring everything to the stove with you, so you don’t forget any ingredients.
  4. Make the Fried Rice – Heat a medium nonstick pan over high heat for a couple minutes (I used a 10” pan but a 12” pan is better). Add 2 tablespoons of oil and swirl the pan to coat. Add the beef and cook for 30 seconds untouched. Then stir fry for another minute until half cooked. Add the garlic, red peppers, and white part of the green onions. Cook for another minute until the beef is caramelized, stirring constantly so it doesn’t burn (lower the heat to medium high if things are starting to burn.)
  5. Add the rice, fish sauce, and oyster sauce. Stir fry for another 1 ½ – 2 minutes, pressing down lightly on the rice to give the rice a chance to fully heat through and sear (this gives the rice better flavor).
  6. Scramble egg – push the rice to one side and add the remaining 1 tablespoon of oil to the empty space. Pour the egg into the space, give it 10 seconds to partially set then scramble it softly with your spatula or wooden spoon. Once mostly cooked, gently mix it into the rice (it should break up into small pieces as you mix).
  7. Serve – Add the green part of the green onion and the spinach plus a couple dashes of white pepper and mix. Transfer the rice into two deep bowls and serve immediately.

Keywords: fried rice, steak, fast, veggies, eggs