Category: Japanese

Japanese Egg Sandwich (tamago sando)

Japanese Egg Sandwich (tamago sando)

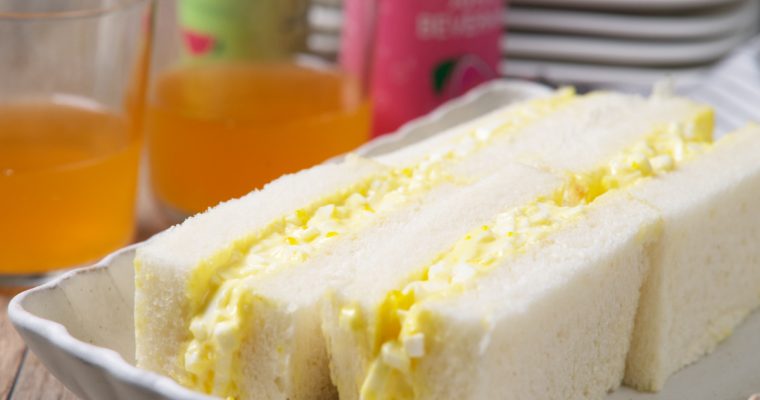
If you’ve ever been to Japan, you know the country takes its convenience stores seriously. We’re talking spotless aisles, impeccably organized shelves, and food so good that tourists and locals alike treat them as legit dining destinations. The first order of business for many travelers read more
Slow Roasted Okinawan Sweet Potatoes

Slow Roasted Okinawan Sweet Potatoes

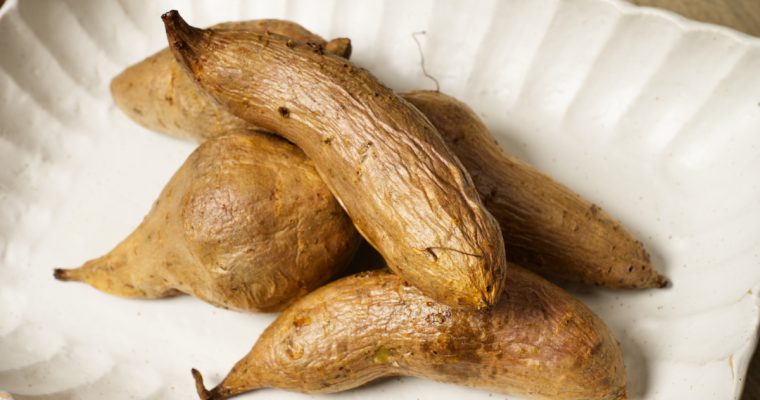
There’s something about roasted sweet potatoes that feels instantly cozy, right? In Japan, they’re a beloved autumn and winter snack, often sold straight from little trucks. Called yaki imo, these piping hot treats are simple, comforting, and naturally sweet. At home, I love making Slow read more

Strawberries and Milk

Strawberries and Milk

I used to think my mom made this up. When I was little, she’d serve us bowls of strawberries and let us mash them up, drizzle in a little honey or a sprinkling of sugar, and pour cold milk over the whole thing. The strawberries would tint the milk this delicate, dreamy pink, and my sisters and I would eat it with a spoon straight from the bowl. For the longest time, I assumed it was just one of those quirky “Mom things”, probably a way to make sure we ate more fruit while getting some calcium.

But it turns out strawberries and milk—ichigo to miruku—is actually a classic snack in Japan. You’ll find more stylized versions of it in cafés and cookbooks and all over Japanese social media during strawberry season. Strawberries and milk is a popular flavor combination that shows up in candies, cakes, even sandwiches. But even though there are store-bought options and recipes that involve cooking the strawberries into a syrup, I still love my mom’s version best: just fresh berries, sweetened a bit, and mixed with milk.

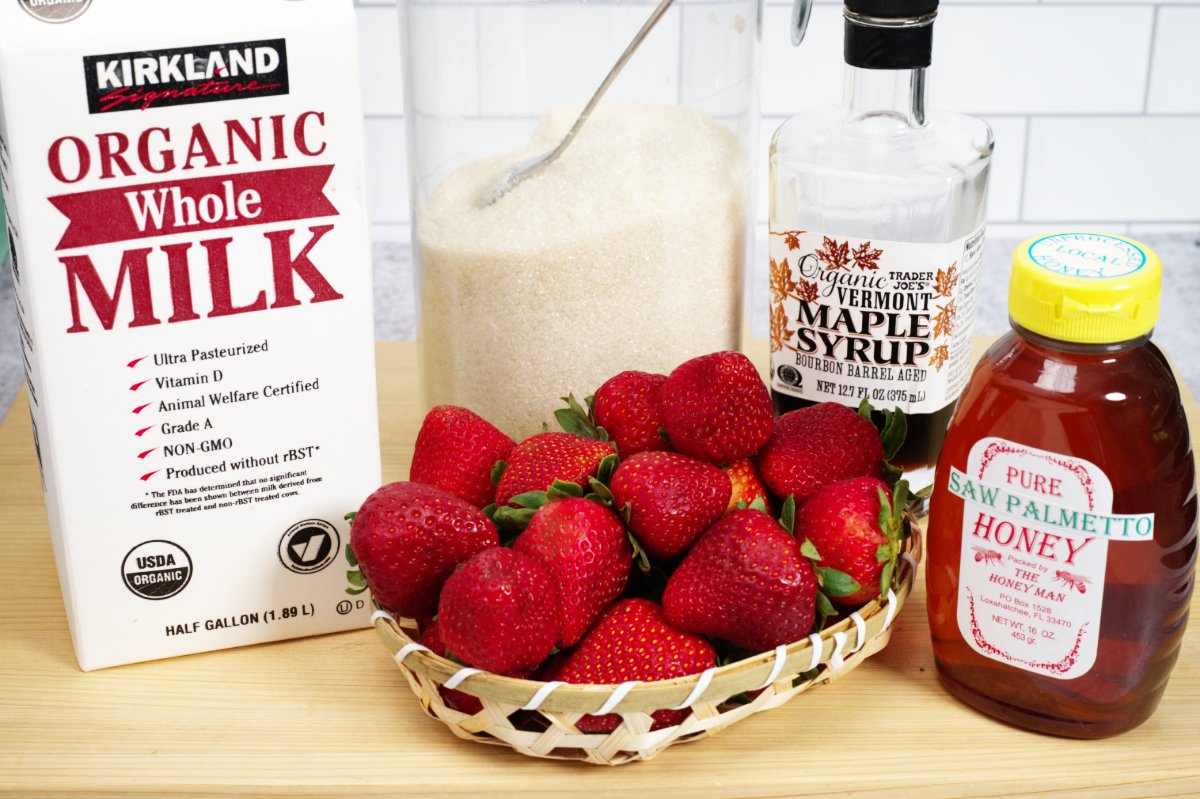
It’s incredibly simple, endlessly customizable, and honestly the most perfect thing to make when it’s way too hot to cook. I use maple syrup now instead of sugar (my grown-up twist), and pour it over whatever milk I have in the fridge—dairy, oat, soy, you name it. To vegan or not vegan, it’s a choose your own adventure kind of thing. Strawberries and Milk is refreshing, nostalgic, and summer ready, so let’s get into it.

pic of ingredients for strawberries and milk

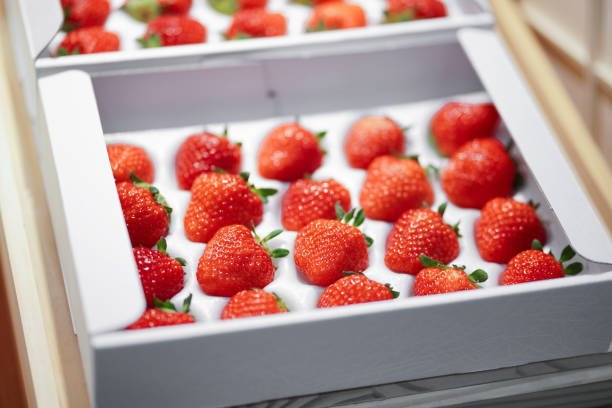
It makes sense that this little snack has such popularity in Japan, where strawberries are practically a cultural treasure. Some varieties are so valued they’re sold in gift boxes, each one carefully packed and nestled like a jewel.

boxed strawberries from japan

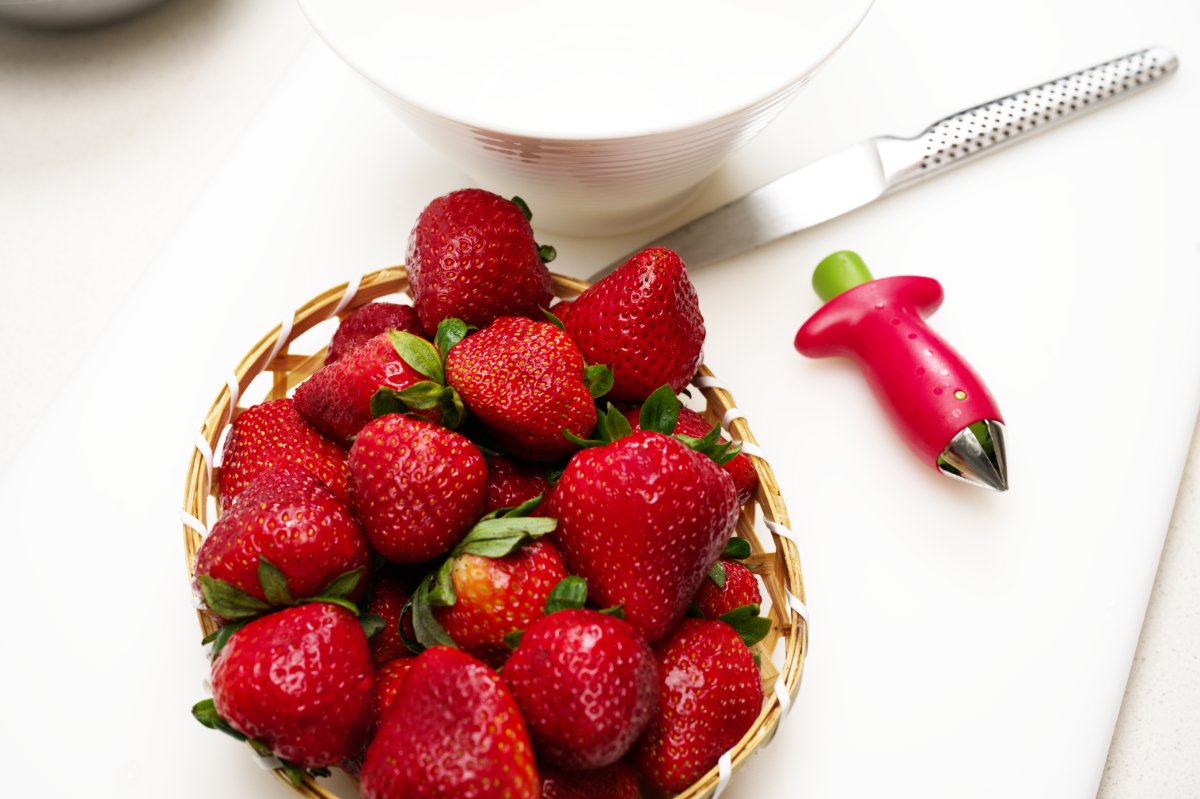
They’re sweet, delicate, and celebrated during peak season—especially around early spring, when the most famous varieties are at their best. And so a recipe like this, which so few ingredients, really lets this prized fruit shine. I look for the best strawberries the season has to offer; this is the time to go to your favorite farmer’s market and pick out the most fragrant and ripe berries you can get your hands on.

photo of the berries before making strawberries and milk

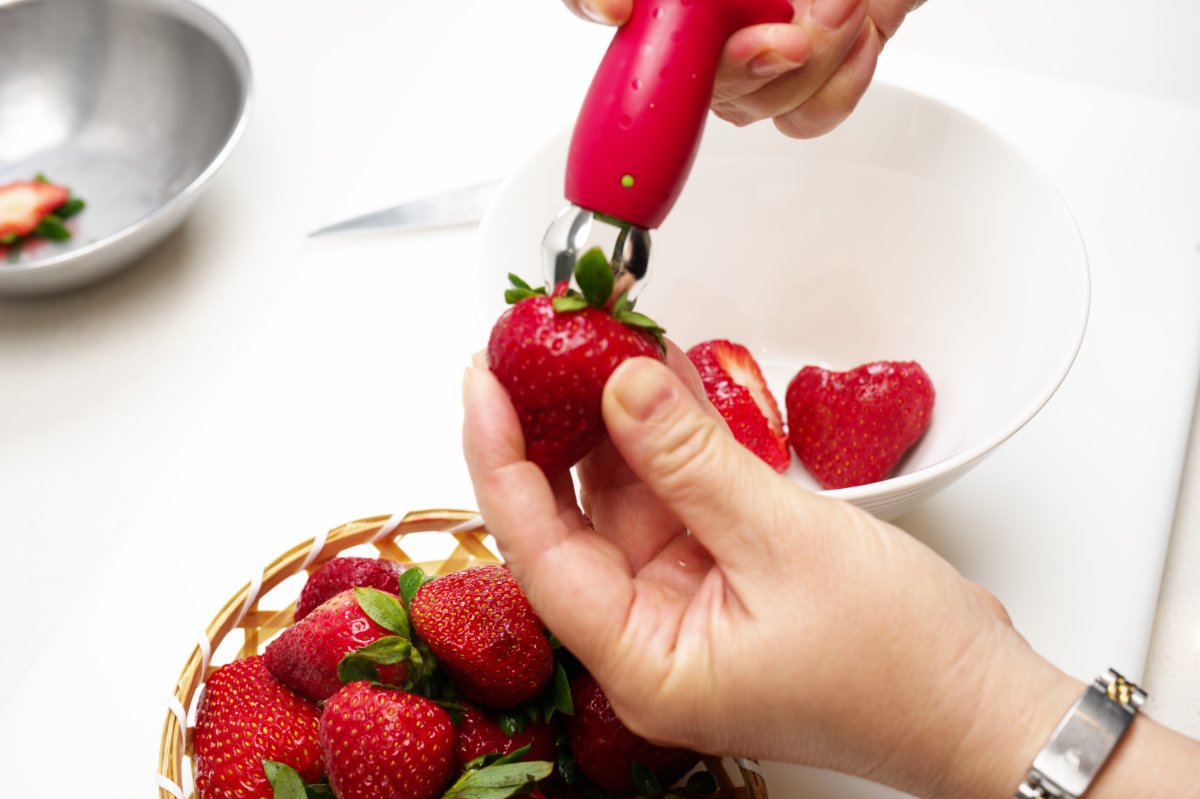
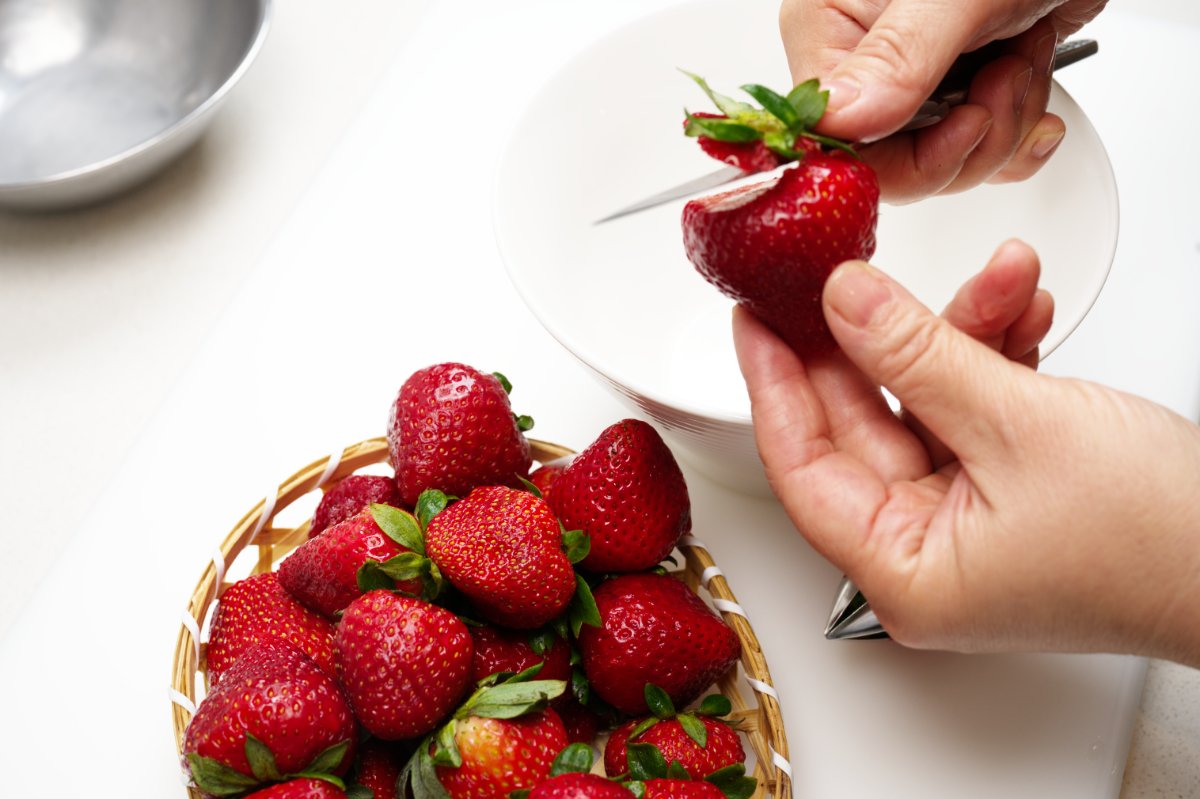
The process is so embarrassingly easy, but sharing is caring, so here we go: I start by hulling my strawberries. You can use a little gadget like this huller to remove the stem and the white core underneath, leaving just the juicy and sweet berry. To be frank, I’m not a gadget girl but remembered seeing this tool in a drawer. I implore you not to buy this single purpose, not even very sharp or helpful tool. Instead, use a pairing knife and you’ll thank me.

hulling strawberries with gadget

Old school is definitely the best choice…

using a knife to remove stem from strawberries

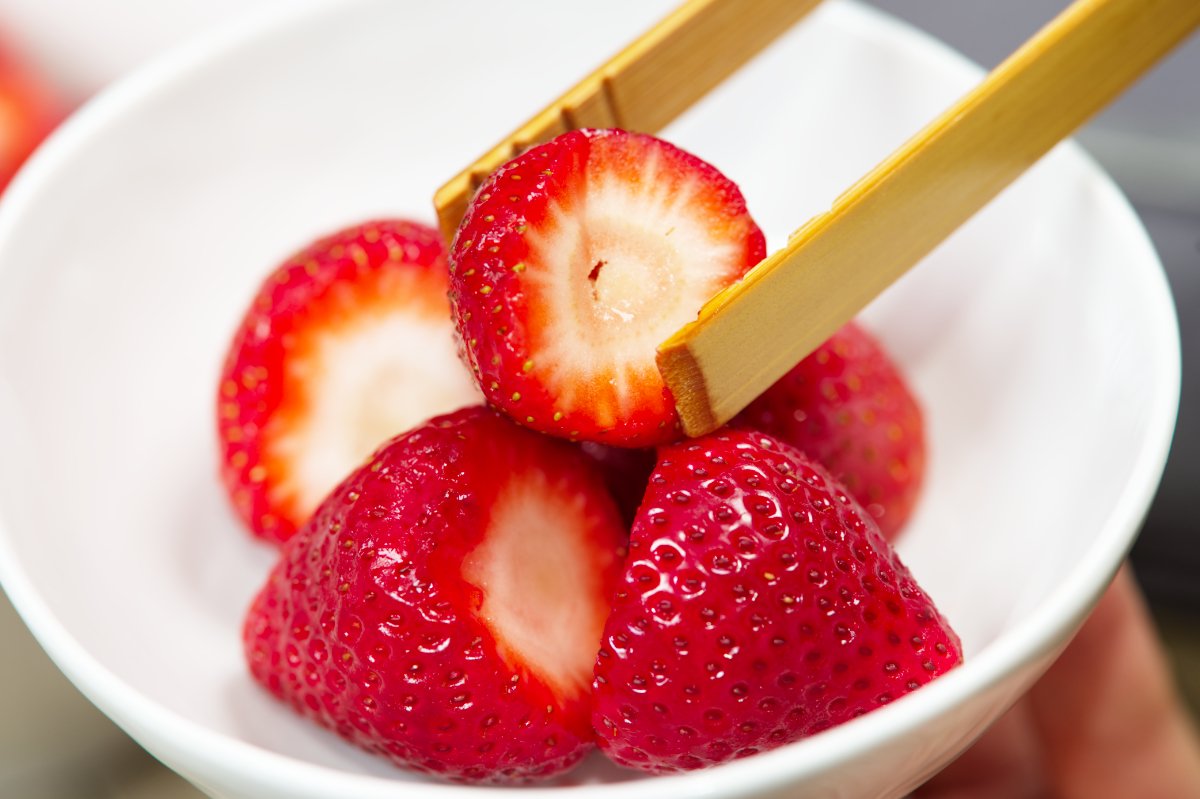
Then I put the strawberries into serving bowls.

putting strawberries into bowls for strawberries and milk

Truly, this is the greatest snack or quick breakfast for parents. Kids have a great deal of energy in the morning, particularly boys like my nephews. They want to do something immediately. If you’re not a morning person like me, you’ll love the fact that mashing strawberries takes some work and gives kids an easy task. Mash it with big chunks left or let them spend some time, work off some energy, and go to town on those berries yielding a smoother paste. Make sure you use a large enough bowl if you have younger kids to contain any potential mess.

mashing the strawberries with a fork

I like mine with big chunks ;)

mashing the berries juice

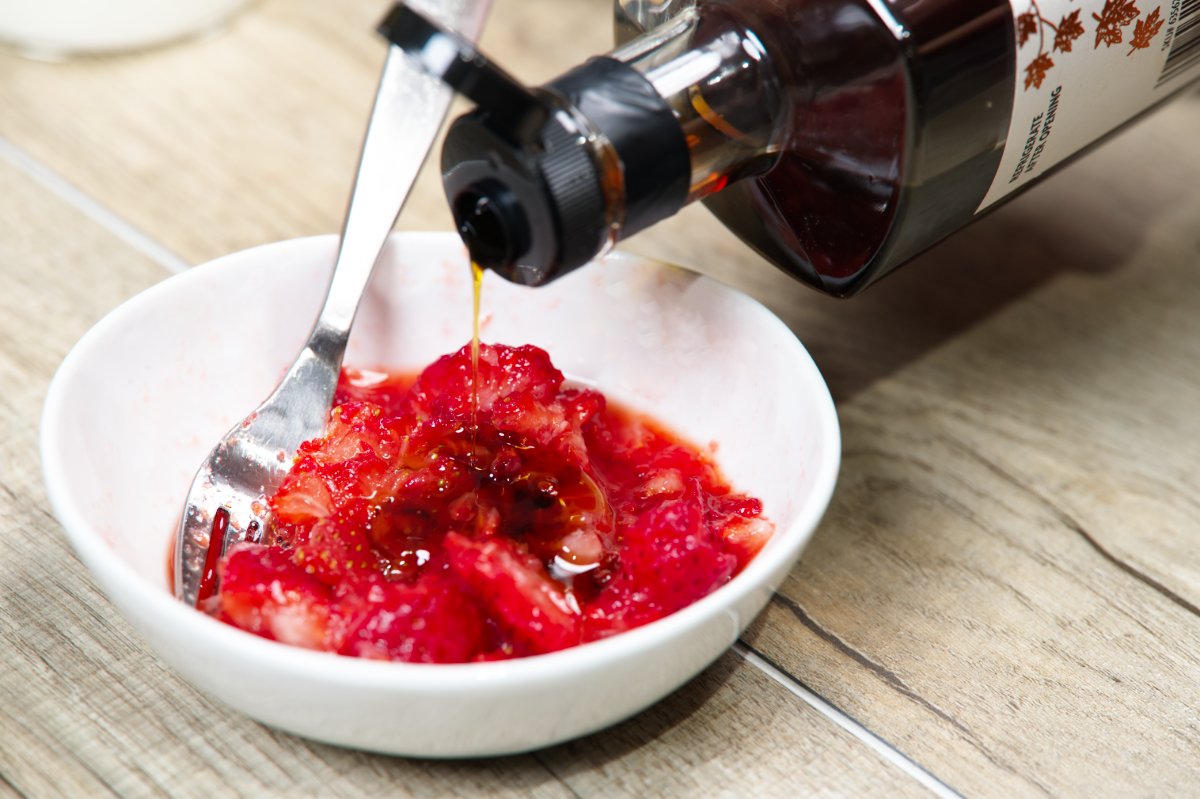
Then it’s time to pick your sweetener. Growing up, my mom always used plain white sugar. As kids, we loved the sugary gritty milk at the bottom of the bowl that waited for us at the end- like an extra little treat. But these days I usually reach for maple syrup—it blends easily and adds a little extra depth. Honey is nice too. Really any sweetener that you have on hand is fine. Start by tasting your strawberries—if they’re super ripe and sweet, you might not need much at all. If they’re a little tart, a bit more sweetener will help coax out their flavor.


adding syrup to the mashed strawberries

And just like with the sweetener, you can choose your own milk. Plant-based options like oat, almond, soy, even coconut all work beautifully here. Whether you use dairy or nondairy, you’ll end up with a Strawberry and Milk that’s berry delicious. Come on, I’m Gen X—of course I had to sneak in a Strawberry Shortcake reference somewhere!

feature recipe strawberries and milk

And with that, your summery treat is ready to be enjoyed!

pic of the strawberries and milk ready to eat

I hope this nostalgic snack brings you the same simple joy it has always brought me. Savoring seasonal treats is one way to bring a little dose of childlike happiness even in our adult doom-scrolling world… Take a few minutes to make this sweet treat and let me know what you think. And remember to tag us in  your pics @funkyasiankitchen, we love hearing from you!


And if you’re looking for more simple summer treats, check out my Strawberry Lychee Lemonade, Tropical Fruit Salad, or Avocado Smoothie.


Print
clock clock iconcutlery cutlery iconflag flag iconfolder folder iconinstagram instagram iconpinterest pinterest iconfacebook facebook iconprint print iconsquares squares iconheart heart iconheart solid heart solid icon
recipe card strawberries and milk

Strawberries and Milk

  • Author: Funky Asian Kitchen
  • Prep Time: 5 minutes
  • Total Time: 5 minutes
  • Yield: serves 2
  • Category: snacks, sweets
  • Cuisine: Japanese

Ingredients

Scale
  • 2 cups strawberries, about a dozen 
  • 1 cup milk, or plant milk
  • A couple teaspoons honey, maple syrup, or sugar

Instructions

Prepare the strawberries: Cut the stems off of the strawberries and place them into 2  bowls. 

Serve the strawberries with the milk and sweetener on the side. Mash the strawberries with the back of a fork, pour milk over the strawberries, and season with sweetener to taste. Eat immediately with a spoon or fork.


Notes

*Strawberries are acidic so the milk will start to curdle slightly as it sits. This does not affect the taste and shouldn’t keep you from enjoying your berries.

Keywords: chilled, no cook, summer, strawberries, fruit, easy, comfort food, quick, snacks

California Rolls

California Rolls

Let’s be real: California rolls are the gateway drug of sushi. They’re where a lot of people take their first bite into the world of raw fish… except, of course, there’s no raw fish involved. Just creamy avocado, sweet crab (or “krab,” depending on your read more

Chilled Tofu Terrine

Chilled Tofu Terrine

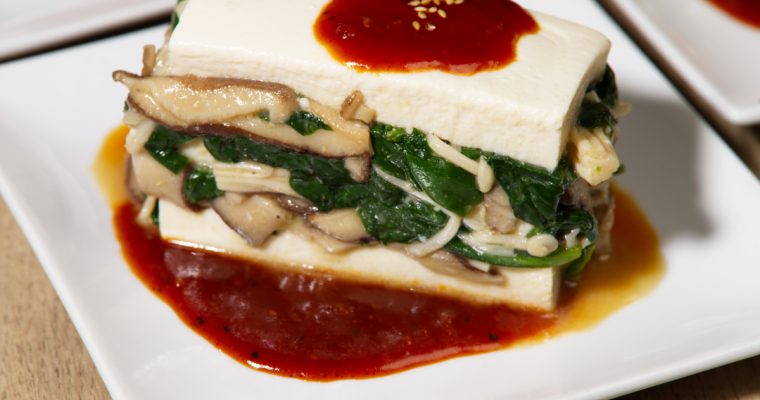
Chilled Tofu Terrine is one of those dishes that looks incredibly elegant, but is actually super simple to make. There’s no oven involved, barely any cooking, and it can be made ahead—perfect for warm weather days when the last thing you want is to stand read more

Tarako Fried Rice

Tarako Fried Rice

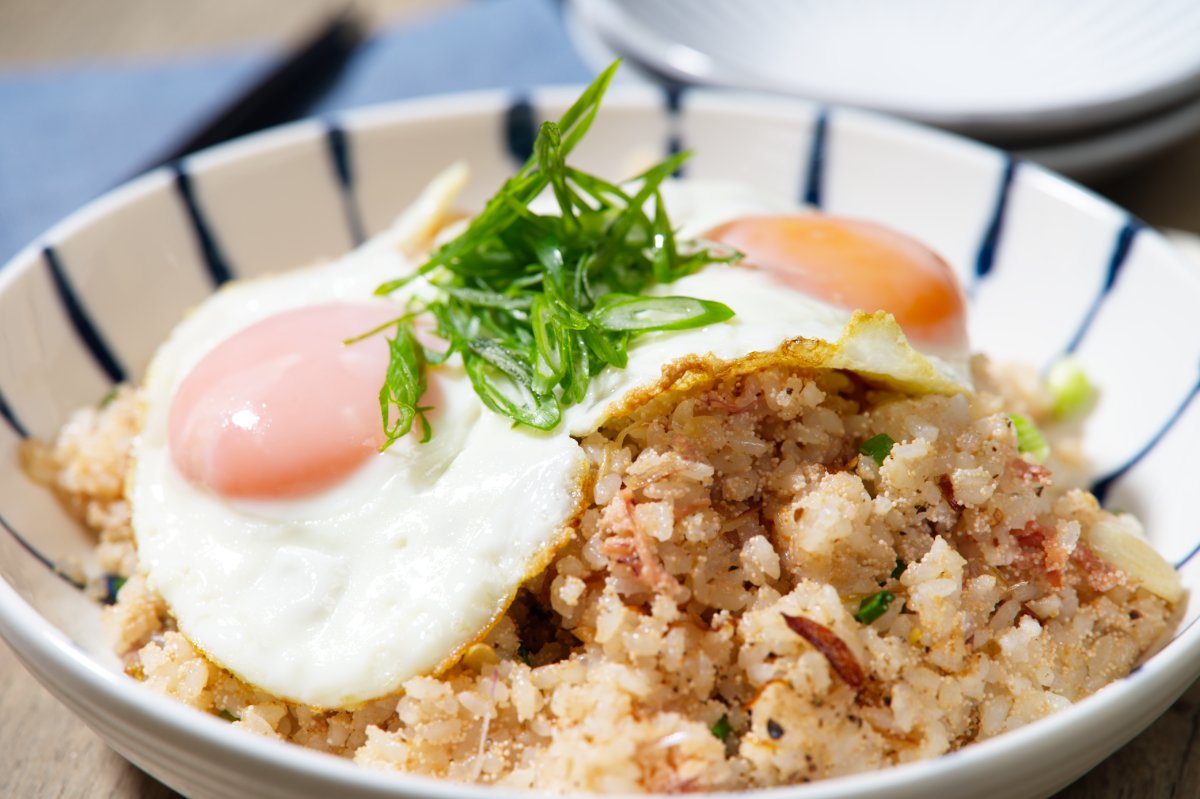
If you’ve got some leftover rice in the fridge and a pack of tarako in the freezer, you’re already halfway to dinner. This Tarako Fried Rice is one of those easy, comforting meals that delivers big flavor with minimal effort. The salted cod roe melts into buttery shallots and garlic, coating every grain of rice with savory goodness. Topped with a crispy-edged fried egg and a scatter of scallions, it’s simple, satisfying, and so quick to make—perfect for a weeknight meal or lazy weekend lunch. Buttery, briny, and so deeply satisfying…let’s get into it.

ingredient pic for tarako fried rice

What is Tarako?

Tarako is a type of salted cod roe, often used in Japanese cuisine. It has a delicate, slightly briny flavor and a smooth texture, and is typically enjoyed in a variety of ways. Tarako can be eaten as is raw or cooked, served alongside rice or pasta, or used as a filling for onigiri or in sauces. Sometimes it’s even mixed with butter or mayonnaise to make a savory spread for toast or pasta dishes. In short, it’s a flavor packed ingredient that adds deep umami oomph to even the simplest dishes. I’ve you’ve never tried it before you’re in for a treat! You can find tarako at most Asian grocery stores, particularly those with a well-stocked Japanese section. It’s often sold in vacuum-sealed packages in the refrigerated section or in the freezer section in larger boxes.

Tarako is one of my family’s favorite things. We adore it. So salty, funky, and very different from other types of fish roe or caviar. Tarako is not inexpensive but a little goes a long way. Generally the better the tarako, the larger and more uniform the pieces. It’s really not necessary to buy the best grade of Tarako for this recipe since it’s getting cut up and mixed in. And if it’s your first time trying tarako, I would recommend you get just enough to make this rice.

package of tarako pic

Making Tarako Fried Rice

If you’ve made fried rice before, you know it’s always best to used leftover rice. Cold, leftover rice is key for the perfect fried rice because it’s drier and firmer than freshly cooked rice, preventing it from turning mushy. The grains stay separate, giving you that signature chewy, slightly crispy texture when stir-fried. Fresh rice, on the other hand, tends to be too soft and sticky, making it harder to achieve that classic fried rice consistency.  Whenever I make rice I make a double batch so that later in the week I can make a quick fried rice meal, like this Caramelized Beef Fried Rice or Thai Chicken Fried Rice or Shrimp Fried Rice. Having cooked rice in the fridge is like money in the bank.

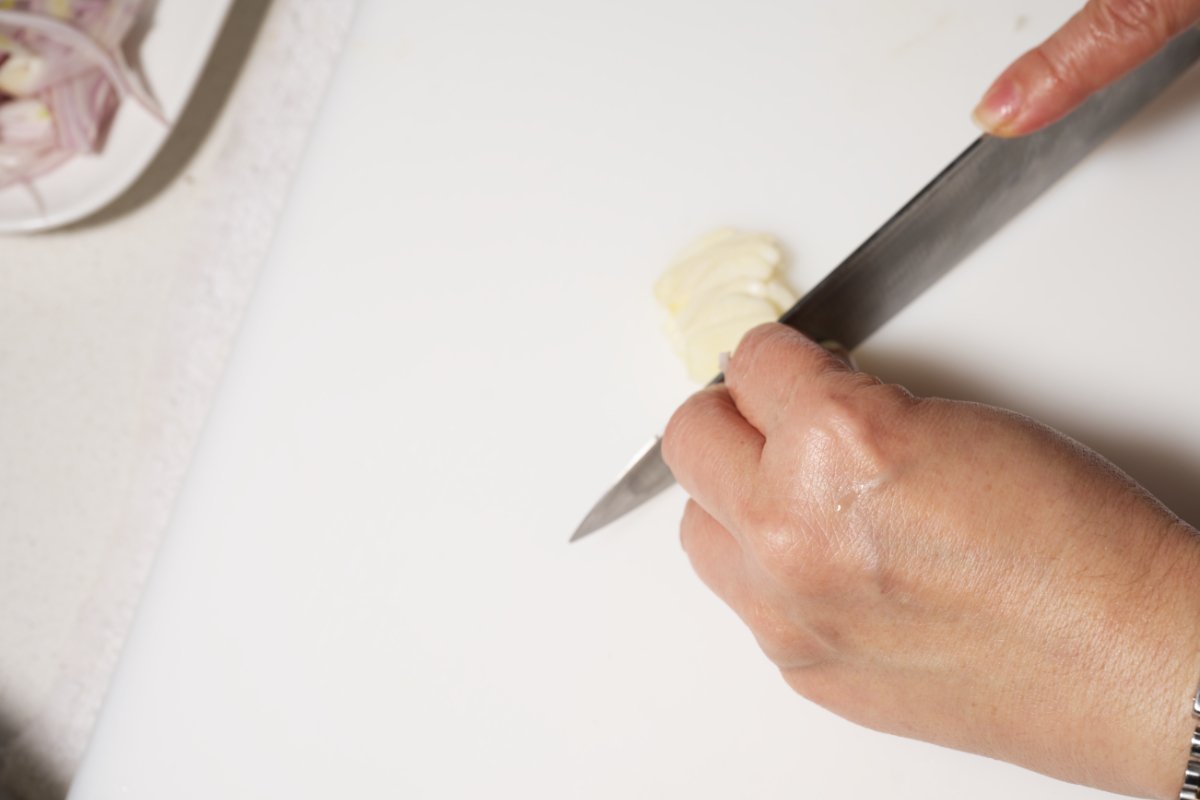
I start making my Tarako Fried Rice by gathering and prepping the ingredients. The shallots and garlic get thinly sliced:

slicing shallots for tarako fried rice

thinly slicing the garlic

The tarako gets cut into bite-sized slices:

slicing the tarako

Slice the scallions and have all the ingredients ready by the stovetop. Like most fried rice dishes, this cooks quickly so you want to have everything within reach before starting.

gathered ingredients

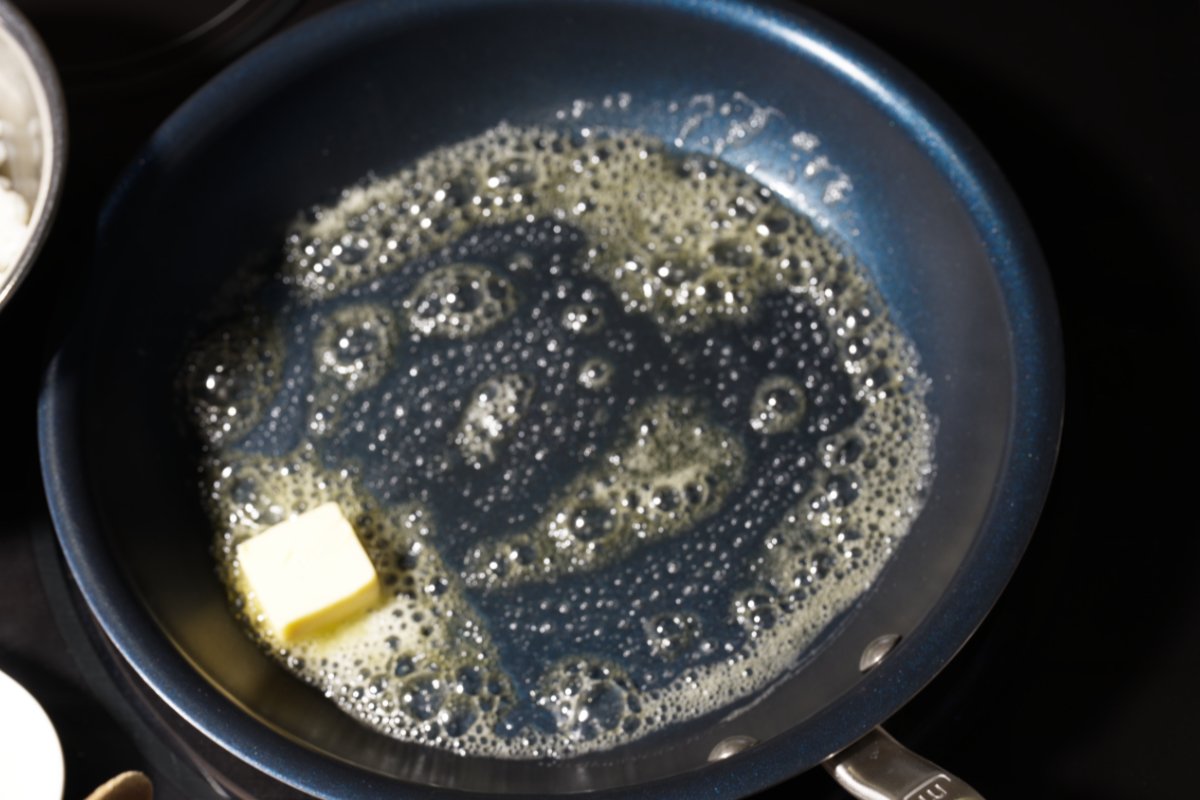
Melt the butter in a non-stick skillet:

heating butter in skillet

Add the shallots:

adding shallots to butter for tarako fried rice

Cook for 3 minutes until shallots are soft and caramelized:

browning shallots

Once they are nicely browned, add in the garlic.

adding garlic to the pan

Lower the heat a bit and add the tablespoon of the oil and the tarako.

adding the tarako

Cook it for a minute, stirring occasionally. It’s not necessary to cook the Tarako all the way through. It can be eaten raw and actually most Japanese people prefer it half cooked. Either way, the Tarako will continue cooking as you add other ingredients.

cooking the tarako for a minute

Now it’s time to add the rice! You might want to un-clump it with wet hands if it’s really hard rice that’s been sitting in the fridge a while. Mine is from the night before so it’s cold but still kind of soft.

adding the rice

Press the rice gently into the pan.

pressing rice down

still pressing the tarako fried rice down

Use the wooden spatula to mix the rice into the tarako. Try to cut into the rice to mix rather than just mixing to avoid crushing the grains of rice.

cutting tarako fried rice with spatula

Continue cooking and mixing the rice for about 3 minutes, until all the rice is coated with tarako.

Taste and season. Tarako is fairly salty so you might not need as much salt as you would normally use. I do like to add a generous amount of freshly ground black pepper.

cooking tarako fried rice until rice is coated

Add in the scallions.

adding scallions to tarako fried rice

stirring the scallions into the fried rice

Top with a Crispy Fried Egg!

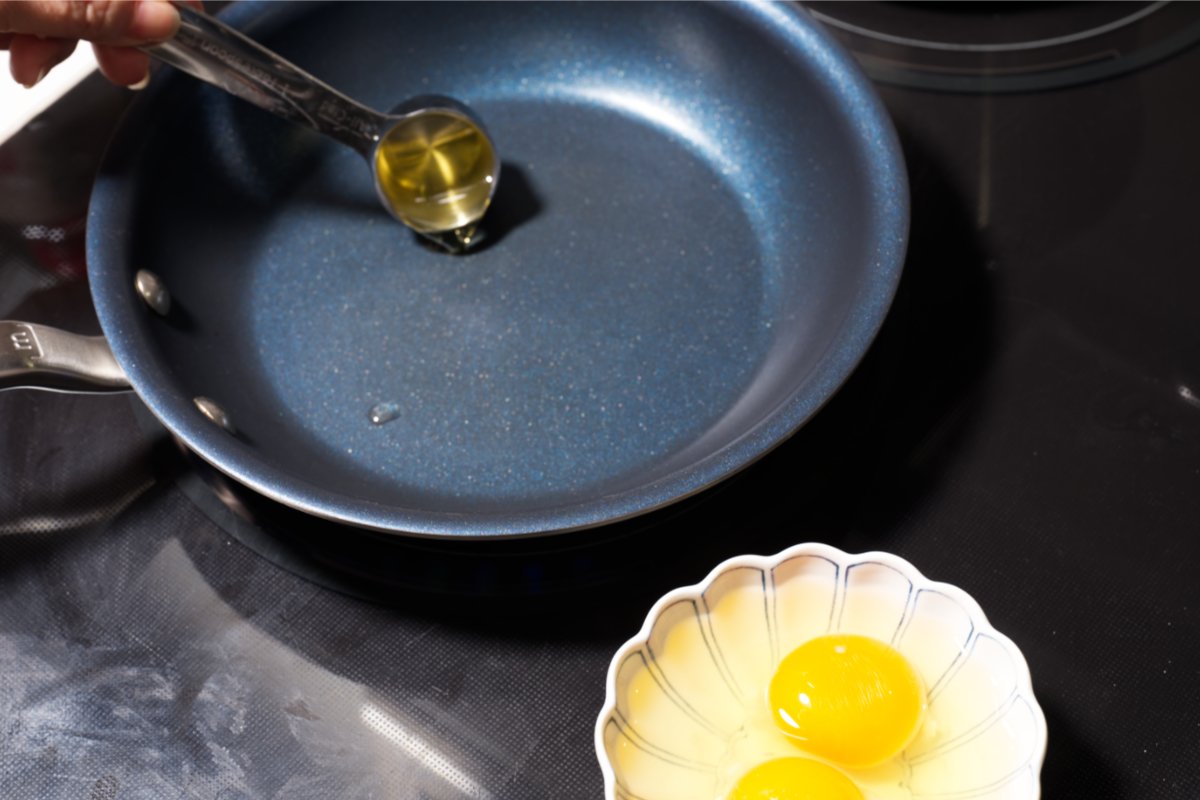
Heat a small non-stick skillet and add oil.

heating oil in a pan to fry the eggs

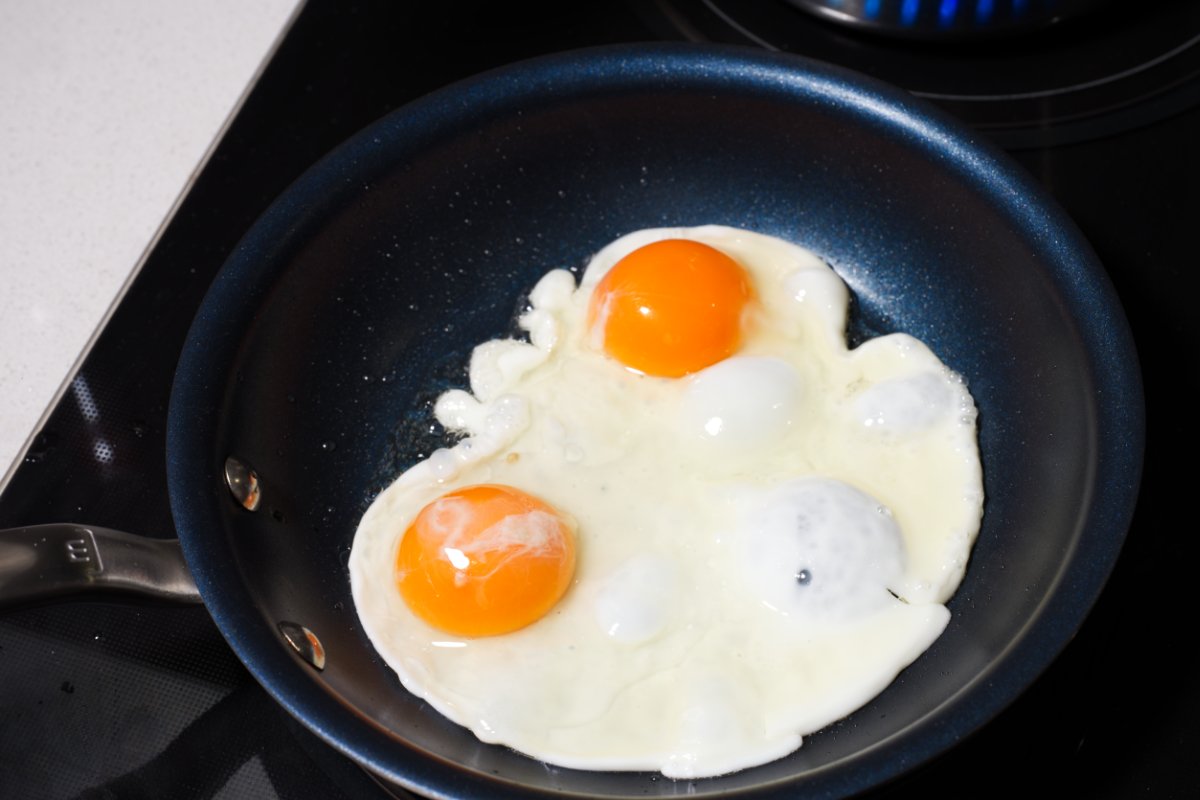
I like to crack my eggs into a small bowl first so that I can be assured the yolks are intact.

frying the eggs for tarako fried rice

Cook the eggs for one minute and then cover with a lid, cooking for an additional 45 seconds to 1 minute. This yields eggs with a crispy bottom and a very runny yolk. Which adds a whole new level of deliciousness when it mixes with the rice. Check out my Perfect Fried Eggs for a refresher course!

topping tarako fried rice with eggs

I like to garnish with more scallions for a fresh little bite.

garnishing tarako fried rice

I hope you love this Tarako Fried Rice, it’s such a low effort, high reward dish! Let me know what you think and if you make it tag us in your pics @funkyasiankitchen, we love seeing your creations!


Print
clock clock iconcutlery cutlery iconflag flag iconfolder folder iconinstagram instagram iconpinterest pinterest iconfacebook facebook iconprint print iconsquares squares iconheart heart iconheart solid heart solid icon
recipe card photo tarako fried rice

Tarako Fried Rice

  • Author: Funky Asian Kitchen
  • Prep Time: 10 minutes
  • Cook Time: 10 minutes
  • Total Time: 20 minutes
  • Yield: serves 2
  • Category: entrees
  • Cuisine: Japanese

Ingredients

Scale
  • 2 pieces tarako (salted cod roe), about 4 ounces
  • 3 cups cooked cold short grain rice
  • 2 large shallots, trimmed and finely sliced
  • 2 garlic cloves, thinly sliced
  • 2 Tablespoons butter
  • 1 Tablespoon plus 2 teaspoons neutral oil, divided
  • 2 eggs
  • 2 Scallions, trimmed and chopped plus a little extra for garnish if desired
    Salt and ground black pepper to taste

Instructions

Gather your ingredients and prepare them- Use wet fingers and de-clump the rice if your rice is one hard ball. Cut the tarako into thick chunks and set all of your ingredients by the stove.

Make the fried rice-Heat a medium non-stick pan over medium high heat and add the butter and the shallots. Cook for 3 minutes until the shallots are soft and caramelized. Lower the heat to medium if you find the shallots are starting to burn. 

Add the garlic and stir into the shallots. Add 1 Tablespoon of oil plus the tarako and lower the heat to medium if you have not already done so. Cook for a minute, stirring occasionally.

Add the rice and press it gently into the pan. Cut into it with a wooden spoon or spatula as you cook the rice (so you don’t smash up the grains of rice), heating it up and mixing it into the tarako mixture. Cook for about 3 minutes until the rice is fully hot and the tarako coats the rice grains evenly. 

Taste the rice and add salt and ground black pepper to taste (The tarako is salty and you may find the rice seasoned enough as is.). Add the scallions and stir into the rice, cooking for an additional minute. Set the pan aside while you fry the eggs.

Make the fried eggs– Heat a small non-stick frying pan over medium high heat and add 2 teaspoons of oil and the eggs (I find it better to crack the eggs into a bowl first so you are guaranteed an intact yolk.). Cook the eggs for one minute and then cover with a lid, cooking for an additional 45 seconds to 1 minute. This yields eggs with a crispy bottom and a very runny yolk.

Transfer the rice to a deep plate and top with the eggs and more scallions if desired. You can also serve the rice in two bowls, topping each with a fried egg.

Serve Tarako Fried Rice immediately.


Notes

*If you have any leftovers, you can store it in the fridge and re-heat for a couple minutes in the microwave.

*If you are unable to find tarako, you can substitute mentaiko, which is essentially a spicy version of tarako. I do not recommend using other forms of fish eggs like ikura (salmon roe) or masago (capelin roe). If you cannot find tarako or mentaiko, dried shrimp is a good substitute. Look for the tiny whole shrimp, which have a similar, briny salty flavor. Use several tablespoons, adding it in at the same point in the recipe that the Tarako is added.
Keywords: tarako, roe, fried rice, rice bowls, tarako gohan